- Author admin [email protected].
- Public 2023-12-17 03:39.
- Last modified 2025-01-24 12:45.
You should move your orchids into fresh substrate about every two to three years. Read our guide to find out why orchid soil is the best choice and how best to proceed when repotting.
Time
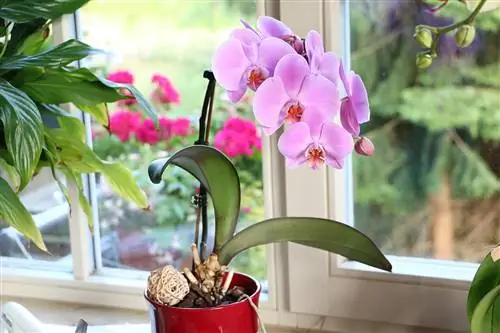
Orchids - regardless of the type and variety - should be moved into fresh substrate and a new, larger pot every two to three years. At this point, the previous orchid soil has decomposed to the point that it needs to be replaced. In addition, the fleshy roots grow out of the pot and can cause an imbalance in which either the planter and the orchid tip over or the plant is pushed out of the pot.
Wait for flowering time
That's why when repotting you should take the opportunity to cut back the orchid roots. The best time for this project is when the plant has just finished flowering and you cut off the flower shoot. Never repot a flowering orchid, as it puts all its energy into the flower and can therefore no longer muster the energy to form new roots and thus to take root in the fresh substrate. The best season is spring, but the plants can still be transplanted well in autumn. At this point it is bright enough, but neither too warm (like in summer) nor too cold (like in winter).
Tip:
For long-flowering species such as the popular Phalaenopsis, you should cut off the flower shoots before repotting so that the plant can put its energy into rooting.
Substrate
With the exception of the so-called terrestrial orchids, which include the lady's slipper (Cypripedium), tropical orchids grow as epiphytes on trees or stones. Here they extract the few nutrients they need from raw humus deposits, which are located in the forks of branches. Accordingly, you cannot plant orchids in conventional potting soil, but rather need a special orchid substrate. You can get orchid soil at any gardening store, hardware store or online. It is marked by
- a very rough, airy structure
- woody components
- many (also larger) pieces of bark
- often pine bark, wood fibers, sphagnum moss and perlite
Make sure the mixture does not contain peat. This is unsuitable for orchids, and the material has also fallen into disrepute because of its environmentally damaging degradation. Instead, a small amount of compost soil should be included so that your orchids are supplied with nutrients.
Tip:
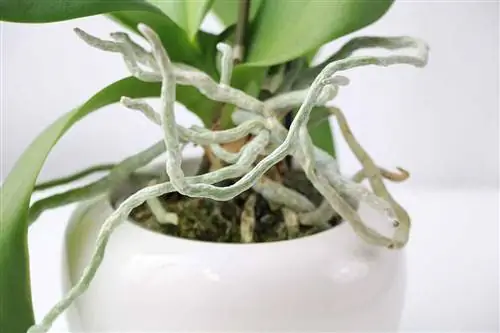
Orchids develop aerial roots that draw moisture and nutrients from the air and should therefore not be covered with soil. In addition, they develop leaf green themselves, which is beneficial for the growth and he alth of the plants.
Mix your own orchid soil
If you have a lot of orchids and want to repot them, a self-mixed substrate can be worthwhile. There are numerous recipes for this, and we would like to present one that has already been tried and tested to you here. The substrate is designed for medium to large orchids and is therefore well suited for many Phalaenopsis and Dendrobium species. You need:
- 5 parts medium coarse pine soil
- 2 parts coconut soil (for swelling)
- 1 part each of lava granules and perlite
- 1 part nutshells
- 1 piece of crumbled charcoal
Mix the ingredients in the specified ratio. Your self-mixed orchid soil is ready! For small or mini orchids, you should use the finest possible material (e.g. fine pine bark), but for large species such as Vanda or Cymbidium orchids, use extra large grained pine bark and lava mulch instead of lava granules.
Tip:
Some orchids such as B. the Vanda orchids do not need any soil at all. You can either tie these to a piece of wood or cultivate them hanging in special pots or baskets.
Steaming orchid soil
No matter whether you bought it or mixed it yourself: orchid soil should first be steamed before repotting. By taking this step, you kill any pathogens and also prevent the substrate from later becoming moldy. And this is how it works:
- Line the baking tray with baking paper
- Spread the substrate loosely on top
- moisten with water
- Clamp wooden spoon between oven and oven door
- Set oven to 100 degrees Celsius
- Steam substrate for 30 minutes
Then let the orchid soil cool down. Don't forget the wooden spoon, as the escaping moisture cannot escape when the oven door is closed.
Step by step instructions
If the season is right and you have prepared the orchid substrate accordingly, you can now get down to the actual work and repot the orchids. In addition to the right soil, you also need suitable, translucent plant pots. These should always be one size larger than the old ones so that your plants have more space to grow.
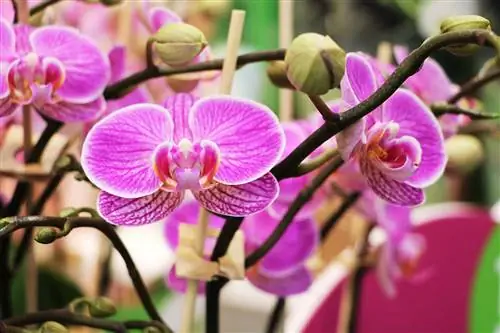
1. Fill pot with substrate
- fill new pot halfway with fresh substrate
- Clean planter before use
- rinse water is suitable for this
- Wipe against fungal spores with vinegar
- dry thoroughly
2. Unpotting the orchid
- Lifting orchid out of old planter
- Thoroughly remove substrate residues
- If necessary, rinse roots under lukewarm water
- cut off dried and damaged roots directly at the base
- use sharp and disinfected scissors
3. Insert orchid
- Grab the orchid between the leaf and root ball
- hold in the middle of the new planter
- Root neck should be at pot edge height
- fill substrate all around
- Now and then lightly tap the bottom of the pot on the table
- so substrate fills into the gaps
4. Moisturize orchid
- Pot is completely filled when the substrate no longer sags
- Do not press on the substrate
- Moisten leaves and substrate with spray bottle
- Put plant in planter
Tip:
Once the roots have anchored themselves in the new substrate, you should submerge the orchids in a water bath once a week. Excess water should always be removed from the planter to prevent the plant and substrate from becoming moldy.
Share older orchids
Do you have an older, multi-shoot orchid? Then you can use the repotting that is already necessary to turn one plant into two. Orchids with at least two shoot axes can be easily propagated by division.
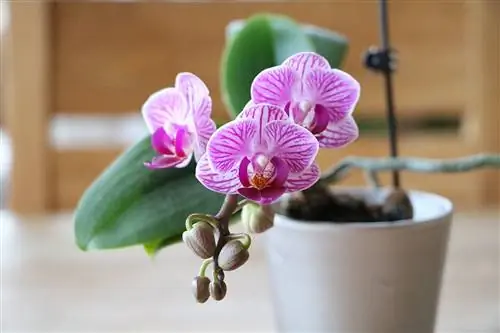
And this is how you do it:
- Lift the plant out of the pot as described
- Remove substrate residue
- Pruning roots
- Counting bulbs: there should be at least six
- Bulbs=thickenings above the roots
- at least three bulbs per part
- Cut the orchid in a suitable place
- use a sharp, disinfected knife
- Untangling and separating roots
Avoid damaging the roots unnecessarily, as orchids are quite sensitive to this. However, root injury cannot always be avoided. In this case, dust the injured area with a little charcoal powder to disinfect it. Then plant the divided orchids separately in pots as described.

