- Author admin [email protected].
- Public 2023-12-17 03:39.
- Last modified 2025-01-24 12:45.
Willow is ideal for making decorative items for the garden and patio. In addition, willow branches can be further processed into borders, trellises, privacy screens and fences. You can choose from living branches that then sprout again and continue to grow and green. Rods that have already dried out no longer break out and can be used for decorative objects, but then they need to be soaked first.
Soaking
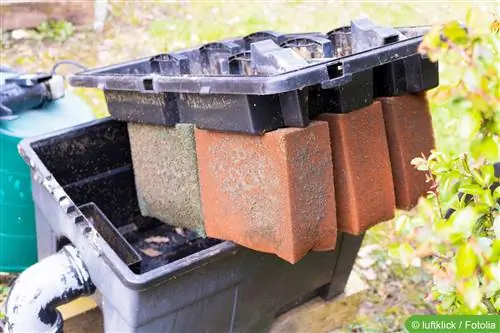
Fresh willow branches are ideal for crafting and further processing, as they are still extremely flexible. However, if only dried rods are available, they can be soaked beforehand. Afterwards, the natural flexibility of the willow is almost the same as at the beginning. If you buy the branches from specialist retailers, you usually get extremely dry specimens that require a longer soaking time.
- Restore flexibility with a one-day water bath
- Soak extremely dry branches for 1 to 2 weeks
- Use collected rainwater
- Alternatively use stale tap water
- Extremely hard water is not suitable
- Too much lime leaves unsightly stains
- Put in tub or garden pond
- A stream is also possible, after the harvest in nature
Processing willow branches
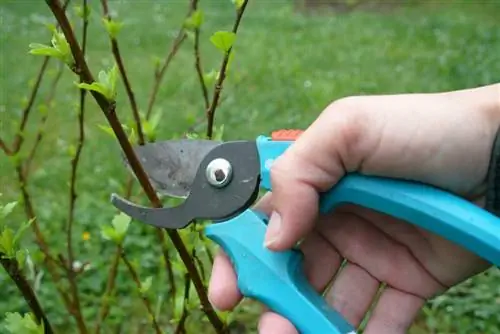
Wild willows may only be pruned between October and March in order not to put unnecessary strain on the tree during the growing season. By treating it respectfully, animals living in it are not disturbed by the harvest. The willow is ideal for garden design and can be processed into many useful tools and objects. Before starting the craft work, you have to decide whether the branches should still sprout or whether this is not welcome. If knocking is desired, fresh and still living willow branches are required. Otherwise, you can use rods that are already dry and will dry out further after processing.
- Base rods are best suited
- Alternatively use wicker, purple or white willow
- The best time for harvesting and processing is in winter
- Willow should be completely leafless
- Cut off finger-thick branches and thinner twigs
- Longer branches are necessary for larger projects
- Elastic rods are ideal for crafts and braiding
- Good for decoration and craft work
- Possible as climbing frames and trellises for plants
- Natural basis for privacy screens and willow fences
Crafts with willow
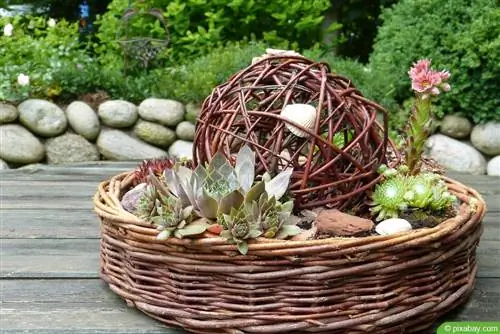
Many decorative objects can be made with willow branches, which can be used either in the garden landscape or on the terrace. The results look individual and natural, and they can be easily disposed of in the compost at some point. There are various options when it comes to the procedure, which depend on the form and purpose of the craft work. It should be noted that very dried out rods break quickly, so they should be soaked beforehand. For this reason, annual, fresh and flexible willow branches are the ideal base material for further processing.
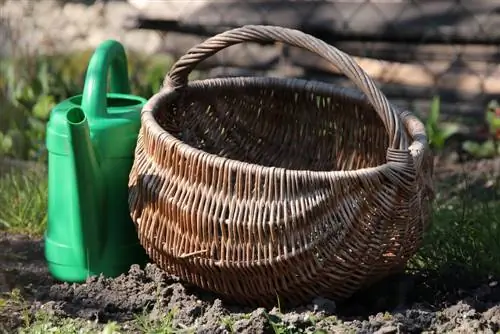
- Vessels, baskets and wreaths are possible
- Spheres and obelisks can also be implemented
- Seasonal fruit bowls look very nice
- First cut some rods as needed
- Wind into circles for round shapes
- Then interlock in the desired fit
- Then intertwine or twist together
- Work out bulges by pressing and pulling
- Press the braid together firmly from time to time
- Connect individual rods with thin branches
- Fix loose end points with wire
Particularly skilled hobby gardeners can try out more complex animal figures to set up in the garden.
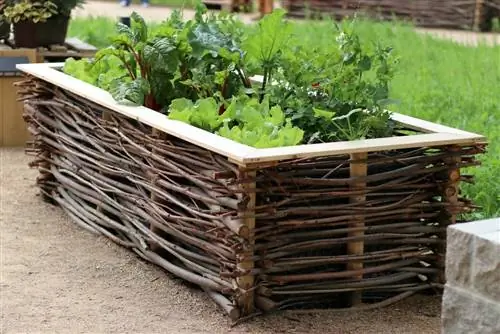
Braided flower bed edging
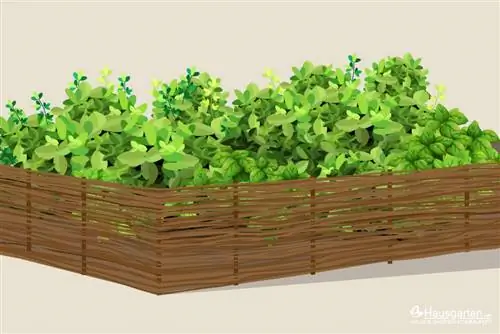
A braided bed border can be implemented for both a round bed and straight garden beds. It should be noted that freshly cut willow will dry over time and then shrink even further. This means that the braided fabric becomes a little loose and gaps form in the bed border. Therefore, after a certain period of time, it is necessary to fill up and repair with additional rods, which are lashed securely. The individual rods are not always long enough to cover the entire bed border. In this case, start with a new branch at the end and clamp the new end to the inside of the border behind the stake. With straight bed borders, the rods do not have to be as elastic as with round beds.
- Mark the border around the bed
- Sharp sturdy wooden stakes
- Use an even number of stakes
- Strike into the ground at even intervals
- Braid with 2 willow rods running at the same time
- Rods should cross between the pegs
- Then twist the rods with themselves once
- Bottom branch is now top and vice versa
- Finally, fix the ends well
Note:
For interesting color effects, willow branches in different shades of brown and green can be intertwined.
Trails

Willow trellises look distinctive and give the plant natural support. This support can be placed either in the planter or in the garden bed to secure unstable plants. In addition, it can also be used to achieve the desired direction of plant growth. Vineyard plants such as wisteria, clematis, ivy, jasmine, climbing roses, knotweed, clematis or wild vine are suitable for this. The climbing aids are also suitable for climbing vegetable plants.
- Use an even number of finger-thick rods
- About 8 pieces are enough for small vessels
- Take significantly more for large plants
- Place thick ends either in a pot or in a bed
- Tie together at the top at the thin ends
- Put an old towel or rag in the middle as a support
- Set up additional rods evenly
- Braid from above with two rods at the same time
- Produces a firm edge for more stability
- Weave in more rods at the bottom edge
- Work either in a spiral or all around
Feeding and nesting places

The branches of the willow can also be used to create natural feeding and nesting places, which serve the animal inhabitants of the garden. There are no limits to creativity when it comes to feeding places; what is important is a protected place for the food and enough space for birds or squirrels. When it comes to nesting places, the different sizes of the local birds must be taken into account; the hole for entering should suit the body size.
- First select 6 willow rods of equal strength
- Make it into a star base
- Push the rods further apart, then braid them tightly
- Make sure the distances are even and fixed
- Bend ends upwards, then tie together
- Now continue braiding, working out the visible curve
- Leave a precisely fitting opening on the side for the birds
- Weave a protective roof at the top of the branches
Build a gazebo
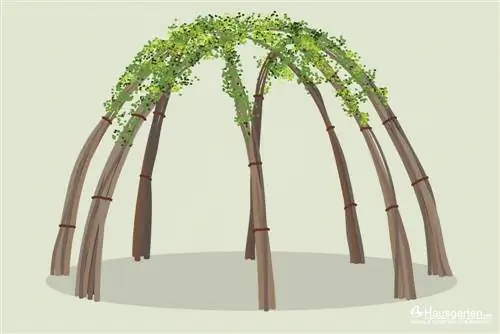
A growing gazebo made from fresh willow branches is a natural source of shade in the garden. This allows you to shade certain areas, either for your own use or for shade-loving plants. Soon after construction, the branches of the willow sprout again and form attractive foliage.
- Freshly cut willow branches are required
- Number depends on the size of the gazebo
- Stick rods next to each other and opposite each other in the ground
- Bend so far that branches meet in the middle
- Then fasten well together, for example with wire
- Tunnels or teepees for children are also possible
Tip:
The closer the rods are to each other and the larger their number, the denser the shadow will be afterwards.
Privacy wall
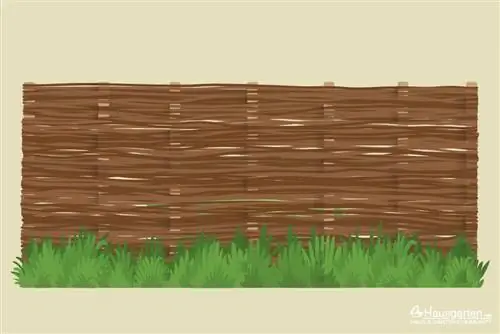
The branches of the willow can also be used to build a wall as a privacy screen, which protects a frequently used area in the garden or on the terrace from prying eyes. It is also possible to use fresh or already dry rods, which either turn out again or dry out even more. If you don't want to have a living privacy screen, you can stick the fresh willow branches upside down in the ground or peel them first. This can prevent renewed sprouting. When using young and still living willow shoots, the privacy wall turns into a densely growing, leafy hedge over time. When it comes to shape and height, the hobby gardener has many options to create protected privacy in the designated area.
- Use sturdy round posts as posts
- Either made from willow or other types of wood
- Adjust length to requirements and site conditions
- Plan 3 to 4 posts per meter of privacy wall
- Drive stakes into the ground about 30 to 40 cm deep
- Prepare plenty of branches 2 to 3 meters long
- Sharpen the bottom of the rods to stick them well into the ground
- Then intertwine the willow branches together
- You can choose from different patterns and color levels
- Cut off protruding branches at the same height
- Fix the rods together every now and then

