- Author admin caroline@plants-knowledge.com.
- Public 2023-12-17 03:39.
- Last modified 2025-01-24 12:45.
Propagation by head cuttings is a vegetative process. It does not occur naturally but is done artificially. The method can be implemented quickly and easily to successfully propagate the desired plants. Head cuttings use the top part of a plant, literally the head. The result is an identical offshoot of the mother plant.
Possible plants
Propagation with top cuttings has become widespread, especially for balcony, pot and house plants. The method is also suitable for hardy trees and shrubs that grow in the garden. This means that many new specimens can be grown cheaply from just a few plants. Due to the many different plant varieties, it is advisable to obtain information about the propagation process beforehand. Some varieties are better propagated by dividing rhizomes or by cuttings.
- most herbaceous plants
- Geraniums
- Hardworking Lieschen
- Hibiscus
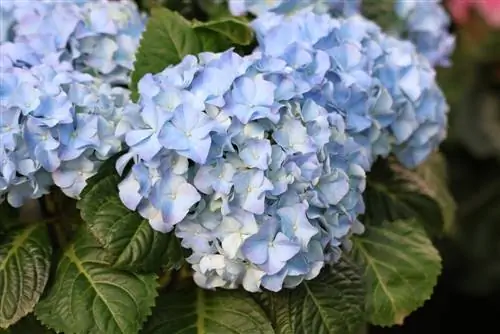
- hydrangeas
- Fuchsias
- Box, dragon and rubber trees
- laurel tree
- Oleander
- Olive tree
- Miracle flowers
- Citrus plants
- Indoor fir and dwarf palm
- Cacti
- Herbs
Note:
To reduce evaporation in large-leaved plants, the leaves are rolled up until the roots form and secured with a rubber band.
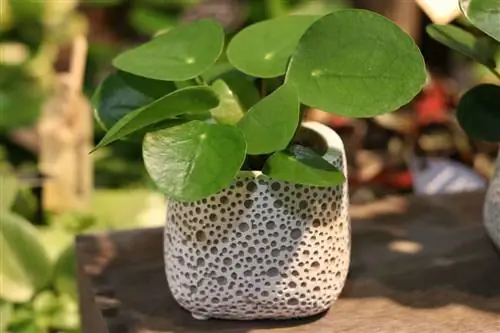
Thickleaf plant
Thickleaf plants have become widespread as houseplants thanks to their easy-care properties. The plants form fleshy leaves and are propagated with their help. The leaves have a specific place where they can be easily separated from the stem. As succulents get older, they develop long stems and bald spots, so at some point they no longer look attractive. It is therefore worth rejuvenating the affected thick-leaf plant using leaf cuttings from the head area.
- Break off well-developed leaves from the thick-leaf plant
- Perform with a downward twist
- Place leaf cuttings on paper towel for 1-2 hours
- Allow broken areas to dry sufficiently
- Place the leaves at a slight angle into the growing container
- Alternatively, laying flat is possible
Head cuttings
Propagation through head cuttings is ideal, especially for the balcony and terrace. Since the head cutting requires little space, it fits well with the limited space available in outdoor areas at home. In contrast to leaf cuttings and shoot cuttings, only the head part is used so that it grows best. The mother plant should not be flowering at the time of propagation, as all of its strength is then needed for root formation. However, the head cutting must not be completely bare, but rather have good, natural growth:
- Use only he althy and strong mother plants
- Only cut young stems from the head area of the plant
- A few leaves, pairs of leaves and shoot tips on the stem are ideal
- There should be no flowers or buds on the cutting
- Shoots that are already woody are not suitable
Time
When propagating, the time of year is important so that the top cuttings have enough time to grow. It is therefore important to proceed as early as possible when the mother plant is just at the beginning of the growth period. With plants grown indoors, it is possible to do this all year round, but the duration can vary extremely. In general, it can be said that the later the time of implementation, the more difficult and lengthy the formation of new roots is.
- Best time is in spring
- Head cutting then develops roots quite quickly
- Do not do this during the flowering period of the plant
- Possible in the greenhouse from January to March
- Same in the heated winter garden
Cutting
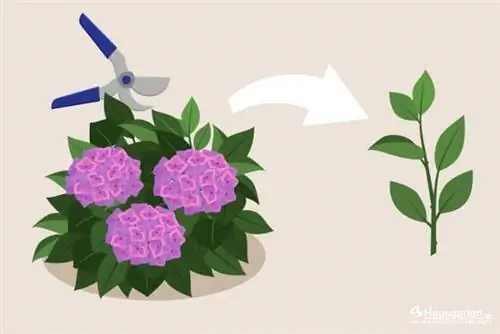
Cutting head cuttings for propagation can be done well with pruning for thinning or maintenance. Although the exact position of the interface can be freely selected, the mother plant should still appear attractive afterwards. Therefore, prominent and clearly visible shoots are not suitable for this. If several cuttings are taken from the plant's shoot tips at once, the arrangement should still look harmonious. Always remember that the interface represents a wound for the plant and is therefore susceptible to bacteria. Carry out cutting on a cloudy day when temperatures are not too warm.
- Choose only strong and he althy growing mother plants
- Proceed with a knife or secateurs
- Cutting tools must be sharp and disinfected
- Do not damage the stems when cutting
- A smooth interface without frayed areas is optimal
- Cut head cuttings to a length of about 5-15 cm
- Work diagonally at the end of the shoot
- Ideally, make the cut approx. 0.5 cm below the knot
- Remove any flowers and buds that may be present
- These prevent root formation
- Head cuttings with two nodes and 4-6 leaves are perfect
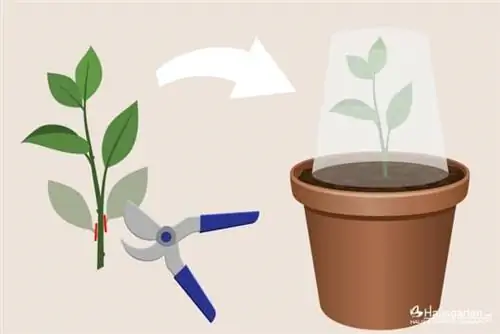
- Then remove the bottom 2 sheets
Propagation
After cutting, the top cuttings are placed in a cultivation container with soil. However, there are also cuttings that form new roots better in a transparent container with water instead of in the planting substrate. This includes ivy, for example. Water also makes it easier to determine exactly when the roots start to sprout. In general, it can be said that some plants form roots more quickly than others. That's why patience is required; depending on the variety, it can sometimes take up to several weeks until roots finally appear. However, this process can be promoted by certain conditions and additionally administered agents. At the beginning it is important to have a loose and not too nutrient-rich substrate. Otherwise leaf growth will be promoted at the expense of root growth. Only when the shoot develops new roots is it time to repot into nutrient-rich soil and use fertilizers.
- Place the cutting about 1-2 cm deep in the soil
- Low-nutrient plant substrate is ideal
- Mix nutrient-rich soil with a third of sand or perlite
- Water immediately after plugging in
- Substrate must never dry out completely
- Always keep the soil slightly moist
- Don't water too much, otherwise rot will set in
- Rooting powder promotes root formation
- Mini greenhouse is also helpful
- Put a plastic cover with holes in it over the plant
- Warm and bright locations are optimal for rearing
- Direct sunlight should be avoided
Tip:
Press the soil around the cutting firmly after inserting it, otherwise it will fall over.

