- Author admin caroline@plants-knowledge.com.
- Public 2023-12-17 03:39.
- Last modified 2025-01-24 12:45.
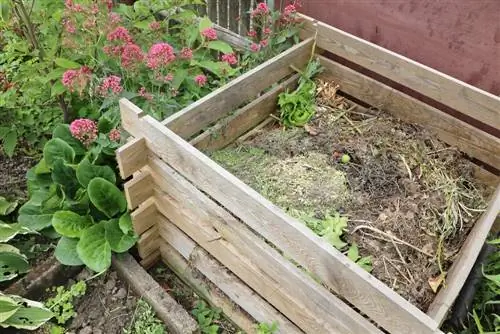
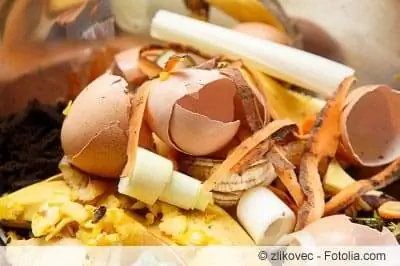
Composting creates nutrient-rich humus from garden and kitchen waste, fallen fruit, grass and shrub cuttings. This can be applied again in the garden and the important components remain in the cycle. Cultivated garden soil is considered to be heavily used soil. It requires regular supply of humus. If you follow our tips and implement the compost heap correctly, your plants will benefit from the humus source in your own garden.
Why turn compost?
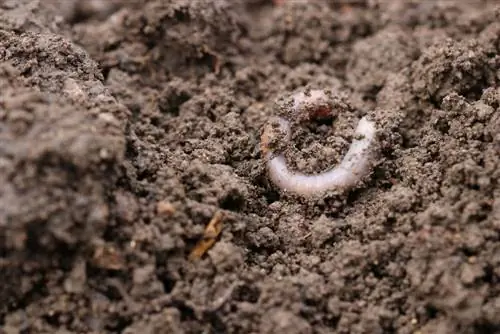
When composting, valuable humus is formed from garden and kitchen waste, grass and shrub cuttings. The decomposition occurs under the influence of microorganisms and small creatures such as earthworms. This process causes organic components to be broken down. This creates gases, water, nutrients and minerals and energy. The decomposition process in the compost heap can be recognized by its heating. At the same time, the formation of humic substances begins. These have a dark brown to black color.
Note:
Humus is a part of the soil that develops from dead organic matter. This means that humus is created not only in the compost heap, but also in the garden soil itself.
How often to implement?
There is no general rule as to how often a compost pile needs to be turned. However, at least once a year is mandatory. Very diligent hobby gardeners swear by implementation every two to three months. It is important that the more often the compost heap is turned over, the better the rotting will be.
The best time
When everything is free of ice in spring, it is a good time to implement the compost. Many hobby gardeners see composting as the perfect way to start the new gardening year. Composting requires heat, moisture and oxygen. The implementation leads to a good supply of oxygen and stimulates humus formation. All components are mixed during the implementation, and at the same time the volume is reduced. This is not unimportant. Every hobby gardener knows how much space compost takes up.
Instructions for implementing
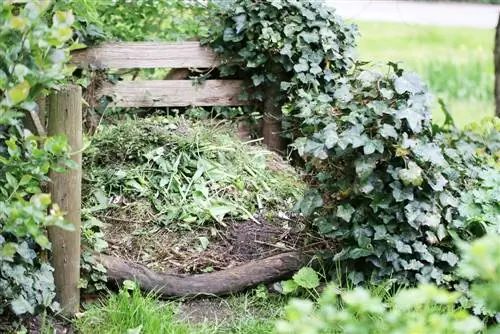
Choose a time to turn your compost after several dry, rain-free days. This is important so that the half-rotted material can be easily moved with the shovel. You will need the following tools:
- Shovel
- Digging Fork
- Compost sieve
- a new compost bin
- Work gloves
Tip:
You can easily make a compost sieve using a wooden frame and rabbit wire.
The compost sieve should be at least 80 x 80 centimeters in size. Place the compost sieve at an angle using a support. It is also possible to place the compost sieve over a compost container or a wheelbarrow. This way you can collect the nutrient-rich substrate straight away. Pour the material onto the sieve. Fine, well-decomposed material falls through the compost sieve. Very coarse components such as stones and pieces of wood get stuck. Remove the stones and fill the coarse, not yet rotted material into the second compost bin. Depending on how steep the compost sieve is, the fineness of the material to be sieved is determined. The steeper the sieve, the finer the sieved substrate.
Tip:
Add a few scoops of the fresh compost soil to the new compost heap to start the coarse material. This accelerates rotting.
Composting time
A compost heap takes on average ten to twelve months to rot. The composition and nature of the components are crucial. “If it lasts a long time, it will be good” doesn’t necessarily apply to compost. If you leave your compost heap for significantly longer than twelve months, the nutrient content will decrease. Therefore, use the compost soil as quickly as possible after it has matured.
You can further optimize rotting if you ensure sufficient moisture. Just like heat and oxygen, irrigation is crucial for the quality and maturity of the compost during prolonged drought.
Tip:
If you need your compost faster, commercially available compost accelerators may be helpful. This supplies your compost pile with nitrogen, which is necessary for decomposition. Even for materials that are difficult to compost, such as autumn leaves or wood chips, it is worth adding a compost accelerator.
The cress test
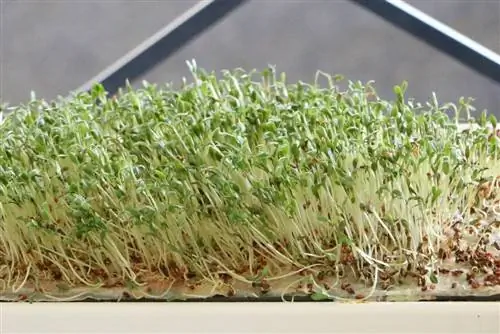
If you are not sure whether your compost soil is ripe, check it with the cress test. Spreading too early damages the sensitive young plants.
Instructions:
- Fill the mason jar up to 5 centimeters below the rim with sifted compost soil
- Sowing cress seeds
- Moisten the soil
- Cover the jar with a lid
- strong, bright, widely branched roots indicate compost maturity
- brown weak roots and yellow cotyledons indicate immature compost
Apply compost soil
Freshly sifted compost soil is almost black and smells pleasantly like forest floor. Sieving separated solid components such as stones and non-rotted wood from the finished humus. So after sifting you have a nice supply of fine, crumbly soil.
Applying in spring
In the spring, before the beds are tilled, is a good time to spread the nutrient-rich compost soil. Fill your garden soil with the valuable substrate and the exciting time of sowing, planting, growing and thriving can begin! It is recommended to spread around three liters of compost to one square meter of bed area in spring.
Applying in autumn
In old gardening literature, autumn is named as the optimal time to spread compost. Spreading in autumn has some advantages:
- Compost soil freezes completely
- Pests are killed
- Beds just need to be raked smooth in spring
- Compost has a perfect texture due to the frost in winter
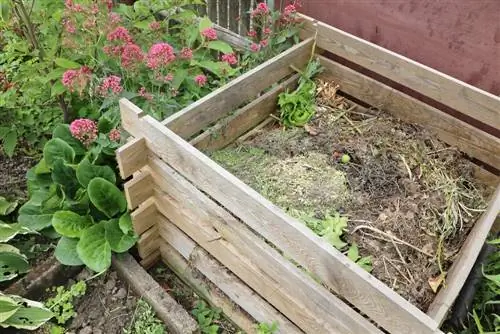
Spreading fresh compost in autumn corresponds to the natural cycle. In nature, humus forms on the surface from falling leaves. The nutrients are continuously supplied to the circulation. Things are different in a cultivated garden. Falling leaves, dried flowers and fallen fruit are removed from the beds. This means that the humus reserves on the beds are used up every year and have to be replenished. Heavy rainfall in autumn can significantly reduce the nutrient content of the applied substrate.
Tip:
Many gardeners spread the valuable compost soil both in autumn and early spring.
Consider various requirements
It is recommended to add small amounts of compost to the beds all year round to ensure an optimal supply of nutrients. Heavy feeders such as strawberries, tomatoes, cucumbers, beets and all types of cabbage can tolerate additional compost well. Pansies, violets, primroses and daisies, on the other hand, thrive best in poor soil. Adding compost tends to have a damaging effect on these plants. Rhododendrons also do not tolerate compost.
Attention:
Compost soil contains many weed seeds. Ordinary, open compost heaps do not generate enough heat to completely kill the weed seeds. For this reason, it is advisable not to just add the fresh compost to the beds superficially, but to incorporate it thoroughly. A superficial application would cause the weed seeds to germinate quickly.

