- Author admin caroline@plants-knowledge.com.
- Public 2023-12-17 03:39.
- Last modified 2025-06-01 06:48.
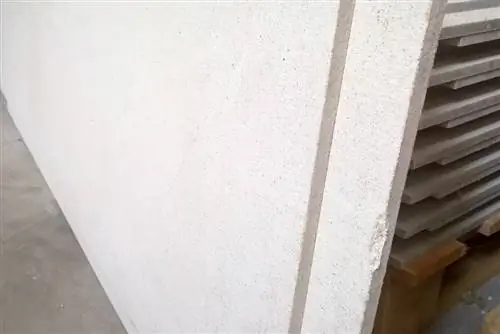
Fermacell panels are gypsum fiber panels made of gypsum and paper fibers. They are comparatively light, more stable than plasterboard and meet high fire protection requirements. In addition, they are easy to install, can be walked on immediately after the adhesive has dried, are suitable for wet areas and are cost-effective. The plates therefore have numerous advantages. However, there are some special features that need to be taken into account when processing and laying.
Crop
The appropriate tools and utensils are required to cut the panels. These are:
- Records
- Pen for drawing
- Measuring tool
- Hand-held circular saw, plunge saw or jigsaw
- Respiratory protection
- Safety glasses
- Sandpaper or sander
- Clamps or screw clamps
Tip:
The advantage of the plunge saw - a special type of hand-held circular saw - is that the cutting depth can be adjusted. This means the panels can also be cut on a table. Cutting with a jigsaw is possible, but it usually produces messy cutting edges and making straight sawing is much more difficult.
Cutting step by step
- The dimensions are transferred to the plates and marked.
- The plate is fixed to a table with clamps or screw clamps so that it cannot wobble or slip during sawing.
- If a plunge saw is used, the cutting depth is adjusted. It should be one millimeter larger than the thickness of the plate.
- The panels generate a lot of dust when sawing, which is why breathing protection and safety glasses should be worn. It is also a good idea to cover your hair so that the dust doesn't get caught in it.
- The Fermacell panels are cut along the drawn lines.
- If necessary, the cut edges can be smoothed with a sander or a piece of sandpaper.
Preparations
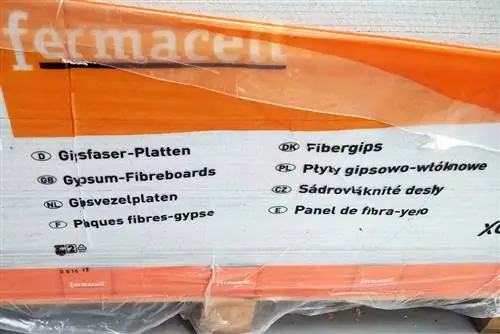
Before the Fermacell panels can be laid, not only the panels themselves but also the floor must be prepared accordingly. The following factors must be taken into account:
Temperature
The panels should not be laid if the temperature is below 5°C. It is also important that the panels can take on the ambient temperature. They should therefore be stored in the room in question for at least a few hours.
Glue
The temperature also depends on the adhesive. It cannot be processed below 10°C.
Moisture
Some variants of Fermacell panels are suitable for use in wet areas. However, when laying, care must be taken to ensure that there is no high humidity. The limit is 80 percent humidity. The surface must also be dry.
Underground
The surface must be level. If it is not yet, special leveling compounds from Fermacell should be used. Only after these have completely dried can you begin laying. In any case, make sure that the surface is clean, dry and free of solvents.
Laying - step by step
Once all preparations have been made, the Fermacell panels can be laid. Proceed as follows:
1. Edge insulation strips are installed. These must be designed in such a way that they completely decouple the floor from the wall. They serve to avoid sound bridges.
2. If necessary, the leveling fill, honeycomb fill or fill should be done now. You work towards the door so that you don't have to step on the surface.
3. When the fill is ready, laying can begin. Away from the door or towards the door - both are possible. It is important that it is carried out in a slow formation with a joint offset of at least 20 centimeters. This means that the joint between two panels must be at least 20 centimeters away from the joints in the next row. In addition, the first row should be aligned using a straightening step or a string so that any unevenness in the walls is not transferred to the floor.
4. Laying begins on the long side of the room. With the first Fermacell panel, the folds are removed on one long and one short side. For the second and each subsequent Fermacell panel, the fold is only removed on the long side. For the last panel, fold again on one long and short side so that the panels fit correctly against the wall or the insulation strip.
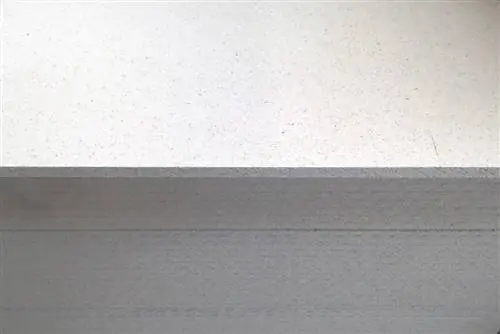
5. Two adhesive cords with a diameter of around five millimeters are applied to each shiplap. With Fermacell screed adhesive this is possible in one step. The next panel is placed and loaded with your own body weight to ensure a secure connection of the folds.
6. The panels can then be screwed together immediately after gluing or connected to each other using special expansion clamps.
7. After installation and when the adhesive has dried, protruding adhesive edges can be removed using a spatula or an adhesive scraper.
8. As soon as the floor is accessible, the edge insulation can also be removed.
To increase the load-bearing capacity of the floor, the gypsum fiber boards can be laid in two or three layers. The panels should be laid alternately in the longitudinal and transverse directions of the room and each layer should be glued together. The next layer should only be applied once the first layer of boards has dried, is stable and can be walked on. This depends, among other things, on the adhesive used and the drying time. However, temperature and humidity in the room also play a role.
Tip:
The drier and warmer it is, the faster the glue can dry. If you want to be able to walk on the gypsum fiber panels as quickly as possible after they have been laid, “Fermacell screed adhesive” or “Fermacell screed adhesive greenline” should be used. These dry very quickly, meaning the floor can be walked on in a short time.
Fermacell plate: 10 hints and tips
1. Select appropriate
The panels are available in different thicknesses and designs and can therefore be selected to suit the respective intended use.
2. Good preparation
The preparation should be comprehensive and correspond to the sequence of the following work steps.
3. Think about your own protection
Breathing mask and safety glasses are mandatory when sawing; gloves should be worn when using the glue to avoid skin contact.
4. Cut or break?
Sawing the Fermacell panels is easy and very quick. It also creates comparatively straight cutting edges. However, it is also possible to specifically break the plates. To do this, they are measured, marked with a bladed knife or a plate ripper and then broken off at the edge of a table or stack. However, there is a risk of corners breaking off or the breaking edge becoming irregular.
5. Low speed
If a saw is used, it should have a low speed. This can prevent damage to the material and create accurate cut edges.
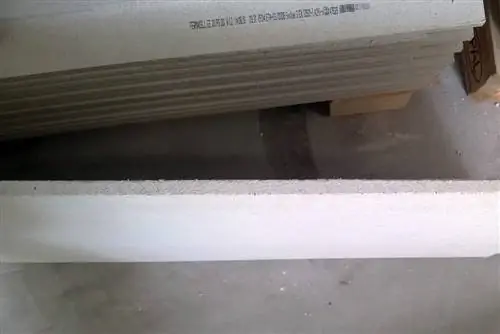
6. Suction
A suction device on the saw is ideal. If the tool is not equipped with this, an assistant can vacuum up dust and chips generated during sawing.
7. Proceed quickly
After applying the adhesive, the panels should be laid, aligned and fastened quickly. Fast working is particularly important with quick-drying adhesives.
8. Helpers are important
It is easier to cut, glue, align and fix the Fermacell panels with two people. When sawing, the helper can vacuum up dust and chips. When laying the panels, one can apply the glue while the other aligns and fixes the panels.
9. Plan carefully
In order to maintain the necessary joint offset and cut the panels to fit, the installation should be planned well. It also makes sense to create a work plan in terms of time. The better and more precise the preparation and planning, the easier the subsequent laying out and fixing is.
10. Work accurately
The processing of each Fermacell plate should be done as accurately as possible. Gaps or crooked edges can affect the stability of the floor. It therefore makes sense to lay out the panels on a trial basis so that adjustments can be made if necessary.

