- Author admin [email protected].
- Public 2023-12-17 03:39.
- Last modified 2025-06-01 06:48.
Due to their appearance and their comparatively low price, polygonal panels are often used outdoors. However, some factors must be taken into account when laying the panels.
Polygonal panels
These slabs are basically fragments of natural stone, such as:
- Bas alt
- Granite
- gneiss
- Limestone
- Marble
- Porphyry
- Quartcite
- Sandstone
- Slate
There is also a large selection of stone slabs in terms of color and texture. Same with the shape. Because these are fragments, you can find square or near-rectangular slabs to octagonal pieces in a wide range of sizes. This allows you to create creative, individual and unique mosaics.
Suitability
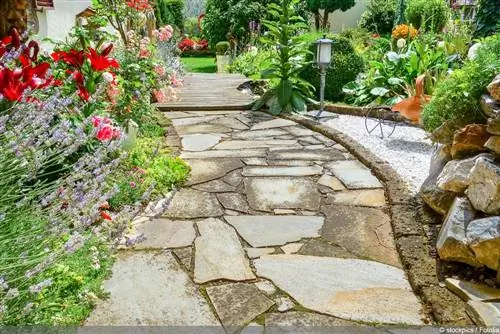
The polygon panels can easily be used for walkways and patios, floors and even walls. However, they are unsuitable for heavily used areas, such as the driveway or other paths over which cars drive.
Preparation
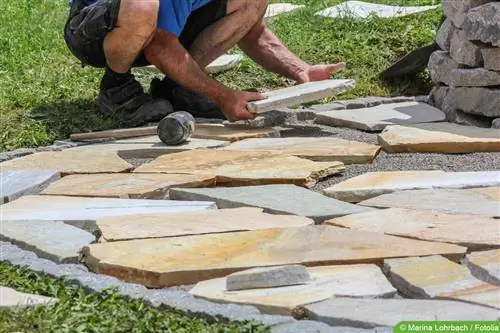
The so-called substructure is the basis for laying the stone slabs. The procedure requires a little effort, but ensures the stability and durability of the panels. No matter which of the two variants is chosen, the preparation is almost identical in each case. The procedure is as follows:
- First, the dimensions of the path or terrace are measured and marked out. Simple sticks and a string can be used for this. The cord is simply tied to the rods as a demarcation. With these tools you can draw straight lines very easily, cost-effectively and efficiently.
- The next step is to dig 20 to 22 centimeters of soil into the marked area.
- Then both the edges and the substrate should be solidified. This can be done with vibrating plates or with a stable board and weights. However, an electric vibratory plate is more efficient and can in many cases be rented from a hardware store.
Substructure - unbound
The unbound substructure consists of a bed of gravel, laid stone slabs and joint compound. Our step-by-step instructions show how to do it:
- First, add a layer of coarse gravel to the prepared surface, followed by grit and sand. The layers are again compacted with a vibrating plate.
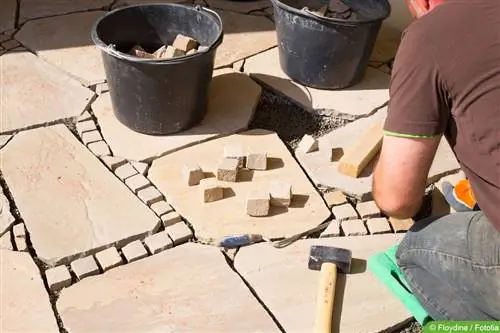
- The polygonal panels are aligned on this surface or gravel bed in such a way that a beautiful mosaic is created. For this purpose, larger and smaller slabs can be alternated or an edge made of smaller stones can be placed to surround large pieces.
- If you like the arrangement, the joints can be filled with either sand or joint compound. The advantage of sand is that the path or terrace remains permeable. This means that the water can drain away better. The disadvantage, however, is that cleaning the joints is more difficult and the sand can be washed into the gravel bed - meaning the joints have to be filled up again. Joint compound represents a somewhat more durable alternative. However, filling it is a little more complicated than with sand.
Substructure - tied
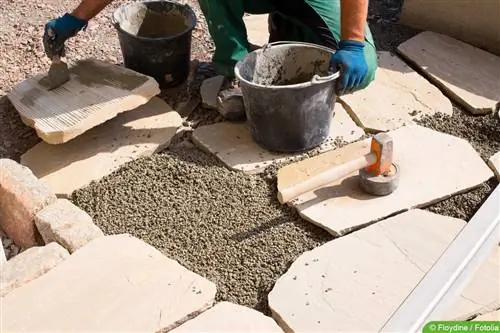
There are two variants of a bound surface. However, Trass cement is used in both. This is how it works:
- After preparation, you can choose to pour the concrete directly into the pit and smooth it or to create a bed of gravel beforehand. To do this, first gravel and then grit are filled in and also solidified with the vibrating plate.
- Before the trass cement is poured, the order must be determined and the pattern laid. To do this, the stones are placed in the desired formation and provided with numbered sticky notes or masking tape. They should then be photographed so that there is a visual orientation for maintaining the exact distances and the respective lying direction.
- Once the pattern of the slab mosaic has been determined and recorded both by markings and photographs, the stones must first be removed from the gravel bed or from the pit.
- The cement can be applied once the chippings have been solidified with a vibrating plate. It is advisable to only spread and smooth it out enough so that the stones can easily be placed on top and checked with a spirit level to ensure they are lying flat. Otherwise they could become tripping hazards.
- When the cement has completely dried, the polygonal panels can be walked on and are ready for the grout to be inserted. To do this, the prepared or mixed mass is simply placed in the spaces between the stone slabs and smoothed with a spatula. If any of the grout gets onto the stones during this step, it should be removed immediately with a damp cloth. Because as soon as it dries, cleaning the plates is very difficult.
Cutting and shaping
A further advantage of natural stone slabs, in addition to the attractive appearance, the comparatively low price and the non-slip surface even in damp weather, is that they can be shaped relatively easily before laying. This is necessary, for example, if you cannot otherwise create an attractive pattern with them or if they would protrude over the edge of the path or terrace. There are basically two different techniques possible:
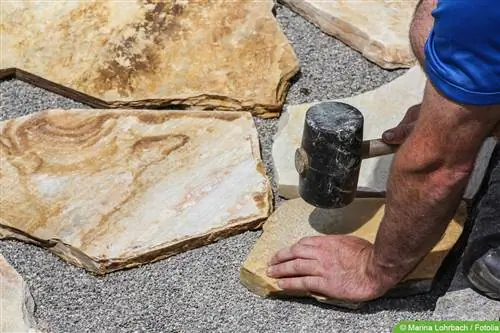
Hammer and chisel
For one thing, pieces can be broken off with a hammer or a hammer and chisel. The advantage is that the process is quick and easy. In addition, natural-looking, rough break edges are created. The potential disadvantage, however, is that targeted shaping is not always possible as desired. Because sometimes the stones break differently than planned and desired.
Saw
The second technique involves using a diamond saw. This allows the stone slab to be cut into the desired shape. The advantage is that even pre-drawn edges can be sawn precisely. However, the effort required for this is greater and higher costs must be expected for the necessary equipment and protection during work.
Tips and Tricks
- Mini excavators are ideal for excavating earth in larger areas
- the work should be carried out on a dry but not too warm day
- waterproof tarps help keep the area dry if unexpected rain occurs
- On terraces, ensure that the water drains away from the house at a gradient of two percent

