- Author admin [email protected].
- Public 2023-12-17 03:39.
- Last modified 2025-01-24 12:45.
It is of course important that the indoor pond is tight. Leaking water can cause significant trouble. To be on the safe side, anyone who lives in a rented apartment should ask their landlord whether they allow the use of an indoor pond. Of course, you don't have to do this with a mini pond in a container, but if you're planning a larger project, it's better to ask. You should also consider the statics. Depending on the capacity of the pond, it can add up to quite a bit of weight. As with a balcony, the floor must be made to withstand it, otherwise water damage is inevitable.
Indoor ponds can be used all year round. They are therefore ideal for exotic plants that need warmth all year round. They are also suitable for exotic ornamental fish, but must also be large enough for the fish stock. Indoor ponds are ideal for turtles and a good alternative for aquariums. A winter garden is a good location for an indoor pond, as there is still a lot of light available there even in winter. Alternatively, you can also use artificial light.
Options for an indoor pond
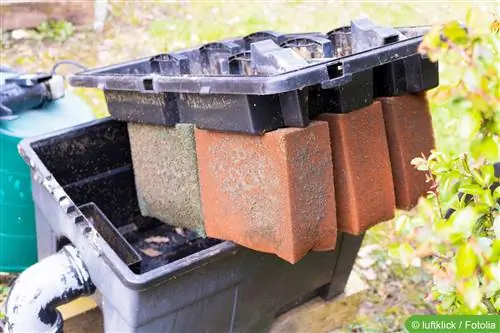
There are different ways to create an indoor pond. A simple mortar pot with plants on it often helps for beginners. These buckets are definitely leak-proof and you don't have to worry about water damage. Different planting zones in the pond can be achieved using bricks, clinker bricks or similar. If you are bothered by the look of the bucket, you can also dress it up. A wooden frame makes the black container disappear. A frame should be placed at the top to conceal the gaps between the round container and the square paneling.
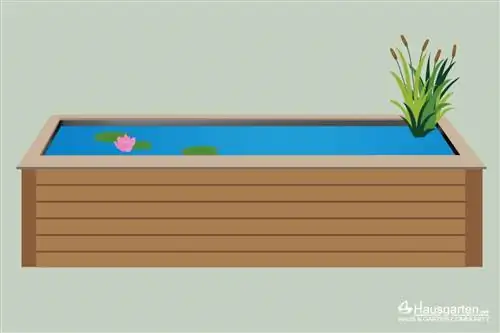
An alternative are the pond tubs or pond bowls, which are intended for installation in the garden soil. It can also be used as a raised pond by building a frame around the bowl that supports it and keeps it straight. Elevated ponds, which are sold ready-made in stores, are similarly inexpensive. They consist of a frame made of wooden strips held by hot-dip galvanized steel elements. Pond liner is used inside. Of course, this is not as stable as a pond tub.
Tip:
Ready-made indoor ponds are also available in stores, stable and with everything you need.
Build your own indoor pond
The easiest way is to use a finished pond basin, preferably made of GRP, i.e. glass fiber reinforced plastic, and to cover and support it. All you need to do is cut the outline of the pond out of an appropriately sized, waterproof base plate sealed with liquid plastic and place the pond there. It is important that the pool is not placed directly on the floor, as the water load will be too pressing and the pool will bulge. This happens when the pages are exposed. It is therefore absolutely necessary to support them. Simple wooden slats are usually sufficient for this. For larger pools, however, extensive support is necessary all around. To create a more beautiful image, covering the sides or all around is recommended.
Install GRP pool
Building the wooden frame is actually easy, but if you really don't have a lot of craftsmanship, there are other ways to help yourself. A simple sandbox frame can be used as a frame, as is available in stores everywhere. These wooden sandboxes are ideal if you don't want the indoor pond to be too high. Kits are also available, e.g. for a raised pond or raised bed. These can also be used and are higher than the sandpit.
If you build the frame yourself, it is best to use pressure-impregnated boards. These can be sawn to size depending on the desired size of the indoor pond.
Build scaffolding

The scaffolding consists of a corresponding base plate (OSB plate) and one or two frames. If the indoor pond is quite shallow, one frame is enough; if it is taller, two are better. The frames can be the same size, but they don't have to be. If you are planning an indoor pond for your turtles, you should make the top frame larger to avoid steep walls. Slight slopes are easier for the animals to manage and the pond looks more natural without steep walls. The frames are attached to the base plate at all corners. Support boards should also be attached to the sides. The frame must be stable because it ultimately has to hold the weight of the pond.
Styrodur as a base
The pool should not be placed directly on the floor. It is better to have a flexible base so that the water pressure cannot cause any damage or dent the pool. A thick Styrodur plate is best suited for this.
Secure pools at contact points
So that the GRP pool is not damaged by the high pressure, the points of contact with the wooden frame should be protected. This is also important for sound insulation. It's best to use foam tape.
Cover sides with Styrodur
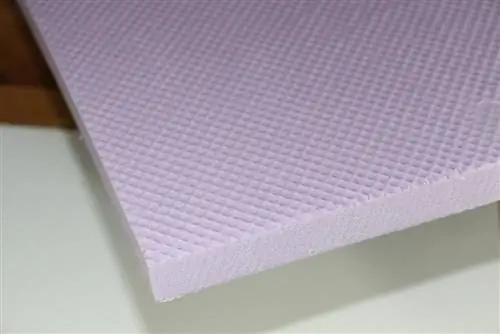
All sides will also be covered with Styrodur panels. The entire frame is closed, except of course at the top, where the basin is inserted.
Prepare electrical system
Since cables, pipes and hoses are not exactly a visual highlight, they should be largely invisible. That's why it makes sense to hide them. Connect a small frame right next to the already built frame and close it with a board. It is best to place the technical part at the back end of the pond, directly in front of a wall. If the indoor pond is placed freely, i.e. not in front of a wall, it doesn't matter where you attach this part. Holes must be cut out of this board for the cables, pipes, etc.
Insert cymbal
After the preparatory work has been completed, the pool is inserted. It must be fitted correctly and must not slip when filled later, otherwise water can leak.
Connecting technology
If you want to work with technology, you now have to make the connections. Depending on this, this can be the water connection, power connection, filter, pump, light, etc. You have to be careful with water and electricity. If you have no idea, you should let a professional do it for you.
Fill water
First just let in about 1/3 of the water and see what happens. Leave it for 1 to 2 days so that the whole scaffolding has the opportunity to swing out.
Disguise the front
The visible outside sides should be covered with profiled timber. It's a visual thing. There are certainly other solutions for this.
Fill up the water and put the technology into operation
After the exterior of the pool is finished, the pool can be left full. If you want to use plants, it's better to do it beforehand. It is easier. Then the technology is put into operation. Hopefully everything works as planned.
Conclusion
An indoor pond is a great thing. Small ponds usually do not pose a problem. Larger indoor ponds can be difficult in terms of statics, which is why you should first calculate the final weight of the pond and determine the statics. The easiest way is to buy a ready-made indoor pond. There are already some on offer that are quite attractive. If you want to build your own, you should pay attention to safety. If a few 100 liters of water leak out, it usually causes quite a bit of trouble. Pond liner would be too risky for me in this context, but everyone has to know that for themselves. Prefabricated pools appear more trustworthy.

