- Author admin [email protected].
- Public 2023-12-17 03:39.
- Last modified 2025-01-24 12:45.
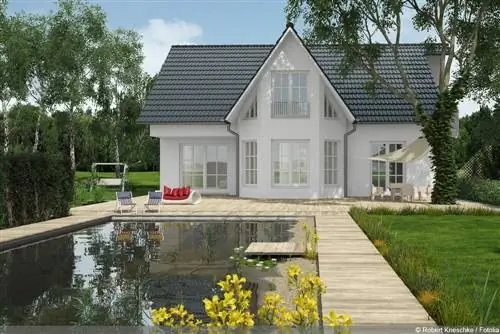
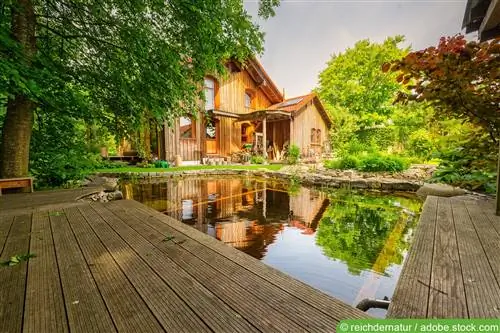
Who doesn't think about jumping into the cool water when the garden pond glitters seductively in the sunlight? Gardeners with skilled craftsmen fulfill their dream of having their own swimming paradise by quickly making the pond swimmable. Thanks to the living sewage treatment plant, the natural character is preserved without having to resort to chemical additives. This guide explains how to convert your pond into a swimming pond in 8 steps.
Planning and preparation
Redesigning your garden pond will be a successful project if you devote yourself to detailed planning in advance. It is important to obtain well-founded answers to important questions and to collect reliable information. The focus is on the following topics and questions:
- Does the conversion require approval?
- Are the pond size and depth sufficient or is excavation necessary?
- Are suitable transitional quarters available for fish, small creatures and aquatic plants?
- How many helpers are available?
- Should a bathing pond be created without technology, with little technology or with full technical equipment?
- What digital planning aids are there?
Depending on the feedback received and data collected, the planning leads to tangible preparatory work. This includes measures such as renting mini excavators and dirty water pumps, recruiting helpers, purchasing materials, accessories and plants for the regeneration area.
Tip:
To start the morning with a few strong swims, we recommend a swimmable area of at least 40 square meters. An equally large area is added for the plant area as a natural sewage treatment plant. If the right equipment such as filters and pumps is available, the concept can be implemented even for a three by three meter small bathing pond.
Relocating fish and microorganisms
Before you rebuild your garden pond, its animal inhabitants move to temporary quarters. An aquarium or basin that you fill with pond water is suitable for fish and small creatures. Please do not use tap water. Most aquatic organisms cannot survive a sudden change to water quality with serious differences. Also make sure you have a powerful filter and a continuous oxygen supply. Choose a partially shaded location that is protected from direct sunlight.
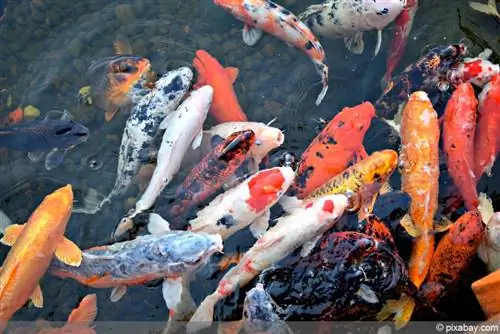
In the large garden pond, you won't be able to catch all the fish and small creatures with the landing net right away. You will be able to catch the remaining specimens stress-free when the water level drops. Fish adapt to the water level and gather in what remains in the middle of the pond.
Drain pond
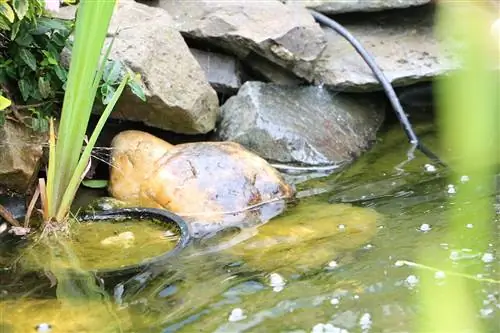
It doesn't make sense to use existing pond liner for the renovation work and stick on additional liner. With this procedure, leaks and cracks are inevitable. Instead, completely remove the old pond liner to include the pit in the renovation plans and line it with new, tailor-made liner. How to properly remove water, plants and foil:
- Put the dirty water pump in a plant basket
- Pump out water without it running into the basement, onto the street or onto the neighboring property
- Examine ponds made of residual water for animals and relocate them
- Slit the pond liner with a sharp knife so that the remaining water seeps away
- Put aquatic plants in the transitional basin that is filled with pond water
You won't be able to remove the pond liner without further ado. The older a garden pond, the thicker the layer of mud at its bottom. You will not be spared from having to shovel the accumulated mass from the bottom of the pond. This is less strenuous if you let the mud dry for a few days. Since it is exclusively organic waste, you can dispose of the excavated waste in the compost. The old pond liner should now be able to be pulled out. If it is PVC film, please dispose of the leftovers as hazardous waste.
Dredging
The pit for a swimming pond should be at least 2 meters deep so that you don't hit the ground with your knees later and kick up clouds of mud. The regeneration area for natural water purification is made up of different levels, from the swamp area with a depth of 0 to 50 centimeters to the deep water area with a depth of up to 1 meter. If excavation work is required, a mini excavator will take over the strenuous work for you.
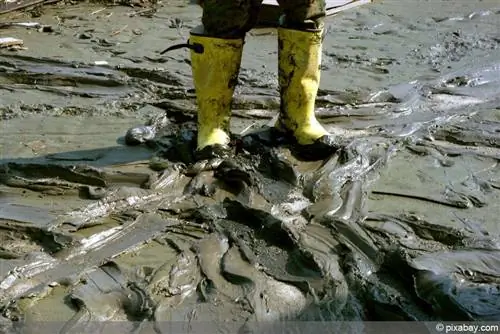
You and your helpers can transport the heavy earth in a way that is easy on your back and saves energy with a motorized mini dumper that you can rent.
Creative home gardeners don't spend money to dispose of dredged soil. The excavation can be used to create decorative walls and hills with imaginative planting, such as an Alpinum. Furthermore, the topsoil is perfect for pond edge design.
Tip:
The time window for the renovation work is open from March to September. Spring and summer offer aquatic plants perfect conditions for rapid growth above and below the water surface.
Create a separation wall
A swimming pond consists of a bathing zone and a planted relaxation area for natural water treatment. Both areas are separated by a barrier whose height is dimensioned to ensure a continuous exchange of water. You can either create a dividing wall made of concrete, plastic or specially treated wood. It is important to note that you use a material that can withstand water over the long term.
Pull the dividing wall up on a strip foundation to 20 centimeters below the water level. In this way, water exchange is guaranteed without having to install a separate hose and pump system. Only a standard pond pump and a pond filter are recommended so that water can circulate and oxygen can be supplied.
Laying swimming pond liner
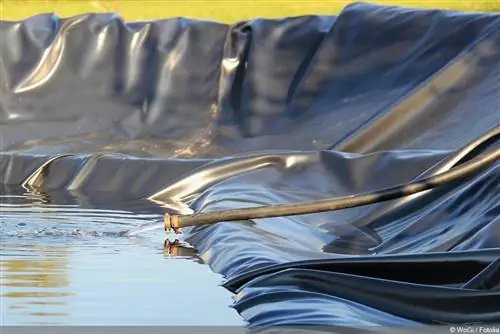
Line the pit on both sides of the dividing wall with a high-quality pond liner. The material should be tear-resistant and frost-resistant and have high elasticity. With a smooth substructure you can effectively prevent damage. This is how you lay swimming pond liner in an exemplary manner:
- Create pond edges on one level (measure with spirit level)
- Remove stones, roots and sharp objects from the pond bed
- Spread a layer of sand and cover with garden pond fleece
- Spread out the swimming pond liner and pull it over the hollow
- Lay parallel strips overlapping and weld them together
- Cover the edges of the foil with stones and soil
- Lay out pond edge tape as a capillary barrier
You can measure the required size of the swimming pond liner with a tape measure that you lay out on the bottom of the pond. Alternatively, calculate the length and width using these two formulas: Film length=pond length + 2 x pond depth + 50 cm edge allowance. Film width + 2 x pond depth + 50 cm edge allowance. If you convert your garden pond into an asymmetrical swimming pond, special pond liner calculators from various manufacturers provide reliable results.
Fix the substrate
Different floor coverings are used on both sides of the separation wall. Cover the pond liner of the later regeneration zone with filling sand and special pond soil. In this substrate, aquatic plants can root well and grow he althily. Gravel has proven to be an excellent floor covering for the swimming area in practice.
You are playing it safe if you armor swimming pond liner instead of covering it with loose material. If children and adults regularly frolic in the swimming pond, damage is foreseeable. Furthermore, UV radiation is poison for every pond liner. You can avoid the risks with a coating of NaturGart pond construction mortar. The special mortar mixture is available in different colors that can also be mixed together. Pond construction mortar is applied to a composite mat, which you attach to the previously laid pond liner with adhesive strips. Using a rented mortar machine, you can armor several hundred square meters of swimming pond liner in one day. The result is an almost indestructible pond bottom with a natural appearance.
Plant regeneration zone
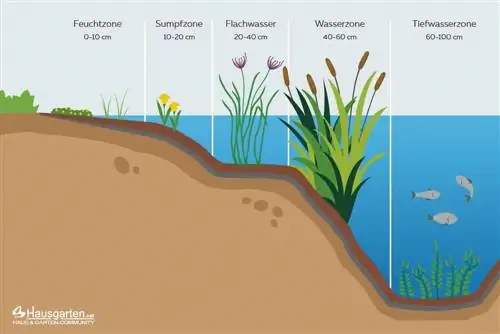
As a natural sewage treatment plant, the regeneration zone plays an important role when you convert a pond into a swimming pond. Steps at different heights from 0 to 100 centimeters allow for varied, decorative and effective planting. Let the following recommendations inspire you for the perfect planting plan:
Wet zone (0 to 10 cm)
- Swamp marigold (C altha palustris)
- Bachbunge, Bach Honor Award (Veronica beccabunga)
- Eriophorum vaginatum
Swamp zone (10 to 20 cm)
- Native Marsh Iris (Iris pseudacorus)
- Dwarf cattail (Typha minima)
- fever clover (Menyanthes trifoliata)
Shallow water zone (20 to 40 cm)
- Swan flower (Butomus umbellatus)
- Zebra ledge (Scirpus lacustris)
- Dwarf water lily (Nymphaea tetragona)
Water zone (40 to 60 cm)
- Spring Water Star (Callitriche palustris)
- Pond rush (Scirpus lacustris)
- Reed (Phragmites australis)
Deep water zone (60 to 100 cm)
- Thousandleaf (Myriophyllum spicatum)
- Water crowfoot (Ranunculus aquatilis)
- Lampweed (Potamogeton lucens)
Plants in swamp and shallow water areas fulfill the important function of enriching water and soil substrate with oxygen. All microorganisms occurring in the swimming pond benefit from the optimized gas exchange. In a swimming pond with little treatment technology, the area within the rest zone should be 50 to 100 centimeters deep and particularly large. Various types of underwater plants primarily ensure premium quality pond water. The plant species mentioned can absorb nutrients directly from the water, depriving algae of their livelihood. In return, the floral cleaning squadron is characterized by strong growth. By regularly thinning and trimming the plants, you can easily keep the spread under control.

