- Author admin caroline@plants-knowledge.com.
- Public 2023-12-17 03:39.
- Last modified 2025-01-24 12:45.
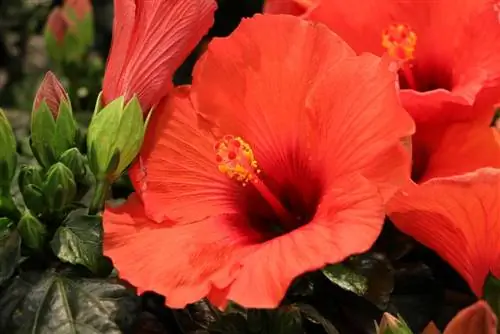
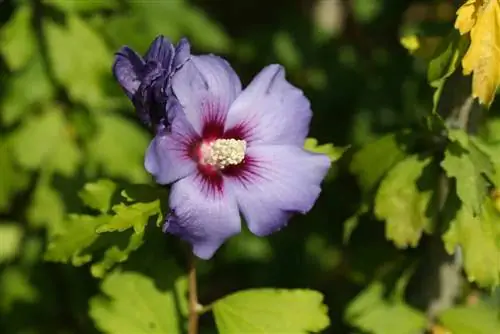
The garden hibiscus, also known as the garden marshmallow, grows as an upright, funnel-shaped shrub or standard tree and can reach heights of between 150 and 250 cm. Its greatest beauty is undoubtedly its fascinating flowers. Their color spectrum ranges from white and yellow to pink and red to violet and various shades of blue. In addition, some varieties impress with a different colored eye. They are the star in Mediterranean, English and country gardens and, as a flowering hedge, are the perfect protection from prying eyes.
Plants
The best time to plant garden hibiscus is in spring, as some of the plants are still a bit sensitive to frost at the beginning. This gives the plant enough time to grow well until winter. It always starts with soil preparation.
- Soil should be warmer than 15 degrees at the time of planting
- First loosen up the planting area thoroughly
- Remove stones, larger root residues and similar ground obstacles
- Then dig out the planting hole
- Base on the size of the root ball
- Dig a planting pit twice the depth and width of the bale
- Mix the excavated soil with some mature compost before filling it in
- Gravel drainage on the bottom of the planting hole ensures better water drainage
- Now insert the marshmallow straight in place
- Then fill with excavated earth and pour in
Planting distances from other neighboring plants should be around 80 cm and, when planting hedges, around 50 cm away. In addition, when planting in a bucket, make sure there is drainage as the bottom layer in the pot, this is the only way to avoid waterlogging. In the pot, these plants reach heights of around 100 cm.
Care requirements
The plants belonging to the mallow family are among the easier to care for garden residents. Nevertheless, major mistakes in care can also harm the garden hibiscus and affect flower formation. Particularly important factors here are the right location and the right amount of watering and fertilizing.
Location
There are well over a hundred species of hibiscus, but one thing all varieties have in common is that they love warm and full sun locations. For example, locations on sheltered terraces and garden courtyards are recommended. It can also complement flower hedges and perennial borders. If the garden hibiscus is in a place with too little sun or light, it will only bloom sparsely or, in the worst case, not at all. Locations that are draughty and unprotected from cold easterly winds are also not so good for him.
Even if the attractiveness of this flowering plant is best shown as a solitary plant, it can be combined very well with plants such as lilac or weigela. The radiance and attractiveness of a standard tree is further enhanced by planting under it with bush mallows, floribunda roses, early bloomers or lavender. The design and combination possibilities with this extraordinary plant are almost inexhaustible.
Tip:
Underplanting a garden hibiscus with lavender or thyme can help repel aphids.
Floor
These plants are not quite as picky and demanding when it comes to soil conditions. It should definitely be well-drained, moderately rich in nutrients and humus and moderately moist. Water should be able to drain easily at all times and waterlogging should be avoided. Sandy-loamy soils are advantageous; frost tolerance is highest here in winter.
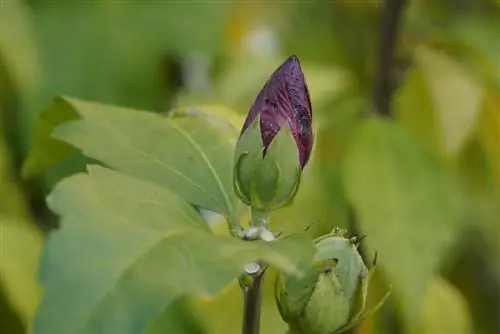
The permeability of very heavy and clayey soils can be significantly improved by adding sand and/or fine gravel. On the other hand, very poor soil can be improved with compost. A soil pH value between 6.5 and 7.5 is optimal, so it should be neutral to slightly acidic. Commercially available potting soil and potting soil are very suitable for potted plants.
Pouring
Young plants as well as freshly planted or transplanted specimens initially require a comparatively high amount of water and should be watered regularly in the first few weeks and months. The soil should neither dry out nor be too wet, even with older plants. While drought can lead to leaf and bud drop, rotting roots are usually the result of too much moisture.
- Allow the top layer of soil to dry before each watering
- This protects against longer dry phases and permanently wet floors
- Always take into account the natural rainfall and weather conditions
- In a rather cool and rainy summer, water less often and less
- Water significantly more during a very dry and hot season
- Sandy soils need to be watered more frequently
- Such soils dry out more quickly in summer
- This also applies to the substrate for potted plants
- The substrate dries out faster in the pot than in the garden
- Always remove excess water from the coaster quickly
With a layer of mulch on the planting or root area you can protect the soil in the garden from drying out too much and also suppress the growth of unwanted weeds.
Fertilize
So that one of the most attractive flowering trees can produce colorful flowers in the largest possible number from summer to early autumn, it needs to be regularly supplied with nutrients. Additional fertilization can be dispensed with during the planting year. This also applies to freshly repotted plants, because commercially available container plant or potting soil is mostly already pre-fertilized.
Later, provide the plants in the garden with compost or another organic fertilizer once in the spring and, if necessary, again in the summer. Potted plants are fertilized 1-2 times a month from April to September with a suitable liquid fertilizer. Some experts even recommend using a special tomato fertilizer to make the plants bloom particularly beautifully.
Cutting
In order to be able to enjoy a lush abundance of flowers year after year, to achieve more compact growth or to prevent the plants from aging, they should be trimmed regularly. In the first 5-10 years, however, pruning can usually be avoided.
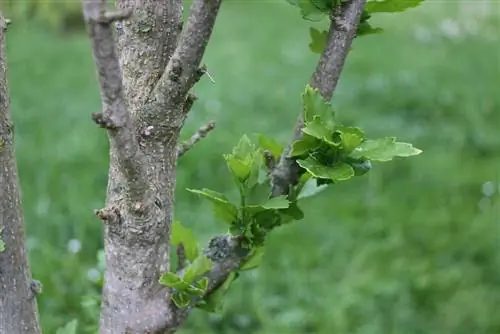
Since garden hibiscus are summer bloomers that produce their flowers on new wood, they should be cut in the spring before budding if possible. Depending on the condition and age of the plants, different pruning measures may be necessary. What is meant, for example, is an upbringing, maintenance and rejuvenation cut. There is also the cutting of a hibiscus hedge.
Educational Cut
The training pruning serves primarily to encourage young plants to branch better. Accordingly, when planting, you completely cut out all weak, dead and damaged shoots or branches and shorten the remaining ones by about half.
Raising to be a standard man
To grow a standard tree from a marshmallow, it requires some patience and skill, because the whole thing takes place over several years.
- After planting, choose a central, straight and strong central shoot
- This middle shoot will later become the main stem
- Remove all other base and side shoots on the main trunk
- Remove both to a height at which the crown should develop
- The main shoot remains completely untouched
- In the following years, cut away all competing shoots at the base
- This also applies to all new shoots that form on the main trunk
- Once the trunk has reached the desired final height, it can also be trimmed
- For a beautiful crown shape, shorten the main branches in the crown area to a few eyes
Tip:
It is easiest to train young plants to form a standard tree; this is where the growth form can be influenced most easily.
Conservation cut
Pruning of shrubs means that only diseased and dry branches are removed and weak and too large branches are shortened to just a few eyes. Isolated branches that are only strong on one side are cut off at a well-branched point in the lower area.
The situation is similar with high tribes. If the crown has already developed well, only dry and weak shoots will be cut out in the future. Shoots that bloomed the previous year are shortened except for a few eyes. If the crown becomes too dense over the years, it is advisable to thin it out a little from time to time. To do this, for example, you can completely cut out some of last year's flower shoots.
Rejuvenation cut
A rejuvenation cut is usually given to older plants and specimens that have not been cut for a long time and have become lazy to flower or are already heavily bare. To do this, you can easily shorten the branch structure of bushes to 30-50 cm above the ground and remove all old, dried out shoots that are growing inwards or crossing each other. Depending on the condition of the plant, you can also remove large branches completely so that they can rejuvenate at the base and develop many new young shoots.
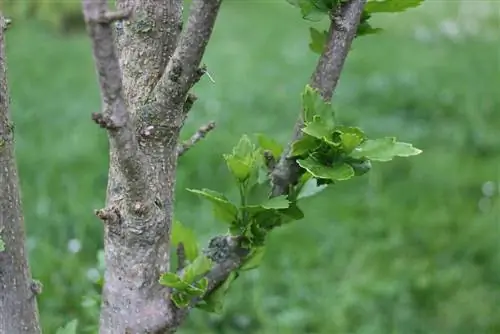
In the summer of the same year, the new shoots should be thinned out, leaving only the required shoot extensions and branches of the main shoots. After a rejuvenation cut, the flowers usually fail the following year. This is because the plants first try to compensate for the loss of substance and therefore concentrate primarily on shoot growth and not on flower formation.
Tip:
To make wound healing easier for the garden hibiscus, it is advisable to make the cuts at an angle so that the cuts are not so large.
hedge cutting
Hedge trimming should also be done in early spring, before budding. To achieve a compact hedge shape, cut it back to around two thirds every year. At the same time, dry, dead branches are cut out. A hedge cut should be as trapezoidal as possible, because this is the only way to get enough light to the lower areas of the plants so that they can develop optimally and, above all, evenly there. If you want the hibiscus hedge to grow freely, just shorten the shoots a little during the annual cut and remove old, diseased and dead wood.
Tip:
The decorative effect of a free-growing hedge is increased enormously if you alternately combine the hibiscus with evergreen and early-flowering hedge shrubs.
Relocate garden hibiscus
Hibiscus thrives best when it can grow in the same location for a long time. If it is still necessary to implement it, spring is the best time.
- First look for a sunny and wind-protected location
- The garden hibiscus should be able to stand there permanently
- Dig the new planting hole at the new location
- This should be at least 50 cm deep and wide
- Thoroughly loosen the soil in the planting hole
- If no pruning has been done yet, it can be done when planting
- With this cut, shorten the shoots by about a third
- Additionally remove withered and diseased branches
- Then dig up the plant at the old location
- Proceed with extreme caution to avoid damaging the roots
- Dig up the root ball over a large area
- Once the ball is exposed, lift the plant out of the ground
- Then water the new planting hole thoroughly
- Insert the hibiscus as deep as it was previously in the ground
- Then fill with excavated earth, tamp down the soil and water again
- Cover the planting area with compost or mulch, but do not incorporate it
- Don't let the soil dry out in the next few weeks and months
Tip:
Potted plants can also be repotted in spring, at the latest when the roots are already growing out of the drainage holes. If possible, the new pot should not be much larger than 1 cm in diameter.
Wintering
The garden hibiscus Hibiscus syriacus, also known as the garden marshmallow, is generally hardy. Nevertheless, you should keep an eye on young plants in particular during the frosty season, because their shoots are still relatively sensitive and much more vulnerable than older plants. Therefore, winter protection in the form of a cover with brushwood or leaves is recommended, especially for young plants. Despite everything, it can happen that individual shoots freeze back in winter. This usually does not harm the plants and the affected areas can be removed or pruned when pruning in early spring.relevant shoots must be cut back.
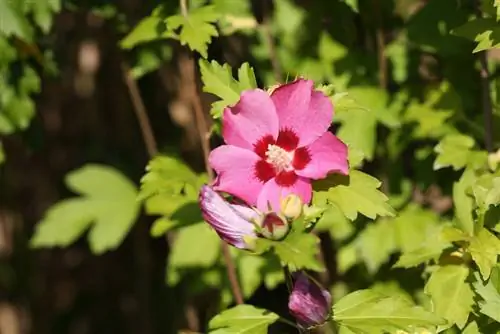
When it comes to marshmallow, the white-flowering cultivars such as 'Red Heart', 'Speciosus' and 'Totus Albus' but also blue-flowering varieties such as 'Coelestis' or 'Blue Bird' are said to be particularly robust when it comes to overwintering. They can withstand temperatures of up to minus 20 degrees. Only if the temperatures drop further, which rarely happens, do these plants also need to be protected. Varieties with variegated petals are somewhat more delicate. Garden hibiscus is only hardy to a limited extent in pots. In this case, frost-free wintering in a bright room at temperatures between 12 and 14 degrees is recommended. Watering is only sporadic during the winter.
Propagate
Sowing
Propagation via seeds has the disadvantage that the properties of the plants obtained in this way are not identical to those of the mother plant. If you still want to sow, the seed capsules should be ripe, i.e. brown, before you harvest them.
The seeds are then placed in moist sowing soil, covered with dry soil about a centimeter thick and then moistened using a sprayer. Now the substrate must be kept moist until germination and the whole thing must be placed in a bright and warm place without direct sunlight. With a bit of luck, the seeds will germinate after about 2-3 weeks and the plants can be cultivated accordingly.
Countersink
If you want to make things easy for yourself, you can speculate that the hibiscus will self-seed and you can use the finished seedlings or planters for propagation.
- To do this, spread a layer of bark mulch under the plants
- After flowering, the seed heads gradually form
- These dry on the bush and eventually burst open
- The seeds fall onto the ground or the mulch
- The bark mulch forms the ideal breeding ground
- This will develop into many small sinkers next spring
- They grow relatively quickly and some start to branch early on
The sinkers can be carefully removed and planted in small pots. They can stand in the sun straight away and will produce their first flowers after about three years.
Cuttings
The best time to propagate cuttings is in summer. During this time, the cuttings root most quickly. You cut 5-10 cm long cuttings that, at best, have three eyes. Now you can let them root in a glass of water or directly in pots with potting soil. If you decide to root in soil, it is advisable to first put the cuttings in a rooting powder and only then into the soil. To keep evaporation as low as possible, shorten the leaves by about two thirds.
Then you moisten the soil and put a translucent film over the cuttings orthe pots and put them in a bright and warm place. The film should be removed from time to time to prevent mold from forming. As soon as the first leaves appear on the cuttings, the cover can be removed. When planting the cuttings rooted in a glass of water, care must be taken not to damage the fine roots.
Diseases
Chlorosis
Chlorosis can occur when the leaves turn yellow over a large area. It is caused by locations that are too dark and cold or a lack of nutrients. It is best to ensure a brighter and warmer location and ensure an optimal supply of nutrients.
Pests
Aphids, mealybugs, spider mites
These pests can further weaken the garden hibiscus. You can often significantly reduce an infestation with a stronger jet of water. If the infestation is more severe, the plants can be sprayed with a mixture of 1 liter of water and 1 tablespoon, which must be repeated several times until the infestation is eliminated. The undersides of the leaves should not be forgotten. In addition, you can use beneficial insects such as ladybirds.
An exotic among the flowering shrubs
Garden hibiscus is quite undemanding, but a few basic things should be taken into account when caring for it. The most important prerequisites for he althy growth and lush flowering are a sunny location, well-drained soil and regular pruning. This exotic returns the favor with colorful and very elegant flowers that set unique accents in the garden and in the pot.

