- Author admin [email protected].
- Public 2023-12-17 03:39.
- Last modified 2025-01-24 12:45.
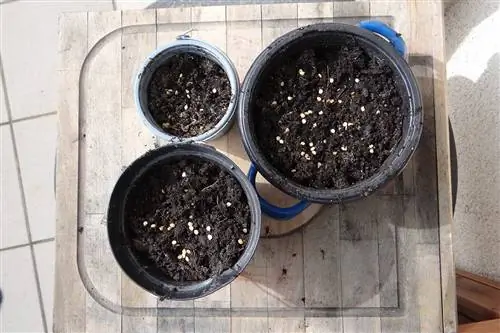
At the beginning, a single seed tray is enough to give many small pepper seeds a start into their new life. The effort involved in sowing remains manageable and the germination result can be waited for in peace. But then the pricking will soon begin. Only in a new home will the young plant receive enough light and nutrients so that further growth can proceed optimally.
Why sowing together?
Pepper seeds do not germinate as reliably as seeds from other vegetables. There are always specimens from which nothing sprouts, even after days of waiting. Other seeds only produce weak seedlings. This low germination rate means that many seeds must be sown in order to be sure to get a few usable plants. It makes sense to initially sow the seeds together in a seed tray, even if they have to be transplanted into separate pots later.
- Sowing together saves time
- a small, bright location is enough
- not many pots are needed
What is pricking anyway?
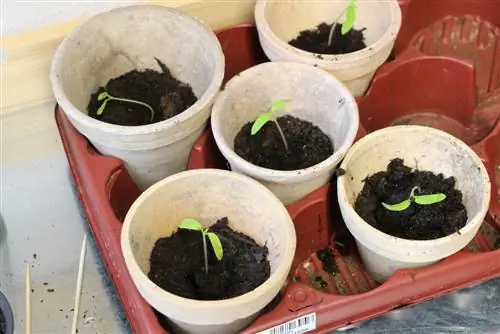
Pricking out is a horticultural term for moving seedlings into individual pots or on a multi-pot plate. These were previously germinated together in a seed tray. To move the young plants, they are “pricked out” of their surroundings using a so-called pricking stick and thus separated from neighboring plants. Stinging means “piquer” in French, which is where the term pricking comes from. In this country, hobby gardeners also use the word separating, although technically this is not entirely correct. Separating simply means repotting young plants from a multi-pot plate into separate pots.
Why pricking is necessary
The seeds that are close together have everything they need for the germination process: enough space, sufficient moisture and unhindered light. But as soon as young plants form from them, the space available becomes more and more limited with each new leaf, and they shade each other. The amount of nutrients and moisture are also very limited and are by no means sufficient to cover all needs. A competition for these growth factors inevitably follows, in which none of the seedlings really emerges as a winner and is optimally cared for.
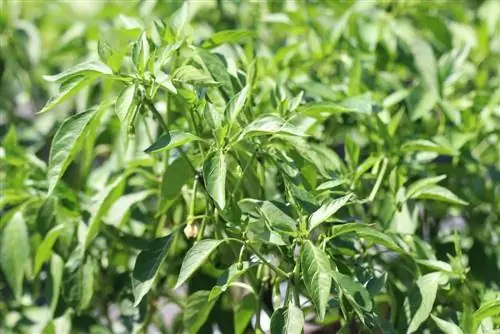
Pricking out creates ideal growing conditions by separating the plants from each other in good time and planting them in sufficiently large pots. A selection is also carried out because only the strongest seedlings promise a he althy and vital pepper plant that offers sufficient resistance to diseases and rewards us with a rich yield.
The right time for pricking
At an ideal ambient temperature of 25 °C, pepper seeds germinate after just two weeks. Two more weeks pass until the two cotyledons are joined by small leaves. Then, ideally around four weeks after sowing, the planting step is not far off. Depending on how much space the seedlings still have, you can wait a few more days if necessary.
Larger young plants are easier to handle, but pricking out should be done as early as possible. Just a few days in which the pepper plants are exposed to a deficiency will set their development back significantly.
- wait for the first pair of leaves
- afterwards you can or should prick
- the less space there is in the bowl, the sooner you prick out
Since pepper seeds are usually sown at the end of February to the end of March, the labor-intensive planting takes place from the beginning of April to the beginning of May at the latest.
Suitable pots for young peppers
When pricking out, each selected seedling gets its own pot. This should optimally match the development stage of the seedling in terms of both its texture and size. If the pot is too small, the plant cannot develop optimally and will soon have to be repotted. But this always means a disruption or interruption of growth and should be avoided. A pot that is too large, on the other hand, initially challenges root growth, while the rest of the plant thrives rather modestly.
- Use growing pots made of plastic, clay or cellulose
- ideal pot diameter is 10 cm
The ideal pricking soil
Planting soil is also the first choice for pricking out. Their high humus and sand content makes them loose and airy, but they can still store water well. But it offers even more advantages:
- Sowing soil is almost germ-free
- without fungal spores and pests
- it is poorer in nutrients
The young seedlings have not yet developed enough of their own resistance and are therefore still in good hands in the sowing soil. Without harmful germs, they can continue to develop undisturbed and he althy. The limited supply of nutrients is by no means a disadvantage; rather, it encourages the young plants to form well-branched roots in search of nutrients. This strong root development benefits them throughout the growing season.
Tip:
It doesn't always have to be expensive commercial growing soil. You can easily make inexpensive potting soil yourself by mixing the following components in equal proportions: garden soil from deeper layers, medium-grain sand and mature compost.
Instructions for successful pricking
Before you can start the actual pricking, you will need the following materials to hand:
- suitable pots in sufficient numbers
- enough fresh sowing soil
- a pricking stick or a pricking fork (from a specialist retailer)
- alternatively: a thin spatula, kebab stick, wooden ice cream stick or spoon handle
- First moisten the soil in the seed tray so that the seedlings can later separate more easily and be removed from the soil more easily.
- Prepare all the pots so that the seedlings do not lie around for a long time and dry out in the air. Fill it full with potting soil, leaving only about 1 cm free.
- Prick a 3-4 cm deep but narrow planting hole in the middle of each of the pots with the round end of the pricking stick.
- Prick the pricking rod into the soil of the seed tray, close to a seedling, and use it to carefully lever it out. As many roots as possible should remain attached.
- Choose the strongest and he althiest looking seedlings as these offer the best prospects.
- Carefully place a seedling up to the cotyledons into the prepared planting hole. The roots should remain below the plant and not bend upwards. If necessary, you can shorten the roots or widen the hole a little. Shortening the roots is not harmful; it even stimulates later root growth.
- Transplant one seedling at a time.
- Press the young plants well in their new homes and then water them.
- Place all pots in a bright location that does not receive direct sun for the first few days.
Care after pricking
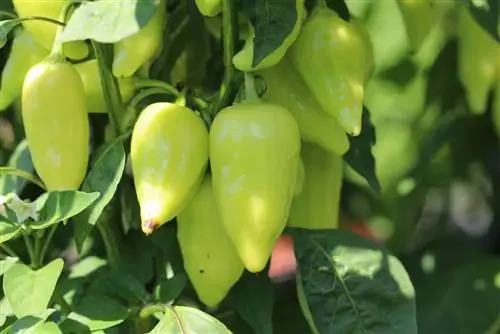
After pricking out, the young pepper plants first develop their roots so that the nutrient and water supply is secured. The ideal location offers them a lot of light, high humidity and warmth in the range of 20-22 °C. If you cannot offer them a very bright location, the plants must be kept cooler. Otherwise they shoot up thin and with little foliage. In the first few days after pricking out, young pepper plants do not do well in direct sunlight. Only when they are well rooted can they gradually be acclimated to the sun.
- harden up slowly in the fresh air during the day
- avoid rain at the beginning
- start fertilizing after two weeks
- organic liquid fertilizer is ideal
The “second” pricking
Under optimal growth conditions, it may soon be that the increasingly vigorous pepper plants are far too large for their current pot. Then after a short time a second pricking is essential, in which the pot size can increase from 10 cm to 20 cm in diameter.
The beginning of the outdoor season
Only from mid-May, when there is no risk of night frosts, can the pepper plants and their pots remain outside at all times or be planted directly into the garden soil.

