- Author admin [email protected].
- Public 2023-12-17 03:39.
- Last modified 2025-06-01 06:48.
No matter whether it is a lake, fish pond or stream - in the wild, bodies of water are able to clean themselves. With a garden pond, however, people have to help. It is far too small to be able to regenerate on its own. In addition, dirt usually cannot drain away. Consequently, a filter system is needed that takes on these tasks reliably and effectively.
Principle
Inevitably, things are added to every garden pond that actually have no place there. Remains of lawn mowing, sand, stones and leaves from neighboring trees are definitely part of it. Dead aquatic plants and fish remains also contaminate the water. If you don't do anything about this pollution, the water will sooner or later die. There is then no longer any thought of stocking fish. Filters take on exactly this cleaning task. They can either be installed directly in the pond or outside the water. The latter usually work according to the principle of gravity - simply because the water is not pumped through the individual filter chambers, but flows through it from top to bottom following gravity.
Construction
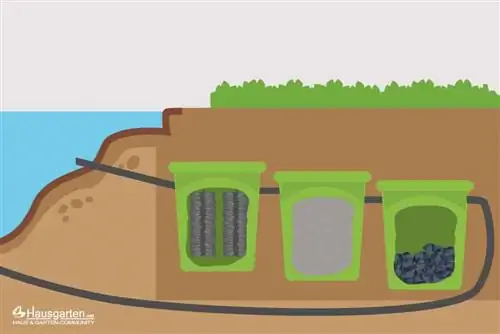
Such a gravity filter consists of several individual chambers that are connected to each other by pipes. Each of these chambers is responsible for a very specific filter or cleaning performance. This goes from a preliminary or rough cleaning in the first chamber to a fine cleaning in the last chamber. As a rule, a gravity filter today works with three or four filter chambers. The size or capacity of the chambers depends on the size of the pond. The following applies: the larger the pond, the larger the chambers should be. From the last chamber, the purified water then flows back into the pond.
Note:
Unfortunately, exact size information is not possible for the chambers. In general, it can be said that they actually can't be too big and can certainly be generously designed.
Placement
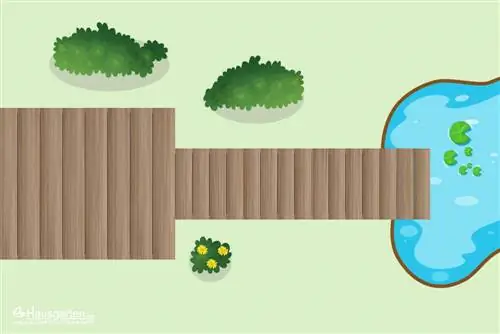
Because the filter chambers of a gravity filter are located outside the pond, they should be integrated into the topography of the garden. They are usually buried, but they can also be placed above ground, although this often disrupts the look of the garden. If they are not embedded in the ground, a pump is usually required to transport the water from the lower pond to the higher filters. When burying, it is important to ensure that the upper edges of the chambers are at the level of the water level or slightly below. Only then will there be a natural flow of water.
Material
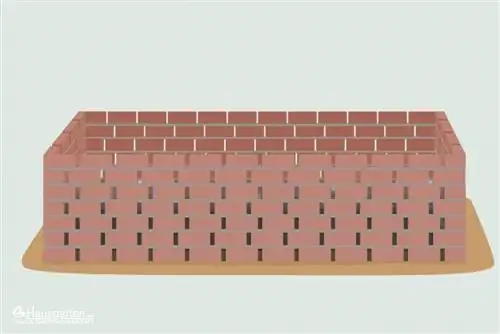
It should now be clear that the filter chambers are the central elements of a gravity filter. The actual purification of the water takes place in them. The chambers can either be made of brick or made of plastic tubs. The latter, of course, require significantly less effort. Corresponding tubs are available from specialist retailers. But cut-open canisters, rain barrels or the so-called intermediate bulk containers (IBC) are also suitable.
Tip:
Since the tubs are buried, they should definitely be made of a very robust plastic. High density polyethylene (HDPE) is best suited for this purpose.
You also need the following materials:
- Filter materials
- Pipe or hose connections
- Sealing material or gaskets
- Fittings
- Mounting parts
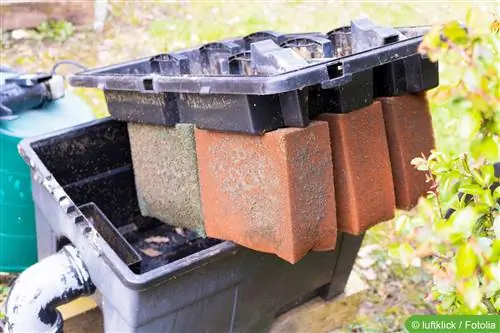
The filter materials take over the actual cleaning performance. Typically, special brushes are used for rough cleaning and are hung in the filter chambers. Activated carbon is then used for fine cleaning. It is best to purchase the filter materials as complete sets from specialist retailers. Care must be taken to ensure that they fit into the respective chambers. The chambers and their filter contents should therefore always be purchased together.
Instructions
Once you have obtained the necessary materials, you can start building the gravity filter. You proceed as follows:
- Dig holes or a continuous trench for the filter trays directly next to the pond
- place the tubs in it sloping downwards and connect them to each other using pipes or hoses
- create a supply line from the pond to the first tub using a pipe
- The pipe should flow into the first tub around 20 centimeters below the pond water level
- then install a supply line from the last tub back into the pond
- Insert filter materials into the individual chambers and cover the chambers
- Close the trench again, but make sure that the filter chambers remain accessible
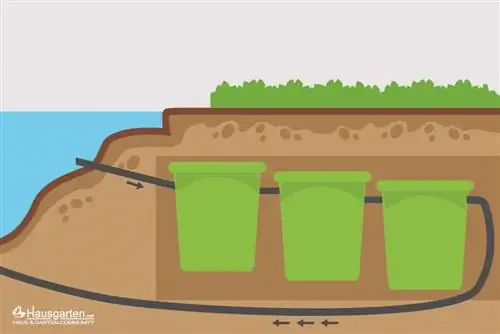
If you follow these basic steps, the gravity filter will work automatically, so to speak. The natural water pressure from the pond ensures that the water can usually flow through the individual chambers without a pump. The return to the pond also happens almost automatically. Depending on the topographical conditions in the garden, it may still be necessary to connect a pump in between. When inserting the filter materials, it is essential to follow the respective operating and installation instructions. Depending on the manufacturer, there can be significant differences. It is also important to ensure that the filter chambers remain accessible from above. However, they should not be open all the time, but rather closed.
Operation
The system is now set up. It can be put into operation immediately. Typically it will work continuously. It is still recommended to install a tap at the inlet from the pond to the first chamber. In this way a certain amount of control can take place. In addition, it is usually necessary to stop the water supply when the filter materials are replaced and the chambers are cleaned. Both depend on the level of pollution, but should be done at least once a year.

