- Author admin [email protected].
- Public 2023-12-17 03:39.
- Last modified 2025-01-24 12:45.
Exposed concrete is also, first of all, concrete. This means it has the advantages in terms of resilience and durability that characterize this material. The difference, however, is that the aggregate is revealed through a special treatment of one of the surfaces. This visible side appears visually more attractive, even more natural. So it's no wonder that exposed concrete slabs are still extremely popular when creating garden paths.
Preliminary considerations
Garden paths are created in small and large gardens. This investment initially requires precise planning. So you have to be clear about where the paths should run before you start work. Garden paths typically lead from house exits or terraces to certain points in the garden - to the beds, for example, to a garden pond or even to a tool shed. It is advisable to always choose the direct route if possible. This saves time, materials and therefore costs. Basically, there are hardly any limits to your own creativity. However, problems can quickly arise on paved paths when it comes to creating bends or curves. Such considerations must be taken into account in the planning, as must the length and width of the paths. The material quantity is then derived from the latter two points.
Tip:
You should inquire in advance about the possible sizes of exposed concrete slabs and then choose the width of the garden path so that the slabs do not have to be cut to size.
Staking and excavation
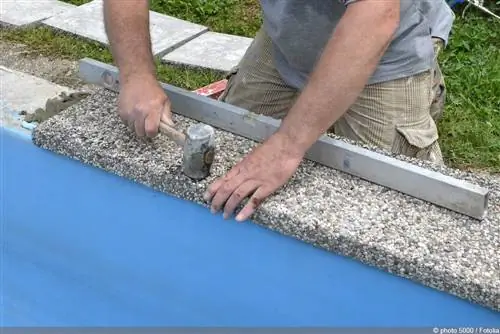
If you want to create a garden path with exposed concrete slabs, you usually need a substructure to support the path. Only with such a substructure is it possible to prevent the individual panels from sinking over time. Depending on the thickness, the resilience of the plates can also be increased - for example, to be able to drive on the path with a car under certain circumstances.
Stakeout
In order to create the substructure and then lay out the path, the specific route must first be marked out very carefully. The best way to do this is to use cords and simple wooden pegs. The cord is attached to both long sides of the path at the same height, if possible. It is intended to display or depict the later course. Of course, the width also has to be right. In other words: the two cords on the left and right must run parallel to each other. Frequent measurements are therefore just as advisable as using a spirit level.
Excavation
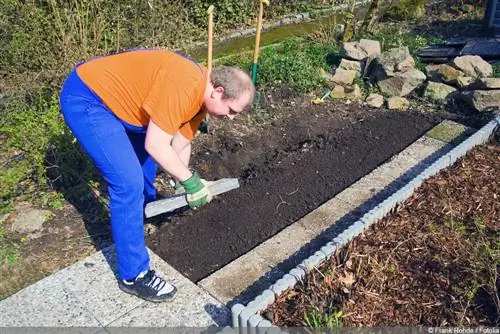
The next step is to excavate the space for the substructure within the path limits through the cords. For shorter distances you use a spade and for longer distances you use a mini excavator, which you can rent from a hardware store. It is advisable to start the excavation by cutting the area along the sides with the spade. The entire path area is then completely excavated to a depth of 30 to 35 m. The exposed area is then intensively tapped with a vibrator, which can also be rented relatively cheaply.
Laying the path border
So that the necessary substructure and then the exposed concrete slabs can be installed, stable side boundaries must be created. In this context one speaks of a so-called path enclosure. For this purpose, boundary plates are usually used, which are set up vertically. Ideally, they rest on a previously created concrete foundation that should be ten to 20 cm thick. This foundation guarantees greater stability of the boundaries. The path borders must be installed seamlessly on both sides of the planned path. The individual slabs should be tapped into the soft concrete of the foundation with a rubber mallet until they are flush with the pulled cord at the top.
Create substructure
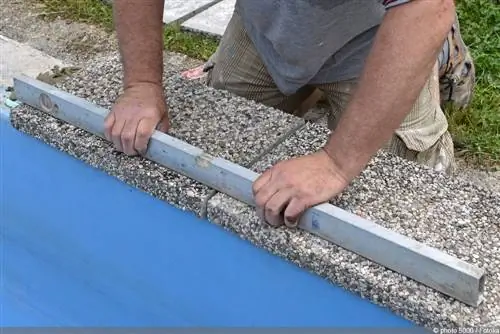
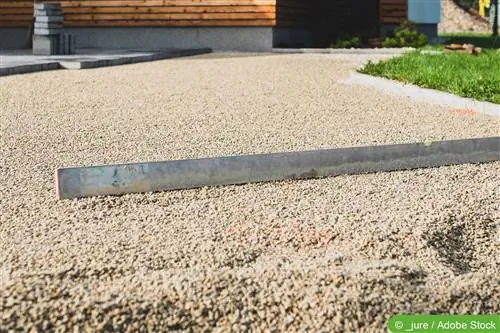
After the foundation for the path boundary has dried out, you can start laying the substructure. The aim of this measure is, on the one hand, to achieve a high level of stability and, on the other hand, to enable rainwater to seep away. The first layer of the substructure consists of gravel or crushed stone with a grain size of 32 mm. Depending on the depth of the excavation, this layer of gravel should be 20 to 30 cm thick. Using a rake, the whole thing is distributed evenly across the area. A four to five centimeter thick layer of sand is placed on top of the gravel layer, which is very carefully smoothed out using a wooden or metal batten.
Laying exposed concrete slabs
The individual exposed concrete slabs are now laid on the sand layer. A space (joints) of two to three millimeters should be left between the panels and towards the path borders. Each individual plate is tapped into the sand with a rubber mallet. If the entire path area is covered with exposed concrete slabs, it is best to let the slabs rest for a few hours until they have settled.
Filling joints
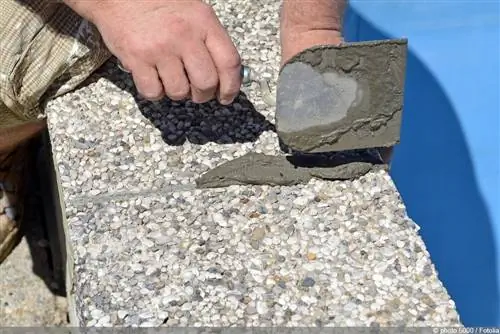
Now the existing joints and gaps between the panels and the path boundaries must be filled. There are two options for this: Either you use so-called joint sand or hardening joint filler. The joint sand is distributed several times over the entire area with a shovel and then swept into the joints with a broom until they are filled. The joint filler is inserted precisely into the joints. Depending on the manufacturer, the procedure may differ. The advantages of a joint filler are that it lasts longer than joint sand and also ensures that no weeds can form in the joints, which then have to be removed regularly with a lot of effort.
Shake away
Finally, the borrowed vibrator is used again. The entire path is processed with it. It ensures that the exposed concrete slabs sit stably and do not sink any further later. It may be possible that the individual joints need to be refilled again after shaking.
Designing washed concrete
Washed concrete slabs inherently offer a strong visual appeal thanks to their surface made of natural stones. If you like, you can enhance this appeal even further. It is relatively easy to paint the panels with paint. A waterproof and nature-friendly paint should be used. Which colors you choose is up to you. Either a brush or a spray gun is suitable for application. The slabs should be coated as comprehensively as possible, but without whitewashing the stones beyond recognition.

