- Author admin caroline@plants-knowledge.com.
- Public 2023-12-17 03:39.
- Last modified 2025-01-24 12:45.
A privet hedge is the ideal privacy screen for the garden because it grows opaque and remains green even in winter. But of course this also raises the question of the right cut and the right fertilization. Both are important so that the privet hedge remains a decorative eye-catcher for many years. It's not difficult and the following instructions will help.
Fertilizing time
The privet is an easy-care plant that doesn't make many demands. So that it still forms a dense privacy screen as a hedge and keeps unwanted glances away from outside, it should be fertilized regularly. Privet hedges are often located near a lawn and then it is particularly important to fertilize them. With its deep roots, the plant extracts many nutrients from the soil and thus also from the adjacent lawn, which should be reintroduced. The correct times for fertilization are as follows:
- Privet has two growth phases
- fertilization is carried out before such a phase
- at the beginning of spring in March
- this is how new growth is supported
- second fertilization in early summer
- no later than the end of July
- Plant is stimulated to grow again
- optimally prepared for winter with nutrients
Tip:
A privet hedge should not be fertilized in autumn or winter. Such fertilization causes new, soft shoots to form that are exposed to the cold without protection because they did not have enough time to become woody before winter.
Fertilization with horn shavings
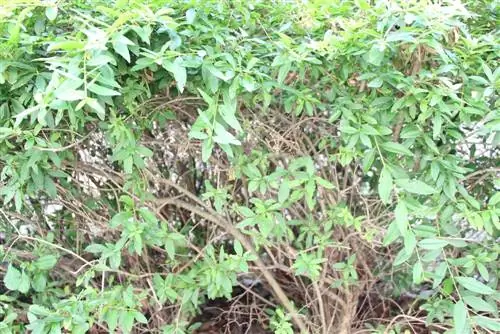
The first fertilization in spring to March should consist of horn shavings or meal. This is available from well-stocked garden shops, but also from a butcher, as these are the shredded hooves of slaughtered animals. The horn meal is processed as follows:
- sprinkle around the privet hedge
- rake in lightly
- make sure to work between the roots
- this way the nutrients reach the plant better
Tip:
It is not necessary to dig up or cut the hedge to fertilize with the horn shavings, as the soil organisms absorb the fertilizer and pass it on to the roots, which can easily absorb the nutrients from the soil.
Fertilization with mineral fertilizer
Since horn shavings do not contain any potassium, a mineral fertilizer should be chosen for the second fertilization in early summer. This contains nitrogen, potassium and phosphate. Alternatively, ready-made conifer fertilizer from the trade can also be used here. When fertilizing with mineral fertilizer in early summer, proceed as follows:
- Sprinkle fertilizer on the surface
- rake into the top layer of soil
- the nutrients go down with the irrigation water
- the roots can absorb them directly.
Tip:
Compost can also be raked underground during both fertilization processes in March and early summer. In addition, the fallen leaves from surrounding trees are swept under the hedge in autumn. This means the soil is supplied with phosphate and magnesium in the spring when the leaves decompose over the winter.
Appropriate cutting time
As a rule, the privet hedge can tolerate pruning all year round, but there are legal regulations that must be adhered to for trimming hedges in general. These serve to protect birds, as birds often breed protected in the dense hedges over the summer. Therefore, the following cutting times must be observed for privet hedges:
- no radical cut between March 1st and September 30th
- Prune in late winter before budding
- or in early autumn before the first frost
- second, light topiary around St. John's Day
- this one is on June 24th
- only cut a little
- only use hand tools in summer
- cut only on a frost-free day
- not in direct sunlight
- choose a dry day
The day on which the hedge is cut is ideally overcast and slightly warm. Because direct sunlight dries out the interfaces; if it is frosty, the cold penetrates the interfaces into the plant and damages it from the inside. On a wet, rainy day, moisture and thus fungi more easily penetrate the privet through the interfaces.
Tip:
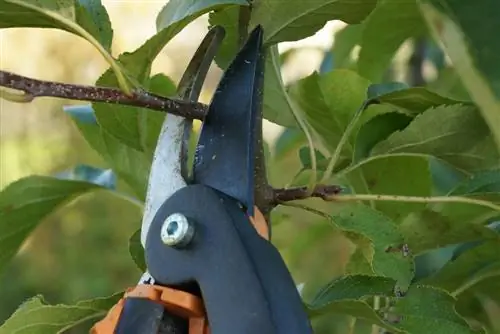
Since the privet hedge grows quickly all year round with appropriate fertilization, it is recommended to always carefully cut off protruding, disruptive shoots immediately with secateurs. You must always pay attention to breeding birds.
Right tool
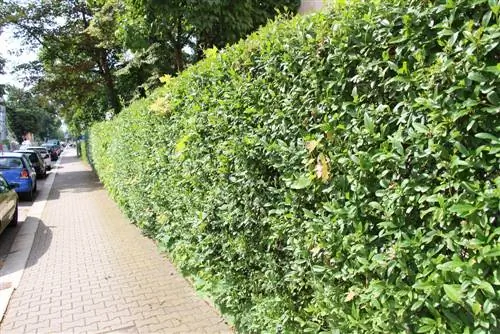
Of course, you also need to choose the right tool for cutting the privet hedge. A hedge trimmer is always the first choice here, as are garden shears. But whether these are used electrically or mechanically depends primarily on the time of cutting. During the summer, when the birds are breeding, electric hedge trimmers or even petrol-powered machines must not be used under any circumstances, as these would drive the birds out of their nests due to the noise. If the nature conservation law is violated, even the uninformed hobby gardener can expect severe fines. When choosing the tool, you should pay attention to the following:
- Tool must be sharp and clean
- sharpen and disinfect before work
- use pure alcohol from a pharmacy
- alternatively disinfectants from garden shops
- otherwise bacteria will enter the plant via the interface
- Mushrooms also settle more easily on frayed areas
- Ladder for high hedges
- String for the shape
- Gardening gloves and long clothing
Tip:
So that the older, mostly hard or dead shoots do not cause skin injuries, they should definitely be protected.
Topiary
The topiary is done in autumn or late winter. During this time you can work with the electric hedge trimmer and the work is quicker and easier. To prevent the hedge from being cut crookedly, a cord should be used for the sides and top. This is stretched tightly on the sides from top to bottom, exactly where you want to cut. A spirit level also helps with alignment here. The cord is also stretched straight over the hedge at the desired height. This makes it easier to cut the hedge straight on all sides. When doing the topiary, you should pay attention to the following:
- Cut the hedge from the outside into the desired shape
- cut all growing shoots
- cut all dead shoots inside
- everything that grows inwards
- cutting crossing shoots inside
- all drives that hinder each other
- always leave a branch cross
- new shoots form here
- don't forget the lower area near the ground
- cut off dead shoots here too
Tip:
The hedge can be cut by up to a third on the sides and also in height during the annual topiary. This means more light gets inside and the plants don't become bare from the inside. Since the privet sprouts again quickly, the previous height and width are quickly reached again.
Summer cut
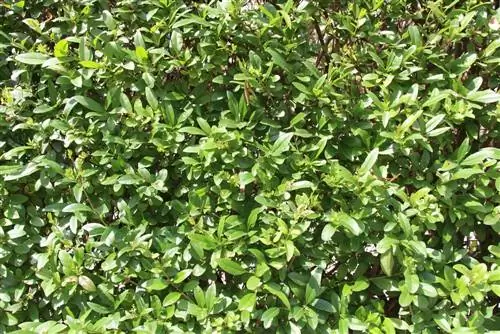
It is not completely forbidden to cut the privet hedge over the summer. However, the right tool must be selected for this. Before cutting, the hedge must be checked for breeding birds. These areas should definitely be left out when making a cut. When cutting in summer, which usually takes place around St. John's Day, you can proceed as follows:
- disturbing shoots growing out of the hedge
- cut carefully with secateurs
- so the sides and height are straight again
- don’t use electric scissors
- these can be used again from October
Tip:
If it doesn't bother you when individual shoots grow out of the hedge, you can avoid pruning over the summer for the benefit of the birds.
Radical cut
If the privet hedge has not been trimmed properly or not at all over a long period of time, it will become bare from the inside, become thinner and no longer opaque. In such a case, the only thing that usually helps is a radical cut, in which the hedge is placed on the stick. This radical cut is carried out between October and February, as electric hedge trimmers should be used here. The cut is done as follows:
- the hedge is shortened by two thirds all around
- this is how it is cut in height
- also shorten both sides by two thirds
- so it sprouts again
- forms new strong shoots
- cutting into shape again every year from now on
Tip:
Radical pruning can be avoided if regular topiary pruning is carried out twice a year from the time the privet hedge is replanted.
Raising young plants
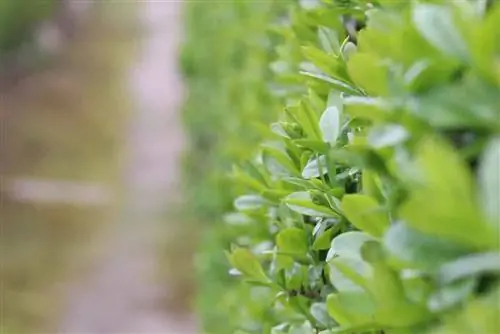
In order for a newly planted privet hedge to grow properly, the young plants must be trained. This means they need more pruning to help them branch and grow densely. Simply letting the new hedge sprout and grow will not help it become opaque. Because then the young privets grow quickly in height, but remain sparse at the bottom. To prevent this error from occurring, you should proceed as follows from the start:
- pruning immediately after planting
- shorten by about a third from the top
- also shorten the sides
- this is how new, strong shoots can emerge
- prune regularly over the summer
- make topiary cuts next winter
Privet grows back very quickly, so the first cut can be a little more radical. After just one year, a beautiful opaque hedge will emerge, which now just has to grow upwards. This can be achieved by only cutting back shoots that stand out in height during the first few years of topiary cutting in autumn or late winter, otherwise nothing is changed in height. However, the sides are always cut back straight.
Tip:
Since birds do not nest in a newly planted privet hedge in the first year, the hedge can be trimmed to shape all year round without having to pay attention to the birds.
Remove poisonous berries
The privet plant produces poisonous berries in early summer that look similar to elderberry. If there are small children in the household, the berries should be removed. To do this, all shoots that bear the decorative and fragrant flowers in spring are cut. On the one hand, this is a shame, but on the other hand, safety always comes first.

