- Author admin caroline@plants-knowledge.com.
- Public 2023-12-17 03:39.
- Last modified 2025-01-24 12:45.
Tulips are rightly one of the most beautiful spring bloomers. They decorate the gardens in beautiful colors and different flower shapes. When the colorful plants finally sprout from the ground after the long winter period, spring has inevitably arrived. Fortunately, tulip care is relatively simple and easy to do. You can read how here.
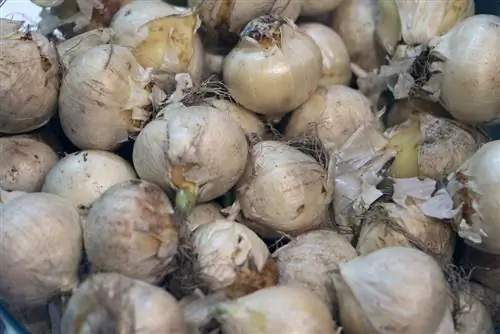
Buy a variety of tulip bulbs
When you buy tulip bulbs, you should choose your future spring bloomers carefully. A simple rule applies here: large plants grow from large flower bulbs. The height of the flowers also plays a role in determining the location. Short tulips are suitable for windy places, while tall tulips want to be protected from the wind. In a favorable combination, the short flowers can be in the front row while the tall ones grow elegantly behind them. A tastefully chosen combination results in a very beautiful picture.
Spring bloomers are also divided into categories: there are early, medium and late blooming tulips. With appropriate sorting, you will always have new flowers in your garden from March to May.
Soil and location determination
The tulip is a frugal plant that does not place great demands on the soil. A well-drained soil is ideal. The onions do not like waterlogging that occurs on heavy soils. It is therefore advisable to mix the soil with sand if necessary to make it more permeable. Alternatively, drainage is also possible, which removes the accumulated water from the soil.
Tulips love a sunny to partially shaded location. If the sun shines on the flower bed in the morning, the small flowers will quickly rise.
Planting tulips
Tulips look best when planted in groups. To prepare, the soil can be filled with compost and sand a few weeks in advance. You can start planting in September and wait until December or January. It is important that the ground is frost-free. The small onions are inserted at a depth of approx. 10 to 15 cm. A simple rule of thumb is: the planting depth of the tulip is approximately twice the height of the bulb. The flower bulb planters sold in stores also offer assistance. They carry a marking of the respective flower bulbs, which is helpful when inserting the bulbs. Now you can plant the bulbs in the ground at intervals of 10 to 30.
Pouring
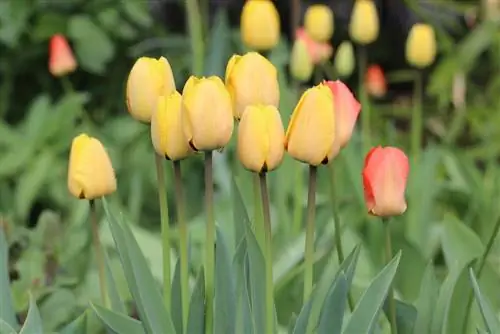
The flowerbed with spring bloomers should be kept moist, but definitely not too wet. If it rains frequently in spring, the tulips do not need to be watered separately. Very sandy soils usually require more water because moisture cannot be retained well in the soil. If there is too much moisture, waterlogging occurs and causes the onions to rot in the ground. You should note that plants prefer rainwater far more than fresh tap water.
Fertilizing flowers
Tulips are heavy feeders. You need lots of good nutrients. There are two options for fertilizing the tulips: the ecological alternative with compost or complete fertilizer such as blue grain. This decision also depends on the respective soil conditions. Good, nutrient-rich soil requires less fertilizer than weak, sandy soil.
If you have a pond in your garden, occasional watering with pond water is already beneficial for the growth of the plants. From autumn onwards, the flower bulbs feed on the substances in the soil. It is therefore advisable to fertilize the soil well with compost or humus during this time. Alternatively, fertilization with blue grain or mineral fertilizer is also possible. However, this is only sprinkled thinly on the ground in spring - starting before the tulips bloom. However, make sure that none of the grains are on the leaves that are just emerging. The result would be severe burns for the pretty plants. Fertilization with complete fertilizer is completed when flowering occurs.
After flowering
Once the tulips have bloomed, you should give them time to gather strength for next spring. For now it is enough to cut off the wilted flowers. This means no seeds are formed that could take away the strength of the tulip bulbs. As soon as the leaves have withered, they are removed and cut off close to the ground.
For high-quality tulip bulbs, it is worth digging them up before cutting them and storing them in a dry place with the leaves in a wooden box. During the summer they are stored in the dark in this way until they are put back into the ground in the fall.
Overwintering the tulips
As a rule, the tulip bulbs can remain in the ground over the winter. Only sensitive varieties that cannot tolerate hard frost should be removed from the ground in late autumn. The date should be chosen as late as possible so that the bulbs can still gain strength and nutrients for the next flowering season. To overwinter they are stored in a dry wooden box. A soft base such as cellulose ensures breathability and prevents the risk of rot. To prevent the onions from germinating, they should be stored away from light. Under no circumstances should flower bulbs be placed in a closed plastic bag. Moisture forms here, which causes the onions to become moldy.
A final word
Tulips bring a good mood to the garden with their colorful palette of colors. The relatively undemanding flowers are easy to care for. Even if you have little experience in gardening, planting flower bulbs in the fall is worth it. The reward follows in spring with beautiful flowers.
Interesting facts
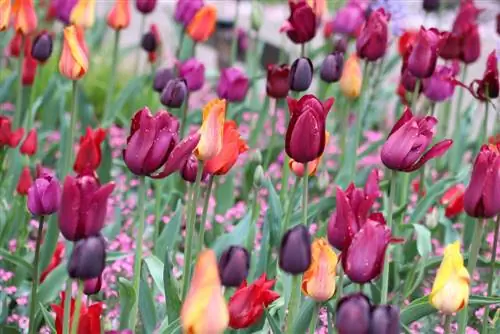
Plant the bulbs in a sunny spot in late fall. Planting too early often leads to premature sprouting, which is then damaged by frost. The optimal planting depths and spacing depend on the soil type and the intended effect. In extremely light soils, the tulip bulbs can be planted up to a maximum depth of 30cm. This gives high varieties stability and enables soil cultivation and intermediate planting without disturbing the bulbs. However, a planting depth of 15cm is more common and makes it easier to remove the bulbs in summer when the tulips have finished blooming. Never plant the tulips deeper than 15cm in heavy soil. It is not uncommon for mice and other rodents to dig up tulip bulbs and then eat them. To prevent this, you can plant the bulbs deeper, but keep in mind that this will make the bulbs more susceptible to rot in wet soil.
Depending on the effect you want to achieve, choose a planting distance of 10 to 30cm in beds. For ornamental beds and borders, 10-15cm within the plantings is sufficient, depending on the bulb size. The distance can be chosen larger for mixed beds.
If tulips are to be used for permanent planting, low species such as T.turkestanica and T. tarda, can be planted in borders or rock gardens in groups of seven to twelve bulbs and 15cm deep. Good drainage and a south-facing location protected against harsh winds offer the best conditions.
There are two main methods of planting bulbs. Either you dig a separate hole for each and place them one after the other, or you dig a common hole of the desired depth for all of them and place them all at the same time. The first method is made much easier with an onion planter. This allows the soil to be lifted out of the hole and filled back in after the flower bulbs have been planted.
To reduce the risk of rot in the long term, place the onion with the flat side down and surround it with coarse sand. Finally, press the onion a little so that there are no cavities.
Care tips
When the petals fall off, the rest of the flowers are removed, but not the stems and leaves, preserving as much green tissue as possible to provide the tulip bulbs with sufficient amounts of nutrients for the coming year. The fallen petals should always be collected as they may contain pathogens.
The bulbs of some species, such as T: kaufmanniana, and their varieties ripen in the ground and bloom for many years. Most tulips, especially modern hybrids, produce smaller flowers over time and sometimes die if left in the ground. You have to take them out every year after flowering and store them in a dry place.
This is best done when the leaves and stems have turned yellowish brown in early summer. Use a digging fork to loosen the bulbs, do not pull the bulbs out by the leaves as they could tear off and the bulb could be lost in the soil.
If the planting location is previously needed for summer flowers or other plants, you can remove the still green tulips and plant them temporarily in a bed until the leaves grow in on their own.
Store the bulbs in shallow trays in the greenhouse or a dry shed. Leaves and stems are removed if they are dry and brittle, as are roots, old peels and adherent soil. Keep the clean bulbs dry, airy and inaccessible to mice until autumn. They should be checked regularly for rot.

