- Author admin [email protected].
- Public 2023-12-17 03:39.
- Last modified 2025-06-01 06:48.
These basic instructions for pruning apple trees are aimed at beginners who cannot do anything with high-flown, theoretical instructions. After reading this tried and tested guide, you will be familiar with all the important steps to train your apple tree into a vital and productive fruit tree. From the right date for the cut to the appropriate tools to the expert cut, we guide you step by step through all the growth phases that the popular fruit tree goes through. This is how you prune your apple tree with expertise from planting to the full harvest period.
The best cutting dates - a brief overview
For all fruit trees, the time window for shape and maintenance pruning is open from November to March. The specific date depends on the age and vigor of your apple tree. In order to promote the growth of the trunk, leading shoots and fruit branches, a pruning date in late autumn or early winter makes sense. At this time the tree is in its sap dormancy, so it responds to the cut in spring with increased growth.
If you want to reduce the growth rate of an older tree, only use the scissors in early spring when the sap has begun to flow. The subsequent budding develops more cautiously, which benefits the abundance of flowers and fruit yield. The rule of thumb applies here: the stronger the growth, the later the cutting date. The following overview summarizes the experiences from gardening practice at the best time:
- Pruning: immediately after planting in autumn
- Juvenile phase: up to the fifth year, do not cut before the end of February, due to the risk of frost for the young wood
- Slow-growing trees: cut between November and January
- Stronger growing, older apple trees: cut between February and March
Two other criteria are relevant for cutting an apple tree at the correct time. Primarily, the wood must not be wet. Furthermore, pruning is not advisable in frosty weather from -2 degrees Celsius or colder.
Tip:
After pruning, spray your apple tree with a mix of tansy tea and horsetail broth. This solution works wonders as a natural defense against fungal spores and pests. If you refresh the organic protection after flowering, pathogens on the fruiting apple tree have a bad chance.
The right tool - safety for people and trees
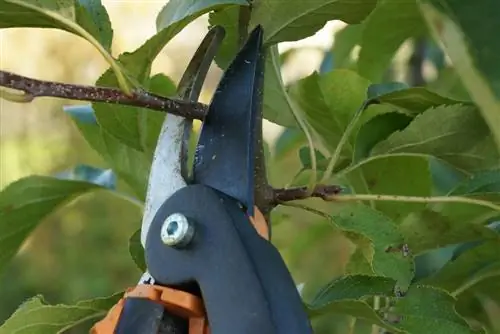
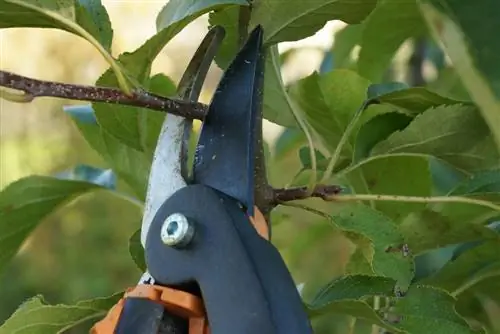
To cut a young apple tree, you are well equipped with one-handed scissors with blades made of high-quality steel. Please choose bypass scissors with two sharp blades. Such secateurs cut through the branches smoothly so that there are no frayed wound edges. This problem is often observed with anvil pruners, as the branches are pressed on the blunt anvil and cut by the sharp side. To cut a mighty apple tree in its full yield phase, this equipment is recommended:
- One-handed bypass scissors
- Pruning shears with telescopic handle and gear ratio
- Hippe (knife) for smoothing cuts
- Hand saw with ergonomic, non-slip handle and finger protection
- Whetstone for sharpening the blades
- Robust gloves and eye protection
- Spirit and cloth to disinfect the cutting blades
Pruning shears with telescopic handles save you the risk of climbing a ladder. If you still prefer to climb up into the crown, please look for quality marks such as TÜV or GS for tested safety when purchasing a ladder. Careful disinfection of blades and saw blades is undoubtedly found to be annoying and disruptive by inexperienced home gardeners. In fact, this measure should not be underestimated in its impact on maintaining the he alth of your apple tree. Contaminated cutting tools are considered the most common vectors of diseases and pests in the cultivation of fruit trees.
Guide to cutting technique
- how to do it right -
If you are familiar with the basics of correct pruning technique, you will be able to professionally prune an apple tree in every phase of its long life. Before these instructions turn to the details of each yield stage, the following will focus on skillful pruning. This is how it works for right-handers (left-handers please imagine the procedure in reverse):
- Take the scissors or saw in your right hand
- Grasp the branch to be removed with your left hand and bend it slightly to create tension
- Make the cut at a slight angle, a short distance from a bud or a leaf node
- When cutting whole branches, do not leave long stubs
- Use the hip to smooth the cut
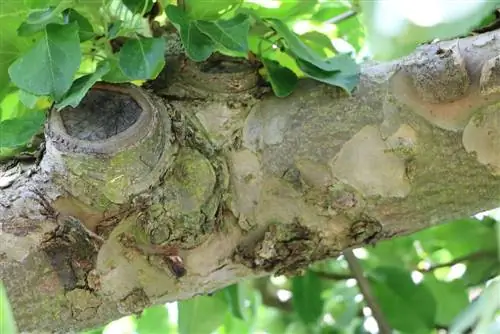
Cut thick branches in stages. This way the canes don't break off and damage the trunk bark. In the first step, saw the shoot from the bottom to the middle at a distance of around 30 cm from the intended cutting point. Now saw the branch from above, slightly offset from the lower cut. Now cut until the branch breaks. Now saw off the stump just before the branch ring. The small bulge at the connection between the branch and the trunk is called an astring. The Astring must not be cut or injured. By supporting the branch stub with your left hand, it cannot bend downwards and still damage the trunk bark.
Tip:
In modern fruit tree pruning, wound closure is only used in exceptional cases. If you cut your apple tree during the winter, apply a thin layer of wound paste to large cuts at the edges. In this way, the valuable cambium wood (layer of tissue under the bark that can divide) is protected from frost damage until spring so that it can quickly overflow the wound.
Basic rules for growing apple trees
A short excursion into the theoretical basics of growth is helpful in making the right decisions about where to prune and where not to prune apple trees in later years. The following rules show the way to a productive, he althy and long-lasting apple tree:
- The more upright a shoot and the greater the distance between its tip and other branches, the stronger and more dominant its growth
- Vertical, steeply upward branches reserve all the nutrients they can grab
- These water shoots have to give way or are tied in the desired direction of growth
- In the horizontal position, the length growth is reduced in favor of flowers and fruits
- A slightly rising branch angle guarantees that fruit-bearing canes will not later bend under their sweet load
Professional pruning of apple trees pursues the goal of a juice scale every year. The dominant, vertical trunk must not be too far away from the leading branches below. The leading branches themselves are arranged in an even arrangement around the trunk and are at an ideal angle of 120 degrees to the tip of the trunk. To ensure that they grow evenly, they are at the same height in the juice scale. Over the years, new leading branches are added tier by tier, with the distance to the top of the trunk not being more than 20 to 25 cm. It follows that all steeply upward branches are undesirable, apart from the trunk.
Plant cutting
- this is how the apple tree pruning premiere succeeds -
The planting cut pursues two important goals: The basic structure of the young apple tree is created with a dominant central shoot as the trunk and 3 to 4 leading branches in the juice scale as the first floor. At the same time, the branch volume is reduced to such an extent that the weak, young roots are not overwhelmed with the water and nutrient supply. Immediately after planting, cut the apple tree like this:
- Cut off kinked, damaged root strands from bare-root produce before planting
- Select the strongest central shoot as the main trunk
- Identify 3 to 4 branches around the central shoot with a slightly increasing angle to the first leading shoots
- Tie down leading shoots that are too steep with a string to make them horizontal
- Cut off steeply upward-facing shoots competing with the trunk on the astring

Cut off all excess branches on the astring or close to the ground. In the last step, shorten the selected leading shoots by about a third. Follow the recommended cut in these basic instructions. The last bud on a branch always points in the desired direction of growth. Please pay attention to the juice scale. The shoot tips of all leading shoots are at the same height at a maximum distance of 20 to 25 cm from the top of the trunk.
By tying down leading shoots that are growing too steeply, you will be rewarded with an earlier start to the yield phase. As long as the linear growth continues unabated, your apple tree sees no reason to bloom with subsequent fruiting. If the rising angle is reduced, the first flowers and apples will not be long in coming. First drive a nail into the support post. Then tie a string around the branch in question, carefully pull it down and attach it to the nail.
Youth Phase
- Cut in the first to fifth year -
In the first five years, the focus is on building a richly branched crown with strong leading shoots and vital fruit canes. Fruit canes are two- and three-year-old shoots that produce leaves, buds and flowers thanks to their horizontal growth direction. Every autumn you subject the apple tree to regular pruning. This is how it works:
- Do not prune the top of the trunk until the desired final height is reached
- Cut off all competing shoots to the main trunk at the base
- Either cut away vertical water shoots or tie them horizontally
- Remove inside the crown or downward-facing shoots on astring
- Cut side branches sprouting below the crown also on a string
Apart from these slightly corrective cuts, ideally you do not interfere with the progress of growth. During this five-year development phase, give your apple tree as much freedom as possible in order to develop a natural framework consisting of a trunk and leading shoots with fruit rods and their side branches. It follows that not every apple tree needs to be cut every year.
Cut during the full yield period
- sixth to twentieth year -
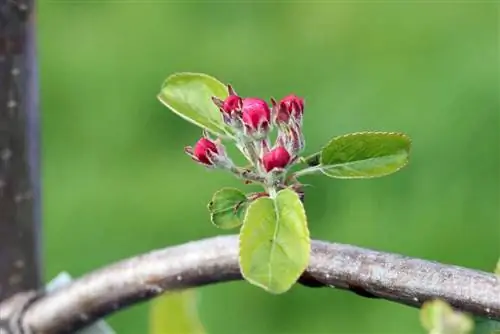
After about 5 years, your apple tree has completed its development phase and presents itself with a harmonious crown in the shape of a pyramid, with all branches in the sap balance. At this point, at the latest, the yield phase begins and brings you crisp, fresh apples from your own cultivation. So that the harvest does not involve dangerous pull-ups, many home gardeners do not want any further height growth. Rather, the annual apple tree pruning focuses on maintaining a light-flooded crown with vital, strong branches and fruit canes. This is how you proceed with a professional maintenance cut:
- Thoroughly thin out the crown by cutting out all dead wood
- Continue to consistently cut off competitive shoots and water shooters
- Of two branches that are too close and rubbing, remove the weaker one
- Shorten worn apple shoots down to 2 or 3 sleeping eyes (thickening under the bark)
- Cut back leading branches that are too long to an outward-facing bud
- Short the central shoot so that the pyramid shape of the crown is retained in the sap scale
On strongly growing apple trees, ideally move the pruning date to spring from the full yield phase. If the growth leaves something to be desired, we still recommend late autumn and early winter as a suitable time.
Apple tree pruning during the aging period
- twentieth to one hundred and twentieth year -
If you want a majestic apple tree with a height of 6 to 8 meters, it is the best age for further series of leading branches from the twentieth year onwards. A ladder is now required for harvesting. In return, the larger crown volume gives you a rich harvest, which, in addition to crisp apples straight from the tree, produces an abundance of sweet fruits for compote, jam or as a cake topping. Since the crown of a fully grown apple tree continually renews itself, pruning is primarily aimed at preventing aging from within. This is how you proceed professionally:
- In late winter or early spring, thin out all dead branches
- Cut away drooping, inward-facing or rubbing branches
- Shorten old, worn branches by a third across the entire crown
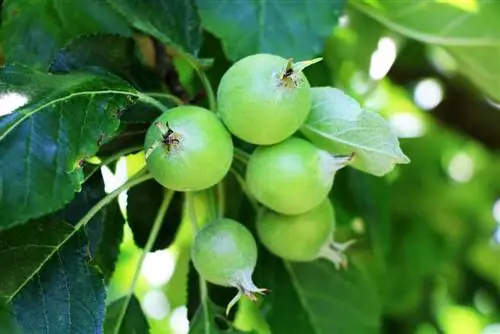
As they get older, most apple trees continue to produce vertical water shoots. Please check each branch to see whether it is suitable for fruiting by tying it horizontally. Your apple tree will bloom and fruit in the canopy even without your intervention. By concentrating the pruning measures on the lower, less exposed area of the crown, the branches here remain strong and vital. In a pyramidal crown, the plan succeeds if the length of the side branches on the leading shoots gradually decreases from top to bottom to allow the sun's rays to pass through.
Conclusion
After reading these basic instructions, you will be familiar with all the important techniques for proper apple tree pruning. You are now making the right choice for the best time. You will receive practical information about professional plant pruning and all subsequent yield phases. You are also familiar with technical terms such as juice scales, water shooters and fruit rods. Our final recommendation: Act according to the motto 'The gardener grows with his tasks' and follow our recommendations from year to year. In the end, you will have a we alth of experience and a magnificent apple tree whose branches bend under the sweet weight of crunchy fruit.

