- Author admin [email protected].
- Public 2023-12-17 03:39.
- Last modified 2025-01-24 12:45.
If plaster needs to be removed from bricks, you have two different approaches to choose from: manually or mechanically. Below you will find professional instructions for removing plaster from brick walls.
Users needed
The most important thing when removing plaster from a brick wall is the right tools and protective clothing:
- Hammer and chisel
- Machine alternatives: plaster milling machine, hammer drill or concrete grinder
- For rolling or decorative plaster grinding machine
- One fine and one coarse wire brush
- Foil
- If necessary, masking tape
- Safety glasses
- Dust mask for mouth and nose
- Work gloves
- Hearing protection when using loud devices
Preparation
Before you start working, you should consider that there will be a lot of dust and dirt. Certain preparation is therefore recommended. This is how you should proceed:
- Remove furniture, flowers and other movable objects from the room or place them far enough away outdoors
- Close room passages with foil (including doors because of fine dust)
- Cover non-removable objects and plants with foil
Removing plaster
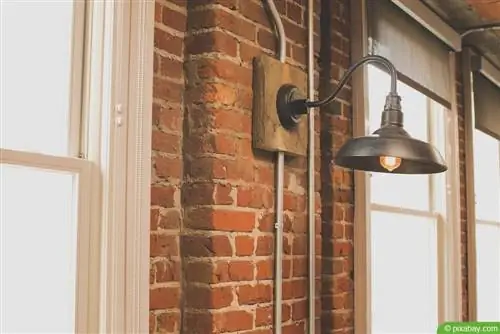
You can choose between machine removal and manual work. Although electrical appliances can save a lot of time and energy, they require a little practice and a particularly careful approach because if they are handled/operated improperly, the device can get “out of control” and this can cause damage to the bricks. In addition, some people feel safer with a classic hammer and chisel because there is a better, more intense feeling for the appropriate intensity - especially if you are new to using hand tools.
Instructions: Hammer and Chisel
For removing loose plaster and/or smaller areas, a hammer and chisel are usually sufficient. When using it on larger areas, effort and time must be expected. Plaster that sticks firmly to the wall in particular requires a lot of effort and patience.
How to use a hammer and chisel correctly:
- Always move from the center of the surface towards the corners
- Set the chisel as parallel to the brick wall as possible
- Start with light blows of the hammer and increase slowly if necessary (serves to find out how easy or difficult plaster comes off)
- If the plaster has come loose, place the chisel at an angle under the remaining plaster edges and continue hammering (edges usually come off easier)
- After removing plaster, brush off large remaining particles with a coarse wire brush
- Refinish with a fine wire brush (prevents lumps from forming on new plaster)
Tip:
Especially for inexperienced hobby craftsmen, it is advisable to carry out a “test” in an inconspicuous area before starting the actual work. In this way you can get a feel for using chisels and hammers.
Instructions: mechanical plaster removal
Three different devices with motors can remove plaster from bricks. There are small differences, which mainly relate to the way in which the plaster is removed.
Tip:
If you prefer mechanical plaster removal from a brick wall, you don't have to own or buy your own device. These are often available to rent in hardware stores or hardware stores at an hourly, daily or monthly rate.
Drill hammer
A hammer drill is the mechanical answer to the classic hammer-chisel combination, which is reflected here in one device. The work is done with a wide chisel that should be 40 to 80 millimeters wide. It should be noted that the device has enormous power compared to the handheld version. Therefore, you should work at a carefully measured speed. The procedure is identical to that described under “Instructions: Hammer and Chisel”.
Concrete Grinder
Using a concrete grinder, plaster is removed from the surface down to the bricks. Although this is the dustiest process, it is also the safest if you don't want to damage the brick under any circumstances. When working with a concrete grinder, the following should be taken into account:
- If the plaster layer is thick, start with 80 or 120 grit
- Use fine 40 or 60 grit near the bricks
- Hand rule for consumption: one grinding wheel per square meter
- Reduce grinding speed towards the brick to avoid accidentally grinding stones
- Remove plaster residue with a coarse and fine wire brush
Plastering and renovation milling machine
With a plastering and renovation milling machine, small milling wheels are moved over the plaster. In this way, the plaster on the brick wall is perforated and thus loosened. With the plastering and renovation milling machine, plaster removal is quicker than with the concrete grinder. Below is what to pay attention to and how to proceed:
- Pay attention to the milling depth: if the plaster thickness is unknown, start with a shallow depth to protect the bricks
- The substrate must be dry
- Start from a corner
- Chess pattern guide: first from top to bottom - then across from one side to the other
- Remove remaining particles either with sandpaper or wire brush
- Finally use a fine wire brush to remove the smallest plaster residues
Removing decorative and rolled plaster
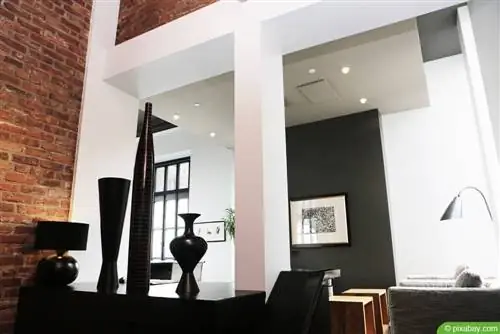
A special feature is decorative and rolled plaster, which consists of a mix of mineral plaster and synthetic resin. The latter is much more difficult to remove than normal wall plaster. This cannot be countered with a hammer and chisel. Depending on the synthetic resin content, only two methods of removal help:
Low synthetic resin content
- Wet the plaster generously and allow it to soak
- Place the spatula or metal scraper at an angle to the wall and push the tool firmly
- Work from the center of the surface in all directions
- If the plaster has dried, re-moisten and let it absorb
- Remove the last, thin residues with sandpaper
Grinding machine
- Suitable for low and especially high synthetic resin content
- Plaster is sanded wet, so moisten the surface beforehand and allow it to soak briefly
- Grain size: depending on the thickness of the plaster between 40 and 120
- Work from the center of the surface in all directions
- If the plaster has dried, re-moisten and let it absorb
NOTE:
With coarse-grain decorative plaster, the wall must not be moistened beforehand. Here we start directly with a coarse grain on a dry surface.
After plaster removal
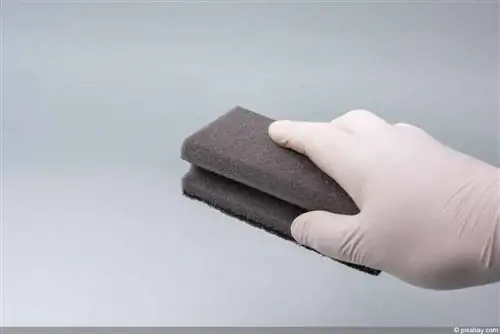
The dust also remains on the brick wall exposed by the plaster. Regardless of whether it should be left natural or re-plastered, the dust has to go. The best way to do this on a house facade is to spray it with a water hose. Indoors, this would flood entire rooms. Here it is advisable to wipe the plaster-free wall with a damp sponge. The use of a high-pressure cleaner should be avoided, as the massive pressure could damage the bricks and especially the joints.

