- Author admin caroline@plants-knowledge.com.
- Public 2023-12-17 03:39.
- Last modified 2025-01-24 12:45.
The cultivation and cultivation of ornamental and vegetable plants in a warm environment can be achieved in a manure bed without any electricity consumption. As the name suggests, manure serves as a natural source of heat, promoting seed germination and the growth of young plants. In contrast to the typical cold box, the construction is a little more complex, but worth it. The warm bed also serves as a harvest temptation or as a winter storage facility for fruit and vegetables. The following instructions explain how to create and plant a manure bed.
External construction
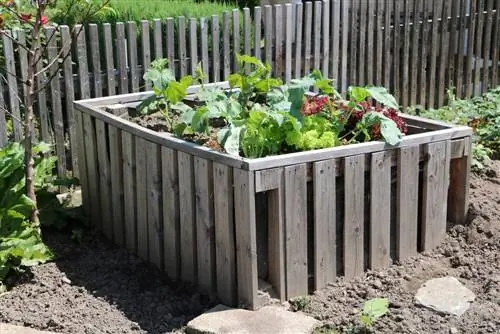
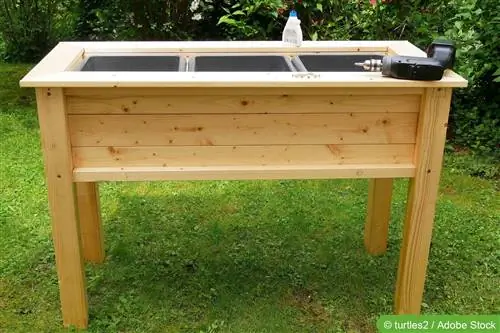
The outer frame of a manure bed can be made of a wide variety of materials. A wooden construction is just as conceivable as a border made of sturdy plastic. Skilled hobby gardeners will know how to use existing remaining stocks of wood and old windows for this purpose. Specialist retailers also offer a variety of kits that only need to be assembled. According to old tradition, the warm frame is made of brick, like a massive cold frame. In order for it to optimally fulfill the functions of a manure bed, these premises should be met:
- Sunny, sheltered location close to the house
- The north side rises above ground level by at least 25 to 30 centimeters
- The south wall should be 15-20 centimeters high
- The windows can be opened towards the south
- Ideally, an automatic window regulator regulates the ventilation
- A shade is attached to the windows or at least ready to hand
The dimensions mentioned refer to the minimum height. Where the cultivation of tall plants is planned, such as tomatoes or peppers, different dimensions naturally apply to a successful manure bed. It is important to note that the ventilation does not open in the main wind direction.
Create a manure bed
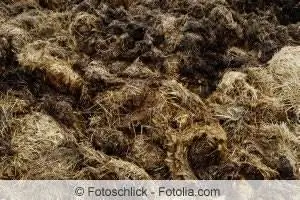
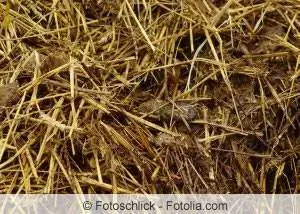
In order for a cold box to be transformed into a warm bed, the natural heat supply must be created in the form of a manure pack. It is primarily horse manure that develops the required temperatures as it rots. Cattle and sheep manure are also suitable, while other stable manure is less relevant for a warm bed. When choosing the type of manure, environmentally and he alth-conscious hobby gardeners also make sure that the material is not contaminated with antibiotics or chemicals. When using horse manure, work can begin in mid-February. If the warm bed consists of other manure, start work from the end of February/beginning of March. In these steps you can create a manure bed professionally:
- Dig a pit 60 centimeters deep
- Store the excavated material next to the manure bed for later use
- Line the sole with fine-meshed wire to protect against voles
- Pile a layer of leaves 3-5 centimeters high on the wire
- Fill the manure up to a height of 50 centimeters and tamp down well
- If the material is too dry, moisten it a little while layering
- The distance between manure and cover is at least 20-25 centimeters
After this prologue, the windows are closed for a few days to allow the heat to develop. The manure is then compacted again until the material has reached the ideal height of 40-50 centimeters. Then fill in the excavated soil to form a 15-20 centimeter thick layer. Ideally, you mix the substrate with mature compost. Work the soil until it has a fine, crumbly consistency. If compost is not available, standard standard soil or potting soil serves as a sensible alternative to create a fine, level seedbed. Last but not least, attach a thermometer inside to monitor the heat development in the air and in the ground. An optimal temperature level is between 18 and 22 degrees Celsius. The warm cold frame is now ready, so the windows are closed. In the following 3-4 days the material settles again. You should wait for this phase before the first seeds are sown or young plants are planted.
Tip:
The efficiency of a manure bed is increased by additionally covering the structure with bubble wrap, jute or reed mats. The less heat that can escape, the better.
Planting warm beds
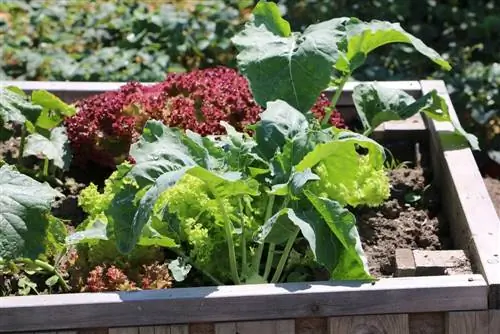
The finished manure bed is immediately used in February for sowing garden cress, lettuce, radishes or radishes. In March, other useful and ornamental plants are available for cultivation in warm beds:
- Aubergines
- Cucumbers
- Types of cabbage, such as Chinese cabbage
- Spinach
- Herbs, such as basil, marjoram or chervil
- Ornamental plants, such as carnations, snapdragons, marigolds or strawflowers
If the warm bed is only used for cultivation, sow the seeds in small pots to sink them into the ground. In this way, they can easily be moved outdoors after emergence. In order for sowing in the cold frame to be successful, the following aspects are important:
- Water the seeds regularly with a fine spray
- Keep the windows closed and darken them so that partial shade is created
- Aerate the manure bed at lunchtime after germination
During this phase, adjust the shading to the intensity of the sunlight. Daily ventilation is mandatory so that the gases can escape. From the end of March/beginning of April, the windows can be removed or opened during lunch hours. This measure contributes to the hardening of the young plants so that they can meet the requirements of the outdoors. Keep the moisture level of the substrate under control. During cultivation, repeated spraying is sufficient to ensure a balanced water balance. As the year progresses, water the soil in the warm bed more thoroughly. At the end of April/beginning of May, the offspring are pricked out in order to move the plants outdoors from mid to end of May.
Use manure beds in summer, autumn and winter
For plants that are sensitive to the weather, such as tomatoes or peppers, continuous cultivation in a manure bed can be considered. If a correspondingly high structure has been built, the valuable plants are well protected in rainy, cool summers and provide a rich harvest. Once the summer crops have been harvested, sow late vegetables such as savoy cabbage or spinach in August/September. Lamb's lettuce, endives and radishes are added in autumn and can be harvested well into winter. The natural warmth also qualifies the construction as a useful winter storage for fruit and vegetables. Securely planted in soil and straw, celery, leeks, potatoes, kohlrabi, carrots and other vitamin suppliers stay fresh for a long time.
Is there an alternative to crap?
If you're not lucky enough to be able to cultivate your garden near horse or cow stables, you don't have to do without a manure bed. The following two alternatives do not quite develop the temperature level of horse manure, but still create an acceptable level of warmth. The plan works with the following ingredients:
- 1 bale of peat
- 10 kg organic complete fertilizer
- 2 kg sugar
- 140 l water
The peat is chopped up, mixed with the organic fertilizer and half of the water is poured over it. Form the mixture into a pile and let it rest for a day. Then pull the material apart and pour the remaining water in which the sugar was dissolved over it. Filled into the pit, compacted and well sealed, the desired heat develops within a few days. If this is not the case, dissolve another 1 kg of sugar in hot water and pour it over the mixture. Then the time has come to apply the soil layer and start planting.
Conclusion
In grandfather’s time it was an integral part of every garden. The manure bed naturally creates a warm environment in which ornamental and useful plants can be sown quickly and thrive early in the year. It is primarily horse manure that achieves this miracle, although cattle and sheep manure also produce acceptable temperatures. If you create and plant a manure bed professionally according to these instructions, you will benefit from the convincing advantages all year round, such as an earlier and an extended harvest well into the winter. Where manure is not available, an alternative is a mixture of peat, fertilizer and sugar to transform a cold box into a practical warm bed.

