- Author admin caroline@plants-knowledge.com.
- Public 2023-12-17 03:39.
- Last modified 2025-01-24 12:45.
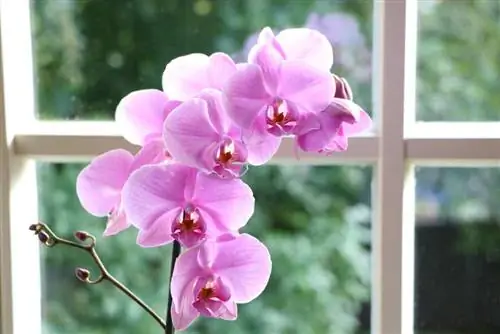
Orchids are among the most popular houseplants and are often given as gifts because of their variety and splendor of flowers. Anyone who owns particularly beautiful specimens and would like to cross-breed them may be tempted to propagate them themselves, despite the large selection available on the market. However, hobby gardeners are confronted with some difficulties and peculiarities. Sowing and growing orchid seeds can still be successful if a few hints and tips are taken into account.
Fertilization and seed collection
Growing orchids yourself can be a great challenge and produce completely new creations - but the difficulties begin with fertilization. If a flower were to fertilize itself, the result would be a lack of seed formation or seeds that are not capable of germinating. The flowers are therefore protected from self-fertilization by their structure. This makes manual pollination more difficult. In addition, only pollen or pollinia, as they are also called in orchids, from other flowers or, better yet, another orchid of the same species should be used. They don't necessarily have to bloom at the same time, but the pollinia should be obtained at the right time. Pollinus collection and storage is as follows:
- Depending on the type of orchid, hobby gardeners should first take a detailed look at the structure of the flower. The pollinia sit under a cap, the so-called anther cap. The pollinia consist of two yellow, spherical pollen packets that are connected to each other by short stalks.
- For successful collection of orchid pollen, the flower should have been open for three to four days.
- The anther cap is then carefully removed from the flower using a toothpick or pointed tweezers. It can happen that the pollinia attach to them and are removed directly. In this case, the pollen is simply removed with a toothpick or the cap is pulled off with tweezers.
- If an orchid cannot or should not be fertilized immediately, the pollinia are placed in an airtight container and frozen until they are used.
Seed capsule
Of course, this is just the first step, because the pollen still has to get onto the stigma for seed formation. This can be recognized in every orchid flower because it is shaped like a canal and leads to the ovary. In some orchid species it is also covered with a sticky liquid. In order for a seed capsule to form, fertilization must also be carried out by hand. The instructions show how to do it:
- Again on the third or fourth day after the flower opens, the stigma is first located. If you are not sure where it is, you can ask at a specialist retailer or use the relevant images to make your search easier.
- The pollinia - in the case of the frozen version, of course thawed in advance - are either separated or placed on the stigma as a double package. Here too, wooden toothpicks or pointed tweezers help.
- For protection, the prepared flower can be covered with a transparent bag. However, this is usually not really necessary.
Once this step has been completed, patience is required. Depending on the orchid, it can take two to nine months until the actual fertilization has taken place and the pollinia have grown together with the stigma. It is a good sign if the respective flower withers quickly after the measure and the ovary thickens.
Tip:
As an alternative to collecting seeds yourself, these can also be purchased from specialist retailers or online. There are also private orchid fans who may give away or exchange seeds.
cultivation
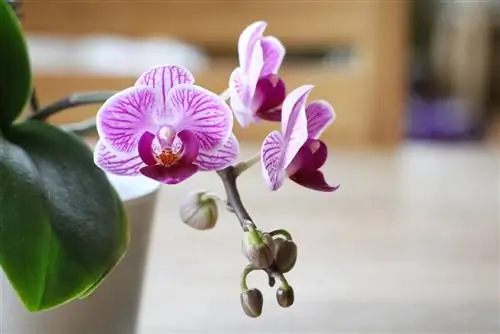
If fertilization is successful, seed capsules will then appear on the orchid. These fall off on their own after they are ripe and can then be used for the actual extraction of seeds and sowing. After opening the capsule, various methods are available. However, some factors must be taken into account for any form of cultivation:
- Substrate, all aids and vessels must be sterilized, for example with boiling water (exception is cultivation on substrate)
- Disposable gloves should be worn during all handling
- Tap or rain water can contain germs and harmful substances, so only distilled and boiled water should be used
- The seed capsule itself should be disinfected with hydrogen peroxide before opening
The reason for this seemingly over-cautious approach is due to the special characteristics of orchid seeds. These do not have any nutrient reserves like other seeds. They can therefore only germinate if they are either artificially supplied with nutrients or live in symbiosis with a special fungus that breaks down nutrients from the substrate for them. During this phase, however, they are very vulnerable and can be damaged or overgrown by other fungi, germs and pathogens in a very short time.
Sterile workbench
The safest way to grow orchids from seeds is on a sterile workbench. Here the seeds are protected from foreign pathogens and are supplied with nutrient medium - just like in the laboratory. However, for private household use and laypeople, the effort is simply disproportionate and sowing seeds in a sterile workbench is therefore not recommended.
On substrate
The most natural and easiest method of cultivation is sowing directly next to the mother plant. The substrate is moistened well and the seeds are placed on it. The chances that the required fungus is already present in the substrate are good. However, the substrate must not dry out or dry out. In order to achieve the appropriate humidity, we recommend placing the orchid in an indoor greenhouse and spraying it frequently.
Growing on bark
All you need to grow on bark is a piece of bark. This is first poured with boiling water and sterilized. Then proceed as follows:
- So that the bark carries the necessary fungus, it should be covered with the substrate of the mother plant for about two weeks or put directly into the top of it.
- Then the bark is placed in distilled water or sprayed with it to soften it. She can be dripping wet.
- The orchid seeds are sown on them for cultivation.
- The piece of bark prepared in this way is placed in an indoor greenhouse or in a sufficiently large glass container and covered.
- As soon as dry spots appear on the bark, it must be sprayed with water again.
Tea towel method
The tea towel method can be done with or without a cloth, but it takes a bit of effort at first. The instructions show how it can work:
- A clay pot and new tea towel as well as sphagnum moss and tree fibers are sterilized with boiling water.
- One half of the moss and tree fibers are filled into the pot, the other half is wrapped in a cloth and placed on the substrate. The surface of the fabric should face up with the smooth side - i.e. without wrinkles.
- The vessel prepared in this way is placed in a bowl or on a coaster. The surfaces are sprayed and the bowl is filled with water.
- A few fresh root tips are cut from the mother plant and placed on the fabric.
- Finally, the orchid seeds are placed between the root tips and the container is covered with a glass plate.
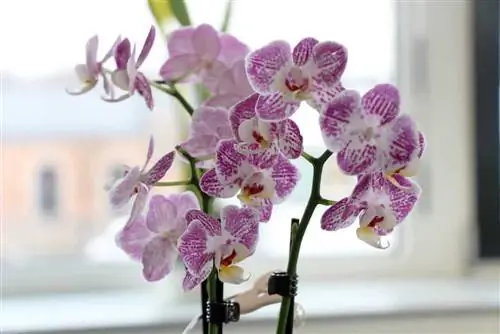
After these preparations, water is simply added to the bowl if it dries out. If the cloth appears dry on the surface, it can also be sprayed.
Tip:
In addition to the suggested methods, special growing sets for orchids can also be found in stores.
Duration and aftercare
It can take a few weeks or months for the seeds to actually develop into seedlings. Only when they clearly show leaves can they be sprayed with highly diluted orchid fertilizer for the first time. To achieve this, the orchids should be grown at normal room temperatures throughout. The freshly germinated shoots cannot tolerate fluctuations or only poorly. If the young plants are several centimeters high and have several leaves, they can be slowly weaned from the consistently high humidity. Then the careful separation and transfer into normal orchid substrate can take place. You will then receive the same care as the mother plant.
Conclusion
Growing orchids yourself is not easy or quick to do, but it can be a worthwhile undertaking. However, anyone who gets involved in this should know that it requires perseverance and a lot of care - at least in the preparation.

