- Author admin [email protected].
- Public 2023-12-17 03:39.
- Last modified 2025-06-01 06:48.
With every papaya there are numerous seeds available for growing the tropical plant. However, only those at least dare to explore culture. With the right knowledge, it is very easy to grow a decorative papaya plant from the round seeds. However, it is important to take the special requirements of the melon tree - as the papaya is also called - into account right from the start.
Seeds
Ripe and sweet as a fruit, still slightly green and fried as a vegetable - the papaya is more versatile than many realize. The fruit of the melon tree also contains papain, which is valued as a digestive aid. Not least because of this, the fruits can increasingly be found in supermarkets and with them a variety of seeds.
In order to win them over for breeding, the following procedure is followed:
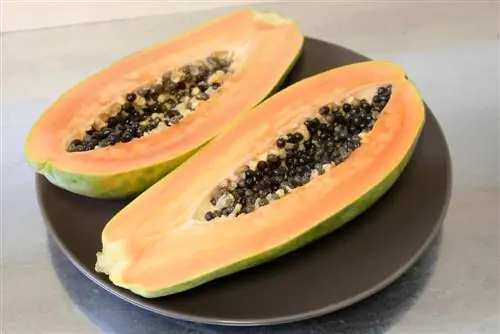
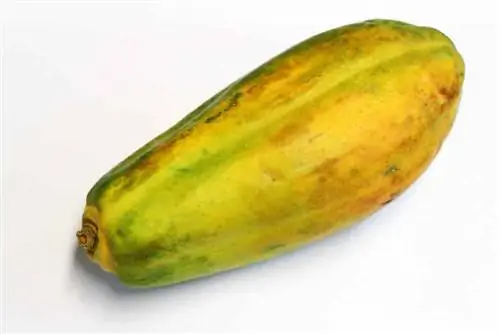
- Cut the papaya lengthwise.
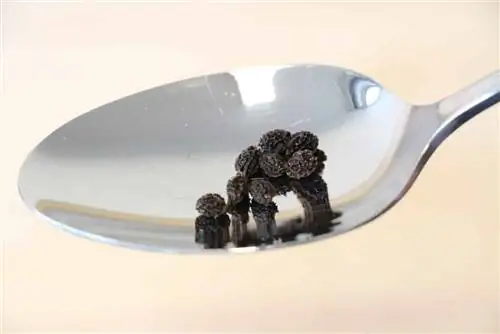
- Using a spoon, carefully scrape out the dark brown to black, round seeds from the halves and place them in a sieve.
- Rinse the pulp and fibers as well as other residues thoroughly.
What you do with the seeds afterwards depends on the desired sowing date. The papaya seeds are surrounded by a shell and a watery liquid. This protects the kernels and makes them storable, but it also delays their germination. If cultivation should wait a while or germination is not in a hurry, the shell must remain on the seeds.
The situation is different if cultivation should begin immediately and germination should not take long. To achieve this, the covers must be removed. To do this, you can rub them lightly over a piece of sandpaper, for example. They are then washed again to remove casings, liquid and residue.
Before the seeds are placed in the substrate, they should always be allowed to dry slightly for a few hours to two days.
Substrate
The use of potting soil is recommended for growing papaya from seeds. This is loose and permeable and also has a low nutrient content. If you want to mix the substrate yourself instead of the finished growing soil, you can use the following components:
- Coconut fibers or coconut substrate
- Perlite
- Sand
- Peat
A mixture of two parts perlite and one part coconut substrate has proven successful. Sand and peat can be mixed in equal parts. However, the use of peat is not very environmentally friendly.
Tip:
If no ready-made potting soil is used, the substrate should be heated to 200°C before use in the oven or microwave. This kills any germs and mold spores that may be present.
Vessel
When the papaya seeds germinate, they quickly form a delicate root network. This makes it more difficult to separate the young plants when repotting without damaging the roots. One solution to this is to place the seeds one at a time in a planter. The pots you choose should be about eight centimeters in diameter and, if possible, able to be torn or cut.
This makes repotting later easier and reduces the risk of damaging the papaya plants. It is also important to ensure that the planters have sufficient water drainage.
Tip:
A heatable indoor greenhouse and individual or divided planters are ideal. In any case, it is important that the vessels can be covered.
Location
One of the most important factors for growing papaya from seeds is the temperature of the substrate, which should be between 25 and 30°C. In the cold season, this is difficult to do even indoors. Window sills are usually drafty or too cold even when close to the heater. The temperature can fluctuate significantly directly on the heater.
To be on the safe side, the temperature at the desired location should be measured continuously for at least one day and one night. This means that critical fluctuations are noticed and the conditions can be adjusted or a different location selected if necessary. However, the problem can be solved much more easily with the heated indoor greenhouse mentioned above. These are already available in stores at surprisingly low prices. For older plants, outside of summer we recommend a location in the winter garden, greenhouse or another bright and warm room.
Sowing
The young papaya plants are sensitive and not every seed will germinate, so it makes sense to plant several seeds at the same time. To do this, proceed as follows:
- If necessary, a drainage layer is first added to the pots. Perlite or coarse gravel are suitable for this.
- The planters are filled with substrate until there is about two centimeters of space left up to the top edge.
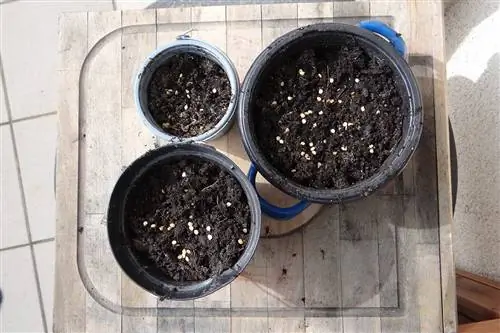
- The seeds are placed individually, in the middle of the pot and covered with about half a centimeter of potting soil.
- The substrate is slightly moistened with a water sprayer.
- The containers are now either placed in the indoor greenhouse or covered with foil or a glass plate to produce the moisture required for the germination of the papaya seeds.
To avoid mold formation, the cover is removed daily for a short time and the substrate is ventilated.
Light
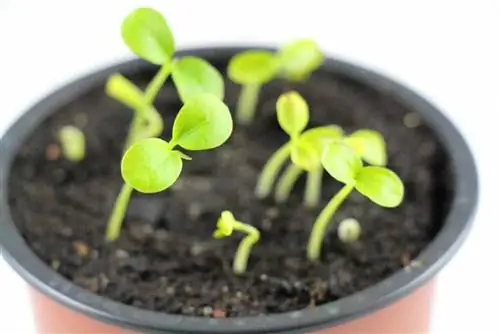
As long as the papaya seeds have not yet germinated, they do not need appropriate lighting. However, if the first shoot tips appear after two to four weeks, light is of crucial importance. Since the papaya comes from tropical areas, it needs a very bright location. In fact, she feels most comfortable in the blazing sun. Since such conditions cannot be created naturally in temperate regions in autumn, winter or spring, a plant lamp is essential for growing papaya. If there is no light, the young plants will rot, develop weak shoots and usually die quickly.
Water
During germination, the substrate for the papaya should be kept moist - but not wet. Soft, low-lime and tempered water is used. It should at least be at room temperature, but can also be slightly lukewarm. During further growth, the substrate should also be kept moderately moist and must neither dry out nor be wet.
Especially in winter, when brightness decreases and temperatures drop, if the substrate is too moist, there is a risk that mold will form and the roots will begin to rot. This often goes unnoticed until it is too late. Watering is therefore carried out as needed and adapted to the conditions.
Repotting
The first repotting can wait until the planter is well rooted and individual roots are already visible at the bottom of the pot. In order not to harm the papaya, the planter should be removed and the root ball and the old substrate placed in the new pot.
A mixture of equal parts perlite, sand, compost and garden or leaf plant soil is now used. The proportion of perlite can be slightly higher so that the substrate remains well-drained and does not tend to compact. It is ideal to repot the papaya in spring.
Tip:
The planter can be quite small, but should be stable. If the papaya has a height of between one and two meters, a diameter of 20 to 40 centimeters is sufficient. The plant can be stabilized with stones at the bottom of the pot or bucket or a heavy planter.
Fertilize
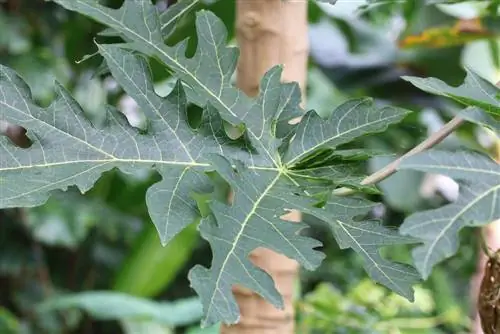
For the first two months after germination, the papaya does not need any additional nutrients; it is supplied by the seeds. Fertilization can then slowly begin if the plant has not already been repotted. By adding compost and fresh soil, the plants already receive nutrients and are then covered for some time.
If the soil has not yet been changed, fertilize weekly about two months after germination. For this purpose, a liquid fertilizer for leafy plants is used, but in a significantly lower dosage. Only about a quarter of the amount specified by the manufacturer should be used. Older plants may need a little more fertilizer. From the second year onwards, these are also fertilized weekly during the growth phase, i.e. from around March to September. But then with the recommended amount of liquid fertilizer.
Freeland
The young papaya plants can be placed outdoors from the first year onwards, provided the temperatures are sufficiently high. The temperature should be around 25°C so that the plants are not damaged. It is also important that the papaya slowly gets used to the direct sun. This can be achieved by initially leaving it bright but not unprotected in the light and moving it a little further into the sun every day. In addition, the following points should be taken into account when cultivating outdoors:
- Final location as sunny as possible
- Check and water frequently to avoid drying out
- In cold weather and late frosts, urgently move into the house
- Protect from cold wind and heavy rain
Fertilization
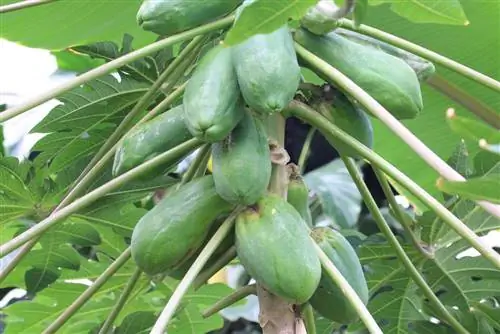
In order for the papaya seeds to actually grow into fruit-bearing plants, they must first successfully grow to a height of around two meters. Under optimal conditions, flowers then form. Initially, these can only be found individually and in small numbers. However, over time they become more numerous. If the papaya plant is left outdoors during this time, successful fertilization can occur through insects.
However, there is no guarantee because the papaya has a special feature - male and female flowers. In individual cases the flowers can also be hermaphrodite and therefore self-fertile. The female flowers must be pollinated with pollen from the male flowers in order for fruit to form. First of all, it is important to be able to distinguish the flowers visually.
Female flowers are comparatively large. The buds are conical in shape, so they taper to a point at the end and have a noticeable thickening on the stem. The petals are free and not connected to each other. Male buds are narrow and small, the petals are connected to each other at the stem end. Furthermore, the male flowers are rarely alone, but more often appear in small groups. Hermaphrodite flowers are both male and female and visually appear to be a mix of the two genders. Elongated and oval in shape, they have a small constriction in the middle (similar to a peanut shell).
While hermaphrodite flowers do not require targeted fertilization, female flowers need help. This can be done, for example, with a fine brush or cotton swab by first picking up the male pollen and introducing it into the female flowers.
Tip:
To ensure fruit formation, it is advisable to grow several papaya plants to increase the chance of female and male flowers.
Wintering
Since the papaya comes from tropical areas, it cannot tolerate cooler temperatures and must be brought indoors from around 18 to 20°C. Overwintering in the winter garden or a heated greenhouse is also possible. It is also important:
- Watering moderately, the substrate should not dry out completely but should not be wet either
- Stop fertilization in September
- Spray plants occasionally to increase humidity and prevent pests
- Maintain a room temperature of 20 to 25°C
Diseases, pests and typical care mistakes
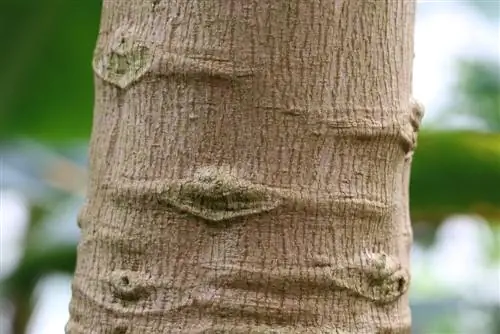
Since the papaya is not native to this country, it is largely spared from pests and diseases. However, it can be attacked by spider mites and suffer from root rot if the culture conditions are not tailored to its needs. If it is too dry, it becomes more susceptible to spider mites. This is indicated by white dots on the leaves and loss of leaves as well as cobwebs. This can be remedied by increasing the humidity, for example by regularly spraying the plant with soft water. However, root rot occurs when the papaya is too wet. Possible causes for this are:
- Flooding Water
- Impermeable substrate prone to compaction
- Lack of water drainage
In order to prevent the disease, appropriate prevention is important. Choosing the right substrate, adding a drainage layer and appropriate watering are crucial. If the papaya plant is already growing weakly and careless, root rot is usually already well advanced. Repotting and removing infected areas can be attempted, but is no guarantee that the plant will be saved.

