- Author admin [email protected].
- Public 2023-12-17 03:39.
- Last modified 2025-01-24 12:45.
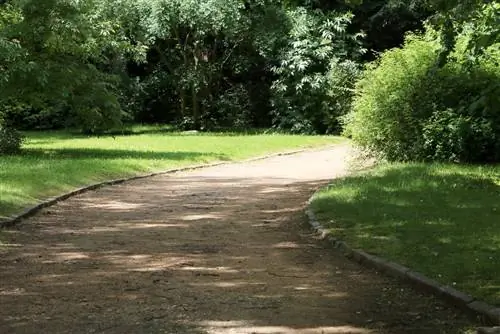
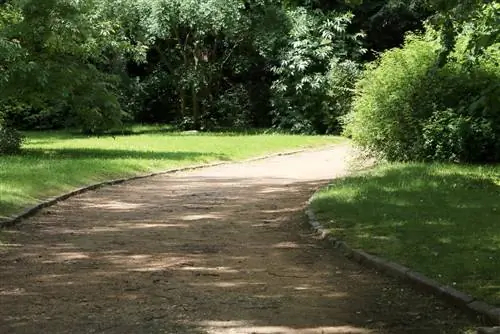
Curbs can be used to border paths, paved areas or even beds and thus create a garden with the help of a path or a border. These instructions will help you with the professional setting of curbs, so that you can do without an expensive specialist:
Materials and preparation for laying curbs
Keep in mind that in order to lay curbs yourself, you have a sufficiently large area for your work and to store the materials. In an emergency, perhaps clear some space or check with your neighbor whether you can use the public area of the sidewalk. In any case, be careful not to obstruct the traffic of cars or pedestrians. Remember: good planning in advance will make your work easier and smoother to carry out later. First, make a list of the materials you need. Only when you have determined the quantity can you get the materials and aids.
Aids needed
- Paving hammer
- Paving cord
- Paving iron
- Shovel
- vibration plate
- Trough for mixing the concrete
Materials needed
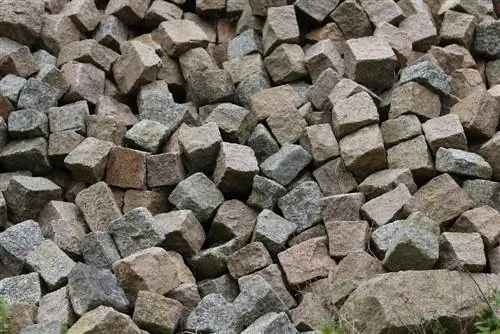
- Edge made of granite, concrete or natural stone
- Antifreeze gravel
- Paving concrete C25/30
For large and heavy banknotes, ideally you should get a helper to make the physically difficult work easier.
Preparation of the actual paving work
- Put foil or tarpaulins on the lawn or paving areas you want to protect to make it easier to remove the excavated earth and paving concrete later.
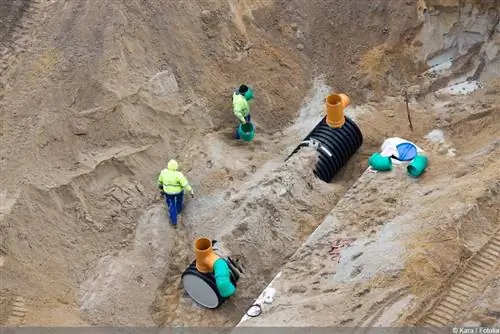
- First you should dig a trench, a so-called plania, at the point where the curbs will later be located. This should be around a third of the later curb height or 15 to 20 cm below the lower edge of the curb. This plane should be as straight as possible. The best way to compact this plane is with the vibrating plate.
- Now fill in about 15 cm of frost protection gravel to avoid later frost damage such as tearing. This layer is also compacted again with the vibrating plate.
- Now drive in the paving iron in the line or alignment of the later curbs.
- The paving cord is stretched between the paving irons. This should be the height that the upper edge of the curbs should later be. This work is one of the most important because a crooked paving track can later lead to crooked curbs. It's better to check the course and height twice.
Laying curbs professionally
- Now place the paving concrete at the beginning of the grade and along the paving cord. When doing this, fill the concrete a little higher so that the curb stone can be inserted well into the concrete bed.
- Now you can insert the first curb into the piled up concrete. Align the curb well and tap it with the paving hammer so that it lies firmly in the concrete bed.
- Form the concrete bed in front of and behind the curb into a wedge, which you press down with the shovel and pull smooth. Although this area will later be underground and will be invisible, it will make work easier for later paving work, for example.
- Now continue in this way with the remaining stones. Don't forget to keep checking the distances, height and location. The consistency with the plaster cord is a good help here. Corrections can now be made.
- If there are large gaps between the curbs or natural stone was used, the joints should be filled with mortar.
Costs of laying curbs yourself
Paving concrete and gravel can be had for just a few euros. Stones, on the other hand, can have a wide range of prices. From one euro or less a piece of simple concrete curbing to 15 euros a piece of natural stone, everything is possible. That is why it is necessary to determine the exact consumption of material, especially when using expensive natural stone. Still buy a few more stones in case you have to measure or perhaps need to cut one.
Sources of errors, maintenance and care
Be sure to compact the trench you dig, especially if you use sandy soil. If the ground sinks, the curbs could tip over or the joints could crack, even years later. Many laypeople forego the gravel that is added, which is a big mistake. This gravel in particular, when well compacted with the vibrating plate, prevents the curbs from tipping or sinking.
If you pay attention to these things, you will enjoy the curbs you built yourself for many years, if not decades.
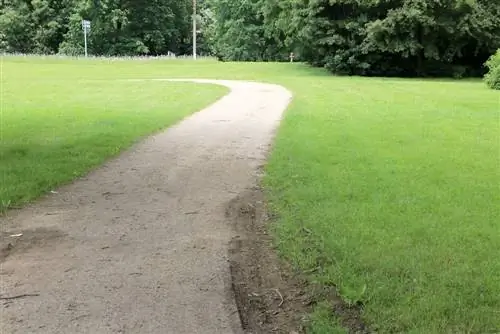
This small structure doesn't actually need any care or maintenance. If weeds grow between the curbs, you can simply pull them out or remove them with Weed-Ex. A curb in particular prevents weeds from spreading from one area to another, for example from a lawn to a bed. This means that a curb stone is not only a decorative but also an extremely useful structure in your garden or front garden.
What you should know about laying curbs in brief
If you have some craftsmanship you can lay your own stones in this way, save the craftsman and therefore money and later look proudly at the work of your own hands. If carried out professionally and carefully, you will be able to enjoy your curbs for many years or even decades. Here is an overview of the most important work steps:
- The spirit level is used to mark a straight line using wooden sticks. A string is now attached to these wooden sticks, which serves as a guide for the straight line and also for the height. It is therefore important that the cord is the same height at all points.
- A trench is now dug along the guide line, which is about a spade wide and approx. 20 cm deep. This trench is then filled halfway with earth-moist concrete and the curbs are placed in it along the line.
- The curbs can be brought to the correct height using a rubber mallet. With it you can easily hammer on the edge stones without damaging them.
- Once the height is fixed, the curbs on both sides are filled with concrete. This means they are bombproof and will last for many years.
If the boundary involves paths that are heavily used, such as garage driveways or areas that border a slope, a more stable edge is required. This is achieved using special concrete-encased end stones, which can be deep curbs or palisades.
As an alternative to setting them in concrete, the stones can also be anchored in a gravel bed. To do this, the bottom of the trench is filled with a finger-deep layer of gravel. The curbs are placed on top, adjusted in height and direction and finally embedded well in fine gravel. This must be carefully compacted, for which the rubber mallet can be used. Of course, you shouldn't move the stones out of their fixed alignment.
Edges in garden design
Clear lines in the garden, that's what most garden owners want. But it is always important that the overall picture is correct. Paths, beds, lawns and seats must harmonize. The curbs also contribute to the perfect picture. But you should also think about practical things. Driveways to houses, garages and the like must have a high level of stability. Garden paths are not that compact. This is more about optics. Concrete curbs are ideal for driveways and the like, while natural stones are better for paths. They often have a natural pattern. This loosens up the garden paths. Curbs are a real design element in the garden. It usually looks more natural when everything is not so perfect, i.e. one stone looks a little higher and one is lower. Too much perfection often seems cold.
Conclusion
Edges also contribute to the overall impression of the garden. Although they certainly don't set any highlights, they do ensure harmony. There are numerous different curbs. You should take your time when choosing. Specialist advice can also be useful. It is important that a natural impression is created. The right stones and good laying technology contribute a lot to making the garden appear natural and inviting.

