- Author admin caroline@plants-knowledge.com.
- Public 2023-12-17 03:39.
- Last modified 2025-06-01 06:48.
It can be laid in two ways, in a bed of gravel or in concrete, or in a bed of mortar, as they actually say. As a rule, the grit bed is preferred, but there are reasons to choose a mortar bed:
- If patterns are laid (due to shaking there is a risk that the stones will shift and the pattern will no longer be uniform
- For heavy use (for heavy traffic)
- If the paving is laid in rows
- When laying a paving trough
The work processes when laying in concrete are similar to those when laying in a bed of gravel or sand. However, instead of placing the granite paving stones in a bed of gravel, they go into a bed of concrete. Laying in concrete has several advantages, but also a serious disadvantage. The advantage is that a closed surface is created. The joint material cannot be washed out or infiltrated by ants. The growth of weeds, grasses and the formation of moss is prevented. The disadvantage is that it is a sealed area and rainwater cannot seep into the ground. Cities and municipalities charge a fee for areas sealed in this way, essentially for the use of the wastewater system. A disadvantage can arise if work is not carried out correctly. If water can penetrate and freeze in winter, the entire surface can crack, break and become ruined.
Choose stones and laying patterns
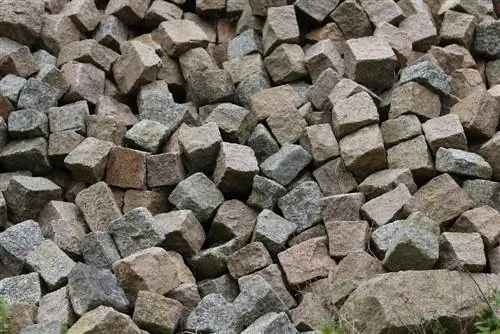
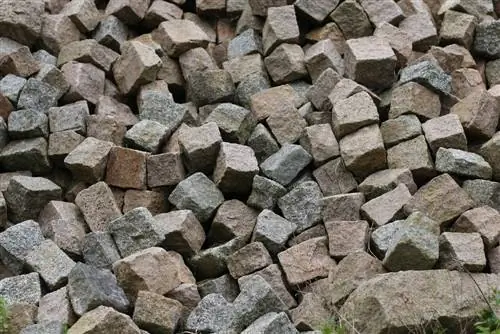
Granite paving lends itself to a sample. The stones are rarely simply placed in a row. So you have to choose the pattern first and then the matching stones. The so-called cable pattern or the checked pattern is often used for paths. The segmental arch is popular for larger areas, although not entirely easy. Granite paving stones come in different sizes. The most common of these are 5, 7 or 9 cm square. There are two classes, I and II. Class I is more precise in size, the stones are almost the same size and have the same color. There may be deviations in class II. So once you have found stones and patterns, you can start preparing for laying them.
Bordering
Paving ceilings generally need a stable edge edging. This is the only way to prevent the edges of the paving from slipping and to keep the surface evenly beautiful and stable. Which edging should be chosen depends on several factors, e.g. B. the local conditions, the area to be paved, the traffic and the financial budget.
- Pathways with little traffic - concrete back support that extends at least 10 cm below the top edge of the paving bed
- For medium loads - additionally lay a row in concrete (at least 10 cm thick)
- For heavy use - use concrete edging stones or special end stones
- Concrete the edge edging securely
Design the substructure
The substructure must be prepared accordingly for the use of granite paving. In addition, the surface must be of the right type. First, the planned area is staked out and excavated. You expect a frost protection layer (gravel layer) of 40 to 50 cm, a base layer of 8 to 10 cm and the paving bed, which is 10 to 12 cm thick. Inside are the stones, which are 5 to 9 cm high depending on the type. So you have to dig the ground 63 to 72 cm deep. For large areas, it's worth renting a small excavator; for small ones, it's worth renting a shovel, spade and muscle power. When digging, pay attention to a slope that allows rainwater to drain away quickly. The gradient must always lead away from buildings.
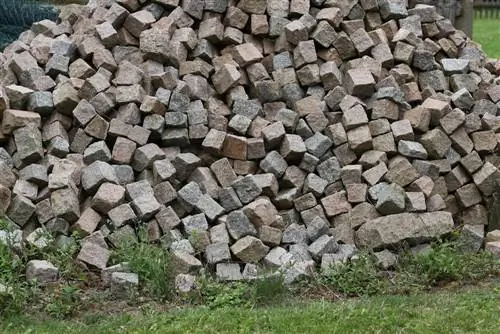
Once the area has been excavated, compact the subsoil properly with a vibrator. The gravel (grain size 0/70) can then be filled in for the frost protection layer. You shovel it in layer by layer and compact it again and again with the vibrator. A layer of 40 to 50 cm is sufficient in most cases; only in exposed locations should it be higher, up to one meter. When filling with gravel, think about the slope again. In the longitudinal direction, a gradient of 0.5% is sufficient, in the transverse direction it should be 2 to 3%. The surfaces should therefore have a height difference of 0.5 cm orof 2 to 3 cm and that over 1 m. After the frost protection layer follows the base layer, i.e. gravel (grain size 0/30). A layer of 8 to 10 cm is sufficient here. Here too, compaction must be carried out and attention must be paid to the gradient.
Construction of the concrete bed
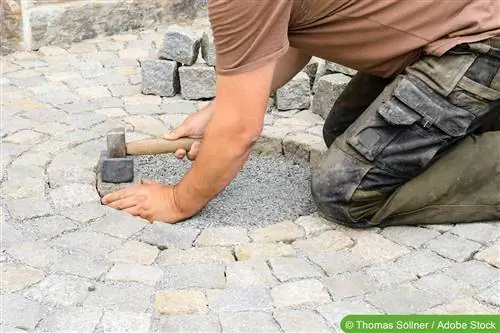
Now a 10 to 12 cm thick concrete bed must be placed. The stones are knocked into it. Mortar is a mixture of sand (0/1 to 0/3) and Portland cement in a 4:1 to 5:1 ratio. Enough water is added to the mass so that the mortar is neither too wet nor too dry when it comes out of the mixer (mixing machine). Mortar that is too wet will not hold the stones, while mortar that is too dry will not connect the stones and the mass. For one cubic meter of concrete, use 225 kg of cement with a grain size of 0/8 or a maximum of 0/16 mm, plus 7 to 8 parts of sand. Spread the mortar and pound the stones into it. The mass must be high enough, at least 4 to 5 cm, and the stones must be 2/3 deep. The cement sets after just 1 to 2 hours, which is why the height of the stones and joints must be adjusted immediately.
- Be sure to pay attention to the slope when spreading.
- Lay out the cobblestones in a row with staggered joints - maximum joint width of 15 mm
- Use stones of the same width in the rows!
- Avoid continuous longitudinal joints
- Joint width for small paving stones maximum 10 mm
- Transverse direction can be perpendicular or diagonal to the main direction of the border
After laying, the entire paving area is compacted with the vibrator.
The grouting
The grouting here is not with joint sand, but with joint mortar or cement slurry. The mortar is mixed according to the package instructions. As soon as a cream-like consistency has been achieved, grouting can begin.
- Always only mix as much mixture as can be applied in 10 to 15 minutes, because the flowability decreases steadily depending on the temperature.
- The previously laid granite stones must be moistened, preferably simply moistened with water. This means that excess joint material can be easily removed from the stones.
Apply the thin grout to the entire surface of the paving bed and spread it evenly with a rubber spatula. After about 30 minutes the mortar is set. Then it's the right time to clean the surface. Dried mortar is difficult to remove, so the right time is crucial for how much work you do. Mortar residues can first be swept away. Any remaining residue is then removed with a tiler sponge. However, this often needs to be cleaned and squeezed out. Also clean the water regularly, otherwise residues will remain. The area must be completely free of mortar residue. The area should not be entered for 3 to 4 days.
Conclusion
Laying granite paving is not difficult and is hardly different from laying other stones. However, if you want to lay in a mortar or concrete bed, there are differences. As with all installation work, the substructure is very important. The best surface would be a concrete slab, but who has that? A suitable bed must be constructed. It is important that the soil is very compacted so that the gravel or gravel does not slip later. This then has an impact on stability. In addition, care must be taken to ensure good jointing. If water penetrates the concrete and freezes in winter, this is usually a major nuisance. The entire surface can become unstable, apart from the fact that it no longer looks nice.

