- Author admin caroline@plants-knowledge.com.
- Public 2023-12-17 03:39.
- Last modified 2025-06-01 06:48.
The oleander (botanically: Nerium oleander) is an evergreen, Mediterranean flowering plant and is one of the dog poisonous plants. All parts of the plant are poisonous. On the terrace, on the balcony or in the garden, it spreads a wonderful, southern feeling with its fragrant yellowish, white or pink-red flowers. So that you can enjoy the wonderful colors and scents every year, the oleander must be cut regularly at the right time. We will explain to you which types of cutting are suitable for the Nerium oleander and what you need to consider.
General
In general, it is actually not absolutely necessary to cut an oleander plant. However, the bush or tree in the pot simply becomes too big over the years or begins to go bald. Sometimes the oleander also blooms in the winter months in winter gardens or apartments that are too warm, so that over time it loses its strength and no longer sprouts. Then it should be cut back so that it can grow well again. However, it should be noted that the oleander usually only produces flowers on two-year-old shoots.
Caution - poisonous
Since all parts of the oleander plant are very poisonous, you must not leave the cuttings unattended; especially not when there are children and pets nearby! When cutting, wear gloves and old clothing to protect yourself from the escaping toxic juice, which can cause allergic reactions and symptoms of poisoning.
Time
After purchasing an oleander, experts usually recommend waiting two years before using scissors on the plant. The cut can then be carried out after or before the plant overwinters. Since the oleander develops new shoots in spring, spring is better suited for this, say experts. It is better not to prune in the fall before putting the plants away, even if this seems sensible due to lack of space. Since the roots and above-ground shoots of the oleander are active all year round, they would react with increased shoots after pruning. A circumstance that must be avoided at all costs in winter quarters. The fresh shoots cost the oleander too much and unnecessary energy. Furthermore, these shoots would not be able to survive in spring.
Pruning all year round is also possible if individual shoots die off in the crown of the oleander throughout the year, preventing fresh, new shoots from sprouting. You can also always remove wilted flowers. These are not cut off, but simply plucked off. Many hobby gardeners and houseplant lovers also know the term “cleaning out” when it comes to picking off the withered flowers and leaves.
Before cutting
- put on long gloves
- Apron or other protective clothing
- Check cutting tools for cleanliness
Cutting types and instructions
In principle, a distinction is made between a complete pruning, which is also referred to as a rejuvenation pruning or radical pruning, and a maintenance pruning, which many hobby gardeners are familiar with as a thinning pruning.
Radical cut
You should only make a radical cut if your oleander plant has either become too bare or too tall. For older plants, rejuvenation pruning is often necessary so that they can grow back beautifully bushy. Instructions:
- Cut the oleander back completely to 15 or 20 cm.
- In technical jargon this is called “putting on the stick”. This means it sprouts well again.
- However, it takes a year or two until the plant can produce flowers again.
- With this radical treatment, the tips of the spent inflorescences will also be cut off. They contain the facilities for new flowers.
Conservation cut
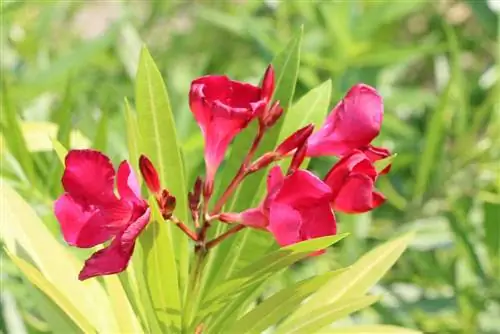
Conservation or thinning pruning is a gentle pruning method for the oleander. In addition, no flowering season is missed. When pruning, you should always have the desired shape of the oleander plant in mind. Because you can train the oleander as a standard, half-trunk, quarter-trunk or as a bush. Instructions for young plants:
- It's best to start pruning when the oleander plant is young.
- As soon as the plants grown from a shoot cutting are too long.
- To give it a bushy shape, cut the shoot back to approx. 10 to 12 cm.
- This is usually enough to maintain a good shoot structure.
- After a short time, new shoots appear that can bloom in the same year.
- Similarly, new shoots continue to emerge at the base over the years, which are responsible for the bushy growth of the oleander.
Tip:
Oleander plants are often offered in garden centers that are not planted individually, but with several cuttings in a pot. Even if the plants look beautiful, pruning them becomes a bit difficult. It's best to choose the strongest cutting and pot it in a new container, or you can give each cutting its own container and grow several oleander plants with different growth habits. Instructions for older plants:
- When cutting, please note that the beginnings of flower buds are already formed the previous year.
- Remove dead branches completely so that the plant does not become so bare from the inside out.
- It makes sense to cut off some barren branches directly above the ground.
- Sideways growing or overhanging shoots should also be removed and, if necessary, cut back to the old wood.
- This creates space for new shoots without the oleander becoming too compacted.
- If it grows too densely, its shoots could hinder their growth and the flowering would also be more limited.
The basic rule is that a cut into the old wood produces vegetatively oriented shoots. However, if you cut in the flowering region, short, quickly flowering shoots will be produced. Of course, finding the right ratio requires some practice.
Tip:
In the flower regions, do not cut down into the bud region, but only above it.
Inflorescences themselves are not cut off because they can produce new flowers twice. If the plant no longer looks so beautiful due to the wilted flowers, simply pluck out the wilted petals without damaging the rest of the inflorescence. As soon as the inflorescences are used up, the oleander sheds them automatically. If bean-like seed capsules form, you can remove them, as maturing the seeds of the plant only takes an unnecessary amount of energy.
Conclusion
With its bright and fragrant flowers, the oleander is one of the most popular potted plants, which, in addition to care measures such as watering and fertilizing, also produce a we alth of flowers through regular cutting. With radical pruning, the oleander is completely cut off down to the finger-thick branches, while with maintenance pruning the younger shoots and flower buds are left standing and the old wood is thinned out. But be careful when doing any pruning work on the oleander. The plant is very poisonous! Oleander doesn't have to be cut back, but it can be cut back. This is for illumination. The shoots are cut back into the old wood.
What you should know in brief
Cutting oleander as a care measure
- As oleanders grow old, signs of aging appear. The lower leaves turn yellow and fall off, the entire plant becomes bare.
- This is important to prevent: For compact growth, it is essential to prune the plant regularly.
- The oleander is rejuvenated by proper pruning. It usually looks sparse after cutting, but sprouts well again.
- If you cut in spring, the oleander will not bloom that year.
- The better option is, instead of cutting back radically once, to thin out a little every year.
- This means cutting off one or two shoots directly on the ground either in early spring or when clearing away in autumn.
- Bare shoots or those that impair the growth habit must also be removed. You always cut right at the base and don't leave anything behind.
- Oleander can also be rejuvenated. To do this, you cut back radically. Only three to five well-spaced, young and strong shoots remain.
- They are shortened to 10 to 20 cm high. You also cut into old wood.
Tip:
Caution should always be exercised when cutting oleander. The plant is poisonous and the sap released when cut can be dangerous. Under no circumstances should it get into the eyes or mouth. You should also wash your hands properly afterwards.
Location after the winter break
- With the beginning of the gardening season and frost-free nights, the oleander plants can be planted outdoors or moved into their new quarters in pots.
- Especially after pruning, the often still young shoots are sensitive to direct sunlight, especially in the midday hours.
- A partially shaded spot and enough water ensure perfect growth in the summer months.
- If the oleander is to be placed in the ground, make sure that the correct garden soil is used when planting.
- Quality soil usually contains long-term fertilizer in the form of white, solid beads.
- If this is not the case, it is recommended to add plenty of water when planting.
- Here too, choose the right place for the plant according to the pot planting advice already mentioned.
Fertilization and care
- The origin of the oleander extends from southern Spain to the Mediterranean region.
- Since the plant spends the whole year in the ground, it obtains the nutrients it needs through a wide network of roots.
- Because the oleander is kept in containers in this country, it is dependent on regular fertilization.
- A perennial fertilizer rich in nutrients should therefore be available if possible.
Propagation and overwintering
- Choose a delicate green shoot that is as young as possible.
- Cut 15-20 cm long, starting from the tip of the shoot at an angle that is as oblique as possible.
- For quick root formation, cut the shoot at the base of the stem about 2 cm in the middle diagonally to the diameter.
- Store in an opaque container with sufficient water and in a partially shaded location.
- The first result occurs after 4-6 weeks.
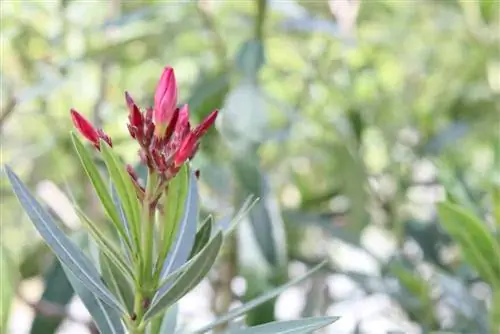
In the winter months, the oleander plant should be kept in a cool and dark place. The ideal temperatures are 5 to 10 °C. Since the oleander is prone to mite and aphid infestation during this time, it should, if possible, not be housed in direct living spaces. A frost-proof location in basement rooms or separate winter gardens is used for this.

