- Author admin [email protected].
- Public 2023-12-17 03:39.
- Last modified 2025-01-24 12:45.
Pumpkins have become an integral part of the diversely designed hobby garden. Here they serve as a status symbol, provide delicious pulp or transform into scary masks and lanterns for Halloween. The diverse plant genus owes its regular place in the hearts of gardeners not least to its manageable cultural requirements. The following lines will show you how to properly care for your pumpkin plants. Growing and cutting pumpkin professionally is easier than the majestic to bizarrely shaped fruit suggests.
Growing behind glass creates a growth advantage
In view of the long ripening period of pumpkins and the limited time window for their stay outdoors, growing them indoors is recommended. Before the heat-loving pumpkin plants are allowed outdoors from mid-May, they already have a strong constitution that direct sowing does not offer them.
- Soak the pumpkin seeds in room temperature water for 24 hours in the second half of April
- Fill the cultivation pots with lean peat sand, coconut fibers or perlite
- insert each seed about 2 cm deep into the substrate
- moisten with water from the spray bottle and cover with glass or foil
Placed in a semi-shady place at 25 °C, germination begins within a week. Changing the location to a brighter, cooler place with 18 °C is now an advantage. Under ideal conditions, several leaves thrive within 3-4 weeks. During this phase, the substrate is kept constantly moist without causing waterlogging. A cover is now unnecessary. Experienced hobby gardeners avoid pricking out sensitive plants. If necessary, weak seedlings are quickly disposed of.
Tip:
Pumpkin plants should be hardened off for 8 days before planting in the bed. For this purpose, they spend the day in the partially shaded spot on the balcony and the night in the sheltered ambience of the room.
Plants based on the Ice Saints
If there is no longer any risk of delayed ground frosts from mid-May onwards, the pumpkin plants can be relocated to the bed. Choose the location carefully because you are dealing with sun worshipers and heavy eaters. The course for a successful culture is optimally set in humus-rich, fresh, moist and nutrient-rich soil. An adequate pH value fluctuates between 6, 5 and 7. The further planting sequence is as follows:
- improve the soil at the chosen location with compost or worm castings and some sand
- work the soil until it is finely crumbly so that the roots can establish themselves quickly
- In heavy soil, drainage made of pebbles in the planting hole is recommended
- plant the pumpkin plants including the potting soil exactly as deep as before
- press the soil well and water intensively
- The minimum distance between the young plants is 1 meter
- To grow a giant pumpkin, a 2 meter planting distance must be maintained
Since the mercury column can still drop to dangerous depths until after the sheep's cold, place the sensitive plants under a polytunnel. At least a fleece protects the bed from the cold at night. It also makes sense to use a mulching film. This keeps the soil warm and moist, while at the same time suppressing annoying weeds.
Watering and fertilizing
Water supply and nutrient balance are the pivotal points in pumpkin plant care. All other aspects fall into place behind them.
- water regularly, allowing the soil to dry out in the meantime
- Principally water directly to the roots and not over leaves and flowers
- fertilize organically every 2 weeks, preferably with compost, horn shavings and plant manure
- The dosage of 3-5 liters of compost per square meter of bed area is considered appropriate
- A 2-3 cm thick layer of mulch protects the soil and releases additional nutrients
So that the heavy feeders are guaranteed not to miss out in terms of nutrient supply, knowledgeable hobby gardeners plant them directly on the compost heap or in its immediate vicinity.
Cutting
In its natural growth process, a pumpkin plant strives to constantly branch out, produce numerous flowers and a corresponding number of fruits. She achieves this feat without any pruning. In this case, you will enjoy a variety of small pumpkins. If, on the other hand, your goal is to grow selected giant pumpkins, you should direct the plant energy in this direction through targeted cutting. The procedure is limited to two dates per season and goes as follows:
- June: shorten all shoots with more than 3-5 leaves to 2 specimens
- July: Cut off the tendrils again except for a maximum of 5 leaves
- remove unnecessary shoots completely on both deadlines
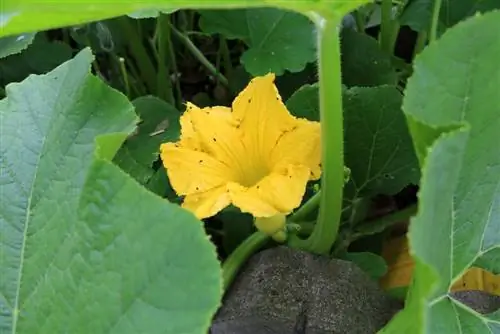
Overall, only leave as many female flowers on a pumpkin plant as you want fruit. A female flower differs from its male counterpart by the clearly visible fruit set.
Manual pollination
The magnificent flowers of a pumpkin plant attract hordes of busy pollinators. If you grow different varieties in your garden, cross-pollination may occur later on, which is not to your liking. You can prevent this situation by using manual insemination. This is how it works:
- the perfect female flower is located about 1.5 meters from the root area
- It has grown in such a way that its fruit stalk will not break under the later weight
- all female flowers that do not meet these criteria will be removed
- male and female flowers receive an insect-proof cover made of tulle or gauze
In the following period, your attention is required because the flowers open in the morning hours and close again by midday. At the right time, open the protective cover of an opened flower. The male specimen is picked off and rubbed on the stigma of the female flower so that the pollen is distributed there. Then pack the fertilized pumpkin blossom again so that no more insects can tamper with it. After 2 to 3 days, growth begins at the base of the fruit and the shell is allowed to give way.
Tip:
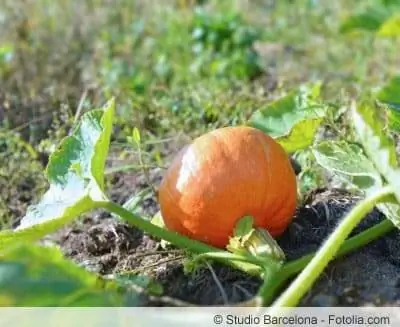
If pumpkins gain weight, they are placed under a Styrofoam or wooden plate. This measure protects the fruit from rot and contamination.
Do you have to cut pumpkins?
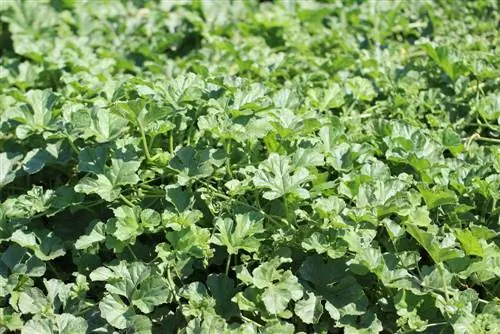
Don't have to, but many hobby gardeners swear by it. If it is cut correctly, it develops more power, but this is then concentrated in one pumpkin. If you only leave one flower per shoot and cut all side shoots and all shoots after flowering except for two leaves, the pumpkin will be larger. It is often the case that if you let the plant grow “just like that”, it will bear a lot of fruit, but it then has no strength for it. But that also depends on the variety - this is less of a problem with those that can be harvested unripe.
Conclusion
The bar for professional pumpkin plant care is nowhere near so high that a hobby gardener cannot handle it. If the central factors are known, such as pulling, cutting, etc., there is little that stands in the way of a bountiful harvest. By growing indoors, you create the best conditions for strong, vital plants to grow outdoors. If the location is sunny enough and the soil is nutritious, care is limited to regular watering and fertilizing. The extent to which you cut the pumpkin plants is your individual decision. Manual pollination is also one of the fine works that helps to positively influence the quality of plants and fruits.
What you need to know about pumpkin plant care in brief
Pumpkin plants for the garden
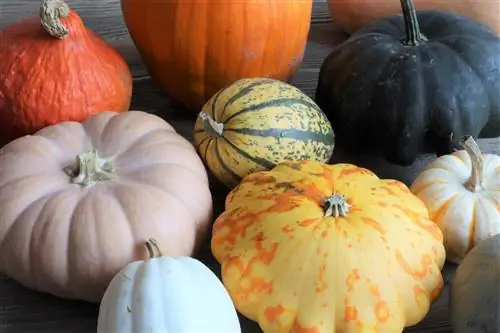
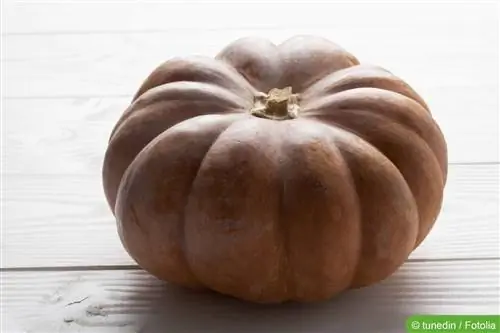
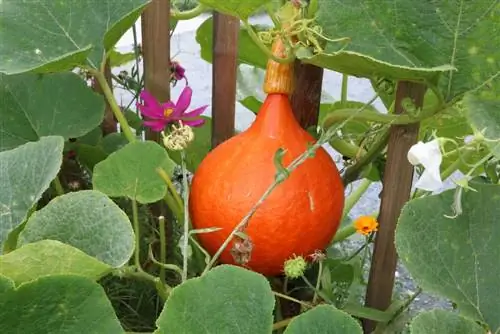
- For example, the garden pumpkin, the giant pumpkin and the musk pumpkin are popular. There is also a distinction between winter and summer pumpkins.
- Winter squashes are those that can be harvested when fully ripe and then stored for several months.
- Summer pumpkins, on the other hand, are harvested and eaten unripe and only last for a good week.
- You can only sow pumpkin plants after the last frost, so it's best not until mid-May.
- You should have planted the seeds indoors for at least 3 weeks beforehand.
- You can either grow it in the greenhouse or on the windowsill.
- Under no circumstances should they be kept too cool at the beginning!
Planting summer squashes
- Summer pumpkins can only be sown in July as they grow and ripen much faster.
- The sowing depth should be approximately 2 cm, the planting distance should be 1 meter.
- However, varieties that climb need twice as much distance. The tendrils can sometimes be up to 12 meters long!
- Unfortunately, snails are real pumpkin lovers. It is therefore important to somehow protect the young plants from the voracious snails.
- It is best if the seedlings are only placed in the ground outside when they are a certain size.
Caring for Pumpkin Plants
- The easiest way to fertilize them is with compost. If the plant is supplied with too much nitrogen, it becomes more susceptible to powdery mildew.
- Many pumpkins form a closed cover over the ground due to their leaves - this saves annoying weeding between the plants.
- The water requirement isn't too great, the soil just shouldn't dry out completely. The soil should be strong and nutrient-rich.
- In addition, the plants should only be grown in a sunny location and require an enormous amount of space.
- Pumpkins are therefore less suitable for small gardeners as they would wither away.
- To prevent rot, place some Styrofoam or sturdy foil under the ripening fruits

