- Author admin [email protected].
- Public 2023-12-17 03:39.
- Last modified 2025-01-24 12:45.
Snow often gets under the roof tiles when snowstorms or strong winds blow it underneath. The moisture often causes damage from meltwater. Air spaces between the roof tiles are to blame. Homeowners should inform themselves now about how to counteract this.
Snow that blows under the roof tiles can become a serious problem and lead to secondary damage with expensive repair costs. Use the following tips to prevent drifting snow from penetrating the roof.
Roof problem with drifting snow
If you have a cold roof through which snow is blown in, you don't have to worry. As a rule, the wind blows it out again or it escapes as water vapor.
On flat and warm roofs, drifting snow that penetrates through roof tiles often causes serious damage to the roof structure and/or internal roof elements. In the worst case, it can lead to a risk of collapse. The biggest dangers of drifting snow under the roof tiles include the following:
- Moisture penetration of wooden rafters/roof racks: mold formation and material decomposition
- Moisture in insulation materials: loss of function and mold formation
- Melt water creeps into electrical channels: water leaks from sockets and light switches and risk of short circuits
- gets behind wall cladding on floors below: softening, especially of plasterboard walls

Tip:
Damage caused by drifting snow can be expensive. When it comes to building insurance, you should pay attention to additional natural hazard insurance coverage to cover damage in the event of natural hazards, as pure building insurance often does not cover these.
Close air ducts
The reason for penetration into houses via the roof is due to the often present “air channels” in the tiles. These are located on the areas where the individual brick strips overlap. The easiest way to keep drifting snow out in the future is to close these air zones.
Mortar
Some hobby craftsmen use simple mortar to close the air passages between the bricks. This is used to close the lower brick joints. The disadvantage is that the roof usually always “works” slightly and the mortar breaks quickly. An average of ten to 20 percent of the mortar mass must be renewed every two to three years at the latest.
Sealing membranes
Alternatively, sheet metal and rubber strips can also be attached to the roof tiles as so-called snow shields. They are available in different thicknesses and are installed in the roof joints. Depending on the width, they can be placed far below the tiles above so that the snow is “slowed down” as it flies in and melts back down over the roof.
Problem solution with underlay film
The most effective and long-term solution against drifting snow is offered by an underlay film. The underlay film is used to divert water/snow into the eaves area. It protects the wooden roof structure, the insulation and prevents meltwater from running uncontrollably into the house. At the same time, it allows moist air to be transported from the inside of the roof structure and the insulation to the outside - provided it is a vapor-permeable underlay film, the use of which is strongly recommended.
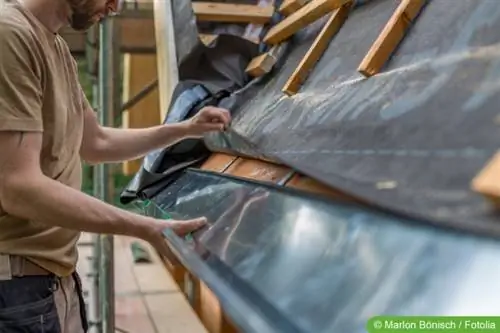
If you are building a new building, you should always plan a breathable underlay film when building the roof, because it is possible to attach it later, but it is complex and time-consuming.
Measuring instructions
The underlay film is attached parallel to the eaves up to the eaves plate in the lowest roof area. This is where the transition to the roof's water drainage is located, where there is usually also a direct transition to the gutter.
With a ventilated roof construction, the underlay film ends approximately seven centimeters below the ridge apex. If there is an unventilated roof structure, the underlay film must protrude over the ridge.
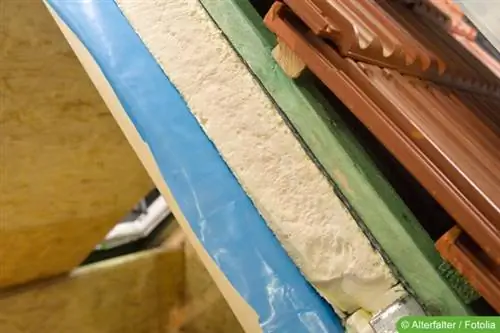
An additional ten centimeters must be added to the measurement results. You will need this later to attach it to the rafters. The foil is then cut to size.
Tip:
When attaching the underlay film later, make sure that the correct side is facing outwards. This is usually noted on the slides, otherwise you should ask the dealer where the material was purchased.
Instructions for execution
Proceed as follows:
- Cover the roof
- Attach the counter battens to the rafters (maintain a minimum distance of three centimeters from the (later) insulation)
- Put on the underlay film; Consider generous track overlaps
- Nail the film onto the counter battens and seal the membrane overlaps with sealing adhesive or special adhesive tape
- Cut window areas; Leave the foil longer at the top in order to form a “gutter” for water to drain onto the foil underneath
- Provide joints on windows with sealing adhesive
- Same procedure for recesses/attachment around fireplace
- Apply the film well taut
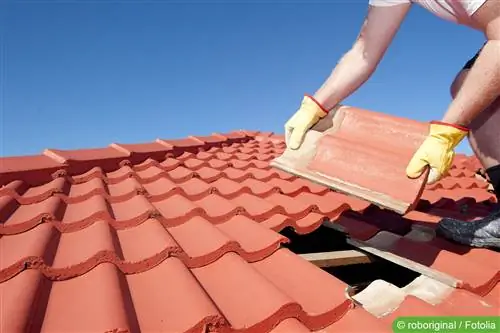
- Finally put the roof tiles back on
NOTE:
It is strongly advisable to cover the roof in order to attach the underlayment film to the upper area of the rafters. Without a roof cover, it would have to be installed underneath and the rafters and counter battens would not be protected from blowing snow.

