- Author admin caroline@plants-knowledge.com.
- Public 2023-12-17 03:39.
- Last modified 2025-06-01 06:48.
A foundation for garden walls must have a certain depth in order to provide the stones on it with sufficient stability. Our guide shows what to pay attention to and how to proceed.
Depth of foundation
The foundation for garden walls must be frost-proof in order to maintain its stability even in winter. This also determines the depth of the base. Only from a depth of 80 centimeters does the ground reach more than 0°C, even in winter. However, it is better to dig a one meter pit. This can ensure that the foundation is not damaged, even in very cold winters.
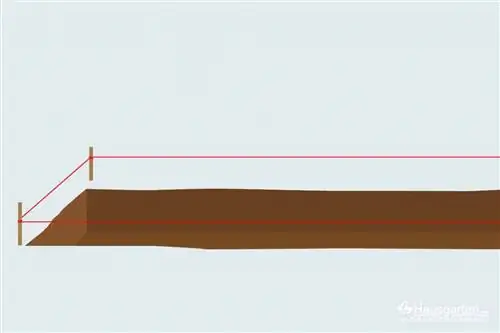
There is also enough space for a 20 centimeter thick layer of gravel, which is crucial for drainage.
Preparation - Instructions
Before the foundation can be poured, appropriate preparations must be made. The following instructions show how to do it:
1. Set width
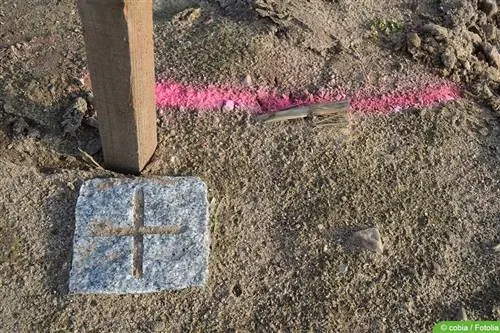
The width of the foundation is determined by the width of the stones. The trench should be dug 20 centimeters wider than the width of the stone. In order to adhere to these dimensions, it is recommended to mark the course with wooden stakes and stretch a rope between them. This allows a straight line to be followed when digging.
2. Excavate
Due to the depth, manual digging with a spade is not recommended. It is easier, faster and less expensive to rent a mini excavator and carry out the excavation with it.
3. Fill in gravel
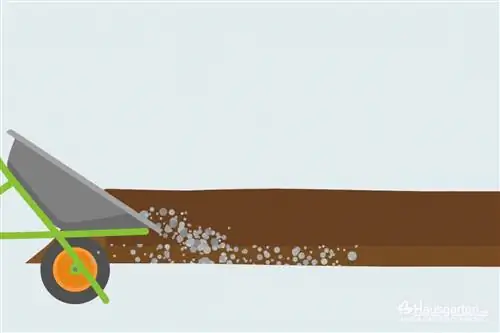
If the trench has been dug one meter deep, the drainage layer can be filled in in the form of frost-resistant gravel. A layer depth of around 20 centimeters is sufficient. In order to achieve this layer thickness, at least 30 centimeters must be filled in.
4. Condense
The gravel is compacted with a vibrating plate. If the layer thickness of 20 centimeters has not yet been reached, additional gravel must be added and compacted again.
Pour foundation
When the preparations are complete, the pouring of the foundation can begin.
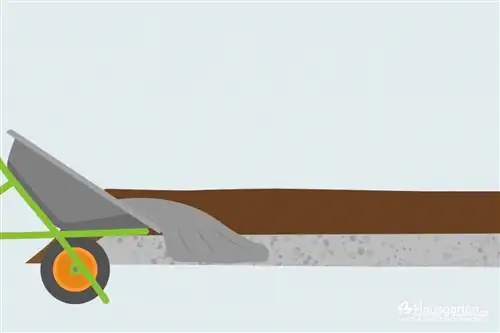
The following steps are required:
- The pit is measured again to ensure that the foundation is the correct depth.
- A tarpaulin laid out at the edges of the pit can prevent the concrete from contaminating the soil in the immediate vicinity or from substrate getting into the concrete.
- The concrete is mixed until a homogeneous mass is created.
- The mixture is poured into the pit slowly and evenly. Care should be taken to ensure that no air bubbles form if possible.
- The top must be leveled and smoothed to create a flat base for the subsequent construction of the wall.
- After the concrete has been poured into the foundation, it must be compacted. This can also be done more easily with a vibrating plate. The measure should be carried out while the concrete is still wet. Air bubbles are pressed out and the distribution is adjusted.
- To avoid unevenness, a board should then be placed on top and a spirit level should be used to check whether the foundation for the garden wall is really completely flat.
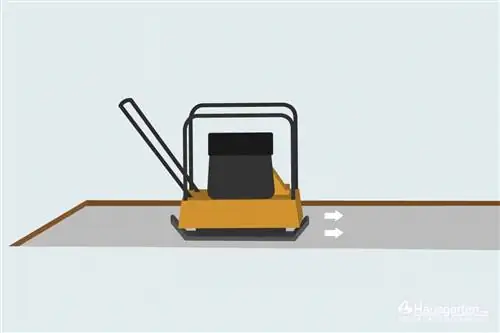
Garden Gate
If the wall runs around the entire property and a garden gate is also to be integrated, a correspondingly large recess is simply left when the foundation is dug. Because it is not necessary to pour a concrete foundation under the gate.
Corners
There are two options available for creating corners in the foundation. The first variant is to dig the trench so that the drainage layer and concrete run around the corner as desired. This variant is sufficient for low garden walls and is also extremely simple and practical. Because the mini excavator and vibratory plate only have to be rented once. It is also possible to complete a large part of the work in one day.
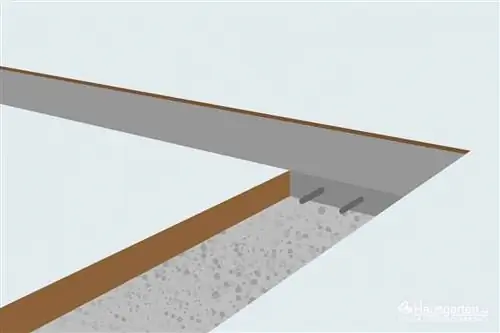
The second option is to build the foundation in sections. One side is poured and compacted. When the minimum load capacity is reached, two more trenches can be dug. Mounting irons must be used at each end of the finished foundation to connect the new sections.
Moniereisen
Moniereisen, also known as reinforcing iron, can be used when the foundation is exposed to greater loads. This is the case, among other things, if the garden wall is to be very high or if very large and wide stones are used. They serve as reinforcement but also as a possible connection between two sections of the foundation. Therefore, they can be introduced, among other things, to connect an existing older section of the foundation with a new section. This makes sense, for example, if a garden wall needs to be extended.
Just like when pouring another section, for example if the foundation is to run around the corner. To do this, holes are drilled into the hardened concrete and the reinforcing bars are inserted into the holes up to half their length. The fresh concrete can then be poured.
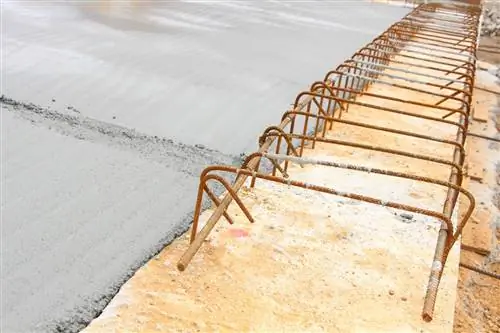
Notes
So that the concrete sets gradually and no cracks appear, a few points should be taken into account both when laying and after pouring the foundation for the garden wall. These are:
- Ideal temperature for pouring and setting is between 15 and 20°C
- the optimal humidity is 85 percent
- from 30°C there is a risk of cracking in the first week
- if there is no rain in the first three days, the concrete must be moistened
- Alternatively cover with a vapor-impermeable film
- Film must not touch concrete directly
- If frost occurs, use a heater shortly after watering to avoid frost damage
- Before excavating and laying the foundation, you should check whether a permit is required

