- Author admin [email protected].
- Public 2023-12-17 03:39.
- Last modified 2025-01-24 12:45.
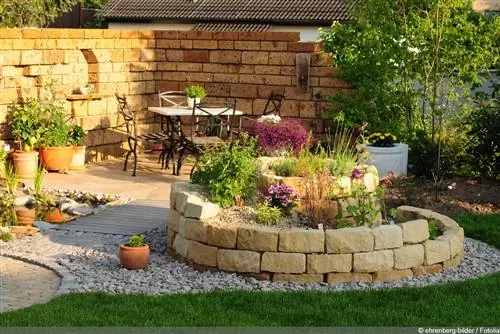
Ruin walls can appear Mediterranean, medieval or even enchanted - it's not for nothing that they are popular design elements in the garden. Covered with plants, provided with a matching window or decorated with ledges and planters, they are definitely decorative. They can also serve as a privacy screen and create a cozy corner in the garden. Homemade, they are also individual.
Requires approval or not?
The first step on the way to building your own ruin wall is to find out about the permit requirements. Since the ancient wall is usually not built as a property boundary, but is located elsewhere in the garden, approval is usually not required. Nevertheless, you should ask the responsible building authority to be on the safe side. The regulations can vary from federal state to federal state and from municipality to municipality. Walls with a height of up to 1.8 meters usually do not require approval. An exception to this is Munich, where the maximum height is 1.5 meters.
Tip:
The regulations of the respective building authority can often be viewed online, so an appointment or long waiting times are not absolutely necessary.
Preparation
The desired building area should be cleared of weeds, shrubs, grass and bushes before the wall is built. It is not enough to simply place the ruin wall on the lawn. It is also ideal to remove larger stones from the earth, dig up the soil and finally compact it after the foundation pit has been excavated. Of course, preparation also includes planning the route and dimensions of the wall. Antique wall corners or three-sided ruin walls whose outer side parts slope downwards are popular. The final point of preparation is to clarify the statics. The higher and longer the ruin wall and the shallower its depth, the more likely it is that supports or retaining walls will be needed. In any case, it is advisable to hire a structural engineer to prevent the wall from collapsing or falling over in advance.
Foundation
Once the construction area has been cleared of all plants, roots and other obstacles and the route of the ruin wall has been planned, the foundation can be prepared and poured. To do this, proceed as follows:
- The construction area is demarcated with rods and a string stretched between them.
- The foundation is excavated with a spade or a mini excavator. Depending on the size of the wall, this should be at least 30 to 60 centimeters. The larger the wall, the deeper the pit for the foundation should be dug.
- After digging, soil is compacted. The use of a vibrating plate is recommended for this step. This can usually be borrowed comparatively inexpensively from hardware stores.
- The bottom of the pit is then covered two to three centimeters deep with gravel. The concrete is finally poured onto this.
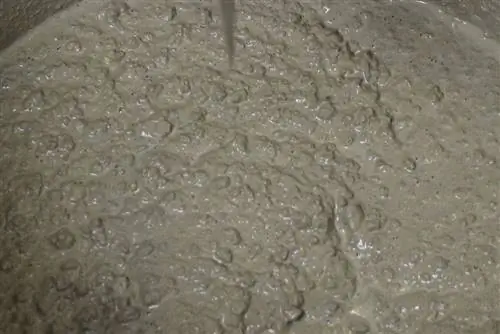
Even if it is a ruin wall, it should be as straight as possible. Otherwise it could become unstable. When laying the foundation, a spirit level should be used to make the surface as straight as possible at every step.
Material
Gathering the materials for a ruin wall can be both the easiest and most difficult point of construction. After all, the building should also look antique. Ideal are:
- old bricks
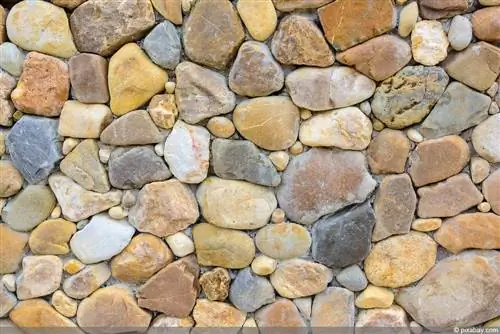
- Field firestones
- old paving stones
- Granitgrander
- Natural stones
- Ceramic shards
Unfortunately, these cannot be found everywhere in the required quantities. It therefore makes sense to test the following options:
- Antique Stone Shops
- Construction sites
- Acquaintances or friends who build
- Collecting stones from fields or the garden
- Hardware stores
- Building materials dealer
Of course, the various procurement options can also be combined with one another. Antique and flea markets are recommended for antique-looking vases, pots and buckets as well as windows or frames. Online flea markets can also be the right place to go.
Construction instructions
Once the foundation has been poured, construction of the ruin wall can begin. The following materials and utensils are required for this:
- Mortar
- Mason's Trowel
- Stones, shards and planters
- Spirit level
- string
- Staves
- Tape measure or folding rule
Then proceed step by step as described here:
- The width, length and course of the ancient garden wall are marked by rods and a string stretched between them. This makes it easier to orientate yourself during construction and eliminates the need to constantly re-measure.
- For the first layer, stones and shards are placed next to each other along the wall and aligned appropriately. This simplifies the work.
- Mortar is applied piece by piece to the foundation. There should only be enough for one or two stones to be placed. This makes it easier to align the stones on the still wet mortar.
Then steps two and three are repeated continuously until the desired height and width are achieved. Higher layers can simply be placed in front of the wall. This allows the individual elements to be aligned appropriately before they are firmly seated in the mortar.
Create ledges and planters

Protrusions at the end and front of the wall create opportunities to place planters and leave the ruin wall overgrown or at least decorate it. Bringing these into the ancient wall is very easy. To do this, larger stones or small stone slabs are simply aligned at a 90 degree angle to the other wall stones and integrated into them. For particularly large projections, it may be advisable to additionally support the stone slab from below. To do this, a correspondingly long piece of square wood is clamped between the foundation and the projection and ideally fixed with mortar. Planters are similarly easy to integrate. When building the ruin wall, they are simply added to the row of stones and secured at an angle with mortar. It is important to avoid gaps and air holes.
Tip:
It makes sense to have stones in many different sizes ready. This makes it very easy to fill gaps if necessary.
With tips and tricks to the ruins
For the garden wall to really become a ruin wall, the material is crucial. But it's not just the stones that are important for the antique look of the garden wall. The following methods can be used to visually age the garden wall and make it even more decorative:
- apply waterproof stone paint
- let it weather or create superficial damage yourself
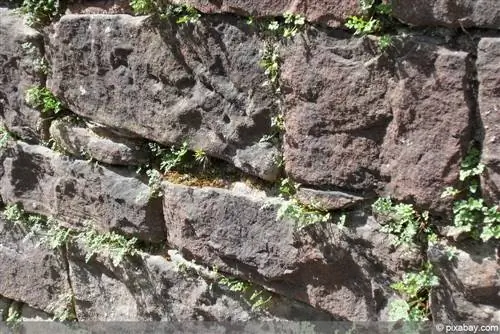
- leave it overgrown with moss
- Install window frames or openings
- Planting with plants
- Decorate ruin wall
Stone Color
Waterproof stone paint can be used specifically to give the bricks, shards and stones in the ruin wall an antique look. Stones that do not quite fit into the ruin wall due to their original color can be painted with different shades of brown or gray and thus adjusted. This makes it easier to find suitable materials.
Weather (let)
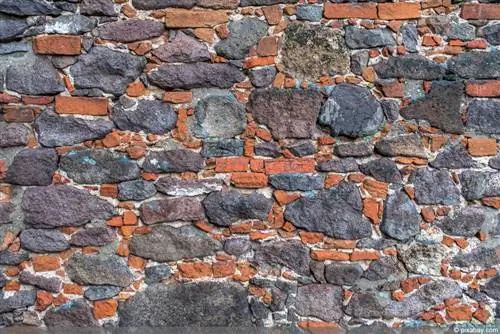
Natural weathering caused by wind, rain and frost takes a long time. Otherwise, every building would soon be left in ruins. Of course, the easiest way is to use already weathered materials to build the ruin wall. However, if these cannot be obtained in sufficient quantities, the stones can also be specifically weathered. The following measures will help:
- Wet the stones or wall and sand them with coarse sandpaper by hand or with a sander
- chip off corners of some stones with a small chisel and hammer
- roughen some stones with a sandblaster
Tip:
Sanders and sandblasters can be rented inexpensively at many hardware stores.
Moss
Moss is often found on ancient walls. On the ruin wall in the garden, the growth of moss can be accelerated by spraying moss and an appropriate nutrient solution onto the stones.
You need:
- Moss
- a blender
- Water or beer
- Yogurt, milk or buttermilk
- Sugar or gelling agent
- a brush
The so-called Moosfitis (a combination of moss and graffiti) are made and applied as follows:
- Moss is required as a basis, which can be obtained from your own or another garden, the forest or a specialist store. Fast-growing varieties that can cover larger areas in a short time are ideal.
- Three parts moss is mixed with two parts milk, yogurt or buttermilk, two parts water or beer and a little sugar or gelling agent.
- The individual ingredients are briefly chopped in a blender or with a hand blender and mixed into a mass that is as homogeneous as possible - i.e. smooth.
- The areas of the ruin wall on which moss will later grow can now be painted with a brush. The surface should be as rough as possible so that the moss can take root. It may therefore be beneficial to first treat the stones and mortar with sandpaper, a grinder or a sandblaster.
In order for the applied moss to grow successfully, it must be sprayed regularly with water. The mass should be prevented from drying out. In the beginning and on very sunny days, it may therefore be advisable to moisten the wall daily.
Tip:
Alternatively, the moss can also be tied to individual stones in pieces until it takes root.
Window frames
Antique windows or window frames can be a highlight in the ruin wall. If you want to add one to your garden wall, you should look at antique and flea markets. Occasionally, corresponding frames can also be found in handicraft shops. They can be walled directly into the antique garden wall and secured between the stones with mortar. Alternatively, the frames can simply be leaned against the wall as decoration. Finally, in ruins it is possible that the frame, like the glass, could no longer hold due to erosion and decay.
Ranking
Ruins are often overgrown by the surrounding plants and used as climbing aids. One way to make the visually antique garden wall look even more real is to add climbing plants such as vines or ivy. These use the rough ground to rise upwards and decorate them in a natural way.
Decorations
Climbing plants and antique window frames, ledges and moss are of course already decorative. In addition, other decorative elements can also be added to decorate the ruin wall. Suitable items include:
Rubbish
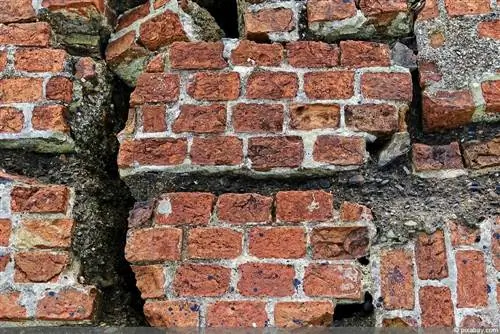
In order to create a ruin wall, some parts have to fall away. Real ancient walls therefore also contain rubble. Some stones can be piled up near the ruin wall in the garden, between which plants can grow.
Flowering plants
Placed next to it, placed on a ledge or climbing down from the wall - flowering plants are always decorative and can beautify the antique garden wall in a very simple way.
Patterns in the stones
Spirals, color changes, angular patterns, such as lines or even lettering make the ruin wall a strikingly unique piece. It is sufficient to use stones of a different color or shape or to color them appropriately with stone color.
Lighting
Lanterns, a solar-powered fairy light or torches literally put the ruin wall in the right light. They also give it a romantic flair.
Does the antique garden wall need weather protection?
No. A massively built ruin wall, like any other garden wall, can function without any special protection. On the contrary: rain, wind and sun naturally make the ruin wall look antique over time.

