- Author admin [email protected].
- Public 2023-12-17 03:39.
- Last modified 2025-01-24 12:45.
Garden pumps are available in many variations and can be used in pools and garden ponds as well as in wells or a flooded basement. However, they require regular ventilation.
Step 1: Security
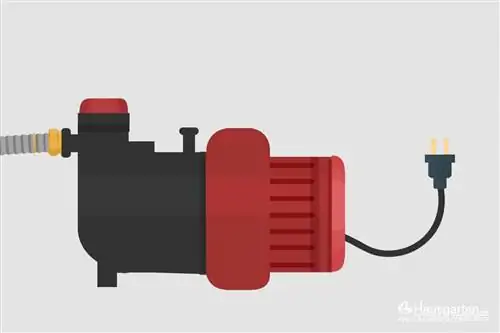
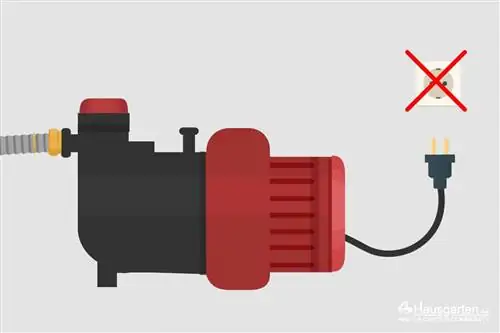
Before venting can begin, two steps must be taken. Firstly, the device must be completely removed from the power supply. Otherwise, a short circuit or electric shock may occur.
On the other hand, the manufacturer's operating instructions must be followed. Due to the numerous different types and models, the devices and therefore the respective venting procedure can differ slightly. The instructions also provide useful guidance for the positions of the valves and connections.
Step 2: Control
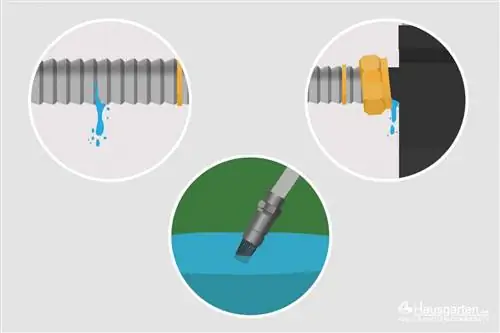
Sucked air can have various causes. These are mainly:
- leaking hoses and valves
- loose seals or connections
- a water level that is too low
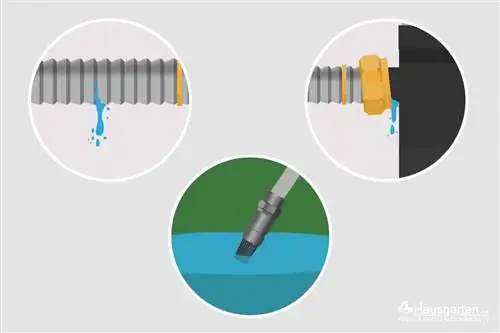
These parts and factors must always be checked in order to detect holes, cracks and leaking valves, screws and nuts and to be able to fix or replace them. The water level and the depth of attachment of the suction hose must also be checked. The check before bleeding also includes other factors.
Below:
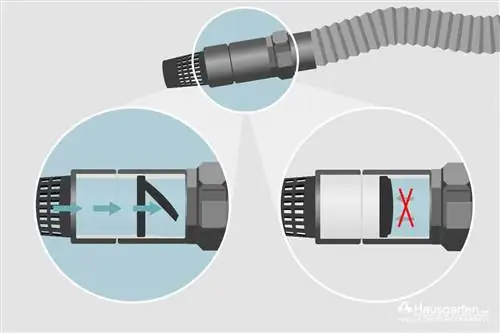
- clogged hoses
- Incompletely closing valves due to contamination or algae
- insufficient pressure
- not enough water in the pump due to non-use
If all of these potential problems can be ruled out, flushing, venting and cleaning usually help.
Step 3: Filling
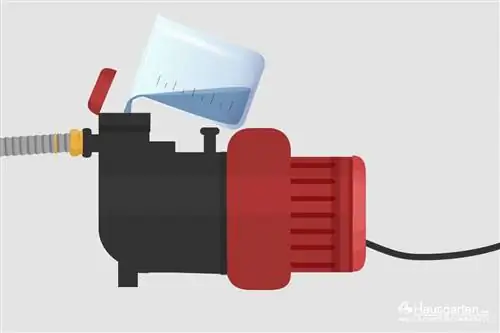
In order to bleed the pump, it must be completely filled with water.
This is done as follows:
- The filling cap is opened and removed. This is located on top of the pump and usually just needs to be turned on. The container underneath is now completely filled with clean, clear water.
- The hose lines are flushed with a garden hose and also completely filled with water. Care should be taken to ensure that there are no more air bubbles in the garden hose and water pipes. To do this, the water is first allowed to run through the hose at high pressure until it comes out without bubbles.
- The hose is then connected to the pump or the suction line and the device is flushed with it. Any air bubbles that may still be present are pressed out.
Step 4: Testing
When the water starts to come out and there are no bubbles or bubbling noises, the power connection can be reactivated and the garden pump switched on. For a successful practical test, the water should now be pumped through without any problems. If the process doesn't work, another step needs to be taken.
Step 5: Repeat
In order to fully control the function, the pump is switched off and the garden hose is now removed. The suction hose is inserted back into the water that is to be pumped out. Only when this process works again has the ventilation been successful and there is no other defect.
Note:
If the pump function does not restart even after venting, there may be a defect somewhere else. A professional repair can then no longer be avoided.

