- Author admin [email protected].
- Public 2023-12-17 03:39.
- Last modified 2025-01-24 12:45.
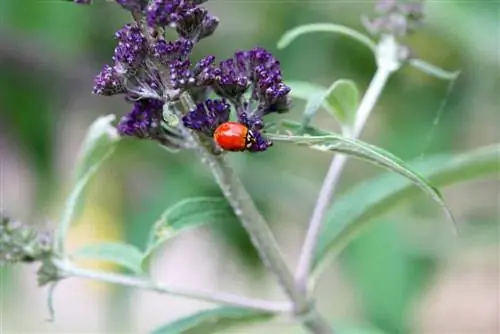
Ladybirds are welcome guests in the garden. These cute creatures are not only visually beautiful, but also serve a practical purpose in the garden landscape. Since the delicate insects mainly feed on aphids, they help in pest control. That's why it's very helpful to build an inviting ladybird house as a shelter for the increased settlement of beneficial animals.
General
The ladybird has the botanical name Coccinellidae and has established itself as a useful insect in local gardens and is also considered a lucky charm. The small insects need shelter, especially at night, so that they are protected from unpleasant weather conditions and voracious enemies. The animals prefer to sleep in a group, which is why the ladybug hotel should have larger rooms that can accommodate everyone. Beetles' natural enemies include ants and smaller bird species, so they need good protection in their home. In this way, the insects can make themselves useful in the garden and protect the plants from the often devastating effects of pest infestation.
- Small beetles with hemispherical body shape
- Can live up to three years
- On average only 1.3-9 mm in size
- Particularly large specimens can be up to 12 mm in exceptional cases
- Mostly have red wings with black dots
- Yellow, black and brown colors are also possible
- Destruction of many unwanted pests in the garden very diligently
- These include aphids, scale insects, spider mites and leaves
- Need protective shelter in cold, wet weather and in winter
Required materials
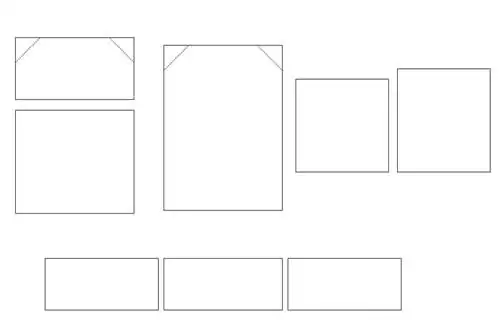
In order to build the ladybug hotel yourself, appropriate building materials and various tools are required. Wood is a natural material that is easy to work with and is already known to ladybugs. It is important to choose types of wood that are long-lasting and weather-resistant. The wood selected for building the house should be as untreated as possible so that it is low in pollutants and biologically harmless to insects. There are options for varying sizes upwards and downwards, depending on the available space and the desired size of the ladybird house.
- Drill, hammer, hand saw and jigsaw
- Spruce, fir, birch or pine wood is ideal
- Good thickness of the wooden boards is 1-2 cm
- A board for the floor, 23 x 10 cm
- Two boards for the side walls, each 10 x 22 cm
- A board for the back wall, 23 x 32 cm
- Two boards for the front wall, one 23 x 20 cm and the other 23 x 12 cm
- Two boards for the roof, 18 x 18 cm and 18 x 20 cm (depending on the thickness of the material)
- Screws, wood glue and nails
- Hooks and hinges for the opening flap
- Reed mat for the roof, alternatively roofing felt also possible
- Brackets for mounting on walls
- Wooden slat as a stand for setting up
Tip:
So that the wood does not tear during assembly, the tips of the nails should be flattened with a hammer beforehand. In this way, the nails can be driven into the wood without unsightly cracks.
Building instructions
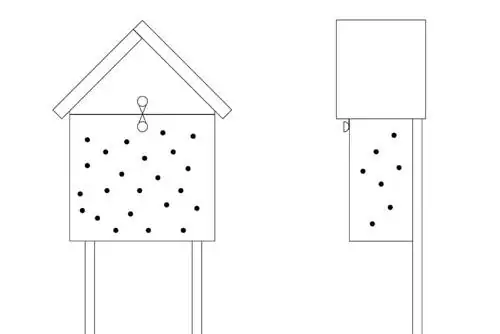
The ladybird house is assembled in much the same way as a bird incubator. As a preparatory measure, all the required boards are sawn to the desired dimensions. The ladybug hotel should also have a few small holes so that the animals can easily reach their shelter. If a sloping roof is desired, the sides of the roof should be butt nailed together. A short strip must then be glued together as a spacer for the roof overhang. In this way, the roof provides additional protection for the animals when entering and leaving.
- Record dimensions on the wooden pieces and then cut them out
- Glue the sides and bottom and then nail them up
- Nail the base plate firmly to the rear wall
- Mark the holes in the walls or floor slab and then drill them
- Maximum hole size is 8 mm
- Numerous holes allow for quick entry and exit
- To set up, attach a wooden slat to the back wall and screw it in place
- Length of the wooden slat about 1.2-1.5 m
- Cut these at an angle at the top so that no water can remain
- Sharpen the bottom of the batten for better insertion into the ground
Tip:
Drive the nail heads deep into the wood so that they don't protrude. Otherwise there is a risk of injury when attaching the ladybug house.
Design & Filling
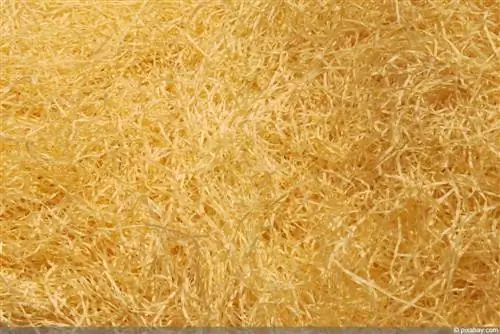
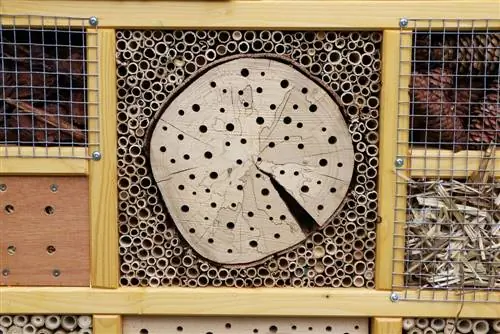
In terms of design, the Ladybug Hotel can be designed based on individual taste criteria. There are no limits to your own creativity, so that the house for the cute animals also serves a decorative purpose in the garden. If you want to observe the insects at work, you can attach plexiglass to some areas of the house. This aspect of animal life is very exciting, especially for children. To make the house even more comfortable for the small animals, a filling can be added. This also makes the ladybird house more suitable for winter, especially if the garden is in a colder region and the location is higher and more exposed. The filling for the interior is laid out before attaching the roof.
- Rectangular, round or triangular shapes are possible
- Pointed or flat roofs are possible
- Decorate open areas with pine cones
- Provide additional protection from predators
- Brick can be used as a structure in the center
- Paint the house nicely at the end
- Paints with strong colors are ideal for outdoor use
- Only use natural products in the interior
- Fill with wood wool, leaves, bark or straw
- Filling should be replaced every year for hygienic reasons
- No cleaning required without filling
Location
So that the Ladybug Hotel can offer its residents safe accommodation in both winter and summer, it should be in a safe location. The house can be left outside all year round. Ideally, this location should be in the immediate vicinity of the plants in the garden that are very often attacked by aphids. In this way, the little beetles don't have to go far to look for food. This closeness is particularly important after hibernation, when the insects need to regain their strength. In addition, the animals can save the plants from an excessive infestation with annoying pests.
- Orientation to the southeast is ideal
- Partly shaded to slightly sunny places are preferred
- Make sure you have good protection from wind and rain
- Quiet locations are ideal
- Provides safe shelter in winter
- Either hang on fences or place on tree stumps
- Can be inserted into the ground with suitable construction

