- Author admin [email protected].
- Public 2023-12-17 03:39.
- Last modified 2025-01-24 12:45.
Dividing a room with a stud wall or a lightweight wall can have many advantages. Including the comparatively low effort. However, it is of course important to pay attention to the correct procedure. Interested do-it-yourselfers can find out here what costs per sqm (square meter) can arise and how to proceed with planning and construction.
Advantages
Stand walls or lightweight construction, plasterboard or drywall walls have some advantages. Below:
- easy separation or division of larger rooms
- comparatively less effort and faster
- also possible for do-it-yourselfers without much experience
- low material costs
The partition walls can be useful, for example, if a larger children's room is to be converted into two rooms or, for example, if an area for storing supplies is to be demarcated in the spacious hallway. Using stud walls can also be worthwhile when building walk-in closets. However, anyone who would like to make such a change in the rental apartment should consult the landlord.
Planning and preparation
Planning the stud walls is quite simple, but it should be done thoughtfully and thoroughly in order to avoid later problems. The following steps are necessary.
- Measure the distances between the floor and ceiling and the opposite walls. This should be done at different points and several times, as walls and ceilings are often not completely flat and the distances can therefore vary. By measuring precisely, the plasterboard panels can be cut precisely.
- The plasterboard wall usually also requires the insertion of a door. Where this should be located must also be planned in advance.
- The material requirements are calculated. The costs per square meter consist of the necessary profiles, the insulation and the plasterboard as well as profile tape.
Once the planning and preparation steps have been completed, construction of the wall can begin.
Build a stud wall
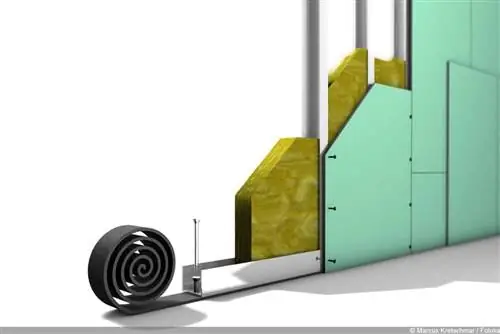
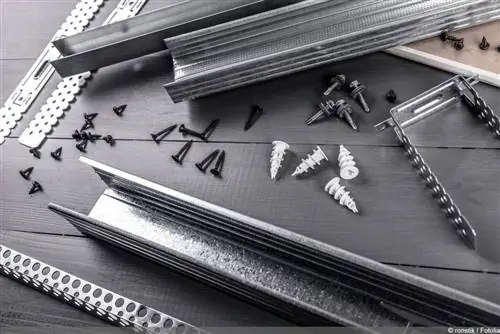
In order to build the plasterboard wall, a frame must first be constructed. A simple and stable variant for this are UW and CW profiles. These are curved sheets. The UW profiles are shaped like a U and have smooth edges. The CW profiles have edges on the half-open side that are bent inwards again.
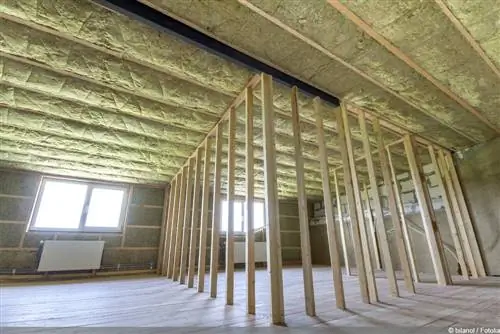
Alternatively, squared timbers can be used. However, with these, the effort required to build the wall is higher. Therefore, the procedure for using profiles is described below:
- The UW profiles are attached to the ceiling and floor. On the ceiling, the profile must run continuously over the entire length of the partition. The space for the door and door frame must be left on the floor. A partition tape is glued between the profiles and the wall or floor. This avoids sound and cold bridges.
- The UW profiles serve as rails for the CW profiles. The CW profiles are inserted into the UW profiles on the wall and floor and fixed. The distance between the individual CW profiles depends on the width of the plasterboard. This also determines the number of profiles used vertically.
- For the door, UA stiffening profiles are used as door posts and a door lintel profile to attach the door frame.
- If necessary, the panels are cut to the appropriate dimensions using a jigsaw. Experience has shown that it makes sense to smooth the cut edges with a file and sandpaper so that gaps can be filled more easily later.
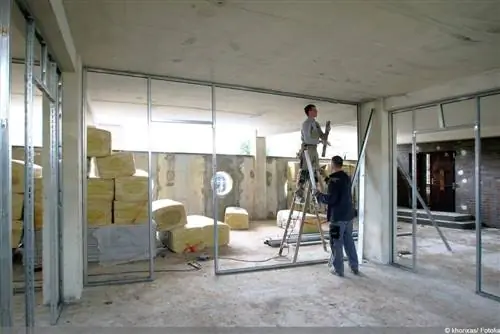
- When the frame construction is in place, the plasterboard panels are attached to one side.
- Now the insulation material can be inserted. This measure is definitely recommended, as it can reduce heating costs on the one hand and reduce noise transmission on the other.
- The plasterboard panels are then attached to the still open side.
- The wall can now be filled to close joints and gaps. It is then possible to plaster, paint or wallpaper the wall.
Costs with example calculation
The price for the stud wall consists of the following components:
- Profiles for ceilings, floors and as inserts for the frame construction
- Plasterboard
- Fastening material
- Insulation
- filler
- other utensils
Profiles and plasterboard make up the majority.
For one square meter of plasterboard you have to calculate two to three euros. For a wall that is two meters high and five meters wide, the following calculation results:
- 2 x 5 m=10 sqm
- 2 to 3 euros per sqm x 10 sqm=20 to 30 euros
However, this sum only refers to one side of the wall. Since two layers of plasterboard are necessary, the price is between 40 and 60 euros.
The profiles are also added. You can calculate around 2 euros per running meter for the profiles. This results in the following for the example wall:
UW profiles for four meters of ceiling and four meters of floor (for simplicity, the cutout for the door is ignored):
- 2 x 4=8 m
- 8 m x 2 euros=16 euros
For CW profiles, a profile should be planned every 50 centimeters. This results in ten profiles for a five meter long wall. There are also three special profiles for using the door. This results in the calculation:
- 13 profiles x 2 m=26 m
- 26 m x 2 euros=52 euros
If the results are added together, the sum is:
60 euros for records
+ 16 euros for UW profiles
+ 52 euros for CW profiles and profiles for the doors
=128 euros
However, there are significant price differences when it comes to insulation and fastening materials. Therefore, a comprehensive price comparison should be carried out before purchasing.

