- Author admin [email protected].
- Public 2023-12-17 03:39.
- Last modified 2025-01-24 12:45.
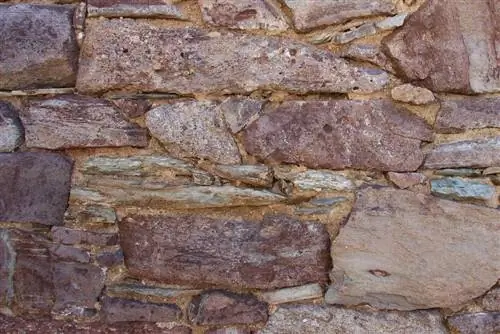
If the natural stone wall is planned, care should be taken to ensure that the mortar is suitable for natural stone and for outdoor use. In addition, a foundation is also required for such a wall.
However, natural stones are always irregular stones that were not made in a factory. A natural stone wall can be built with or without a cement bed, depending on the purpose it is intended to serve.
- good as a dry stone wall for subsequent greening
- as a brick wall for demarcation
Bricked natural stone wall with foundation
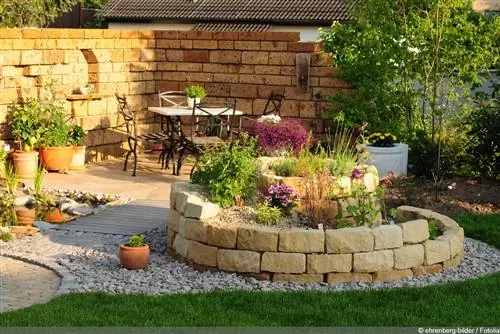
A natural stone wall is often used to border paths, terraces or as a neighboring border. As such a wall, it should of course be robust and stable, which is why both a foundation and “gluing” with mortar are necessary. These materials are needed to build a natural stone wall:
- Utensils for making cement
- Guideline
- Wheelbarrow
- Tools for digging
Where the natural stone wall will later stand, the foundation is first marked out with a spade. The width should be slightly larger than the width of the natural stone wall. The earth is dug to a depth of approx. 80 cm over the entire length. This is the only way to ensure the best possible frost protection. The concrete used for this should have strength class B 15 (=nominal strength 15 N/mm²) and is manufactured according to the following specifications:
- one part Portland cement plus five to six parts gravel-sand mixture
- the gravel should have different grain sizes in a balanced mixture
Gravel and sand are mixed dry with the cement and mixed with enough water to create a stiff mass. If only a small amount needs to be prepared, a mortar tray can be used for mixing. A concrete mixing machine is recommended for larger quantities of mortar.
Only after the trench for the foundation has been dug is the concrete mixed. The finished cement can be put into a wheelbarrow and used to pour it into the trench. Here it is carefully distributed and then pressed firmly with a tamper. A long spirit level should be used to check whether the surface level is even. As long as the concrete is still soft, any imbalance can be corrected by adding additional concrete or further tamping.
Tip:
Ready-made concrete mixes not only make work easier, they also guarantee strength.
Mortar is required to build the natural stone wall, which can either be mixed yourself or purchased as a ready-made mix. The same advantages apply here as with ready-made concrete, but you should pay particular attention to buying frost-proof mortar that is suitable for outdoor use. Another important note is that the mortar must be suitable for using natural stone.
Construction of the natural stone wall with mortar
When the foundation has hardened sufficiently, construction of the natural stone wall can begin. Of course, you should have selected and ordered the stones well in advance. They are delivered on pallets and are usually shrink-wrapped, so you can buy them a while in advance.
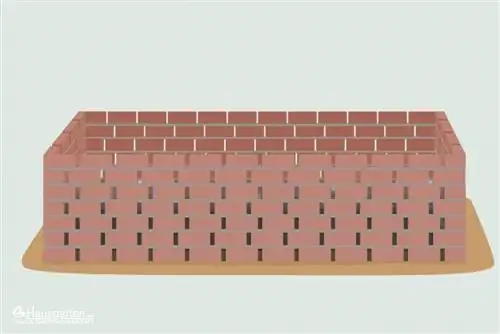
If the natural stone wall is to be built in front of the terrace or as a bed border, a single row of walling is sufficient for most garden owners. Board cladding is made for rear or side demarcation. Mortar is also filled between the board cladding and the bricks. However, free-standing natural stone walls must be created using two rows of walls.
Tip:
Plan space for storing the natural stones.
Using the guideline, the ideal line is now shown along which the natural stones are placed. A sufficiently thick layer of mortar is placed on the foundation. The first layer of stones goes into this mortar. The stones used are placed up to the outer edge and checked with a spirit level. Using a special hammer, their position is aligned so that they then lie “dead straight”. Mortar is also poured into the joints and towards the wooden wall and distributed neatly with the joint iron. Then the second and each subsequent row of stones is placed, this should be done with an offset to the bottom row until the desired height is reached.
If the natural stone wall is built to delimit a terrace or a slope, a second parallel row of natural stones is placed according to the height that goes beyond the slope or terrace. The natural stone wall is finished at the top with a clean layer of mortar or with a finish of flat stones.
Dry stone wall made of natural stones
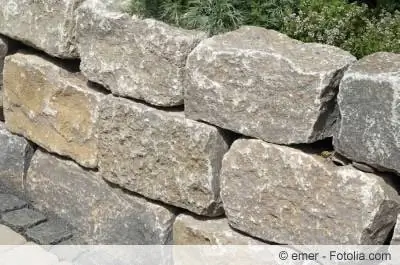
A dry wall made of natural stone is not only quicker to build than a brick version, it also has a different purpose. It is particularly popular with rustic stones, which represent ecological value for the garden. Dry stone walls, for example, serve as a nesting place for insects, but other animals such as lizards and slowworms also feel very comfortable in this habitat. A drywall is not used to form a protective wall. For a dry stone wall you need:
- Natural stones
- gravel
- Sand
- Hand tools
The choice of stones is based on personal taste as well as their suitability for a dry stone wall. Sandstones or granite stones are often chosen. When choosing, you should also consider whether you want a regular joint pattern or a more natural appearance of the drywall. You can use stones that are processed and therefore look roughly the same or those that are completely natural. These are also called quarry stones and are placed irregularly on top of each other at different heights. The image of such a dry stone wall is very natural and harmonious.
Tip:
Stones of unequal size should be placed in a continuous transverse joint.
A continuous transverse joint ensures stability if the stones are of different sizes. Depending on the region, the stones typically found there can also be used, such as greywacke, slate or limestone.
Setting up the natural stone wall as a dry stone wall
Drystone walls do not require a deep concrete bed and no mortar is used between the joints. In this case, the foundation is only 40 cm deep and is created according to the following criteria:
- 40 cm deep and the width should correspond to a third of the wall height
- Pour in a 30 cm deep layer of gravel and compact it
- then a 5-10 cm thick layer of sand
The stones should be sorted somewhat according to size because of the stability of the later wall. The larger stones should be used for the first row of the stone wall, as this is where the weight of the wall rests. A width of 40 cm should be maintained up to the slope behind, which will be filled in later. If the wall is high or the ground is damp, a drainage pipe must be laid. It is laid behind the first row of stones with a slight slope.
The joints between the stones are filled with sand. If the joints are wider, small stones can also be placed between them. The stones are tapped into place with a rubber mallet, which also compacts the sand. There is now a layer of gravel or sand between the wall and the slope behind it, then the second row of stones can be placed. If the plants are integrated into the wall now, it is gentler on their roots.
Tip:
Insert anchor stones at regular intervals (long stones placed across).
Such stones protrude into the slope behind the dry stone wall and give the wall stability. The dry stone wall is continued to be built to the desired height and is repeatedly filled in from behind. The last layer should be filled with topsoil. If the upper stone finish of the wall is made with flat stones, you can sit there later, place flower boxes on them, etc.
What you should know about natural stone walls in brief
Natural stones are not only beautiful, they can also be used usefully in the garden. Natural stone walls are a popular element in every garden, especially if the garden has a slope. The natural stone walls can also be covered in greenery if you wish, so you can also add some color. But before you start investing, there are a few aspects that need to be taken into account:
- The stones should, if possible, be made of the same material. For example sandstone, boulders or slate.
- The shapes of the stones are not that important. The more different shapes the stones have, the more natural and beautiful the wall looks when it is finished.
- The stones are aligned and wedged together. This not only ensures an interesting look, but also increases the stability of the wall.
- If you like to experiment, you can also mix vertical with horizontal. Interesting, lively walls are created especially from slate rock.
Natural stone walls are also very suitable for bordering beds, or as privacy or wind protection. The height of the wall is crucial here. Boulders are mostly stones with curves. If you build a wall from boulders, you should also insert stones that are slightly more angular between the curves, this increases the stability of the wall.
When the wall is up, you can plant flowers between the stones that don't mind dryness. There is a large selection of dry stone wall plants that look good on dry stone walls and provide a splash of color. These definitely include blue cushion, houseleek, hornwort, various types of alyssum, Dalmatian bell, stonecrop, saxifrage and many other plants that can also be found in the rock gardens. They hardly need any soil to feel comfortable and they hardly need water either. They grow over large areas within a short time, making them ideal for natural stone walls.

