- Author admin caroline@plants-knowledge.com.
- Public 2023-12-17 03:39.
- Last modified 2025-01-24 12:45.
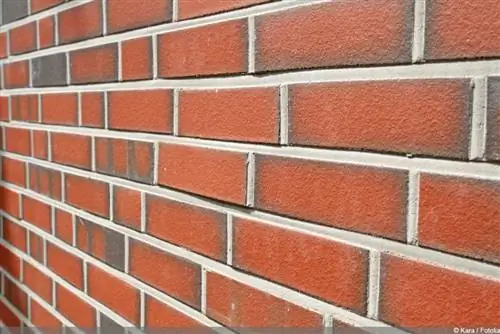
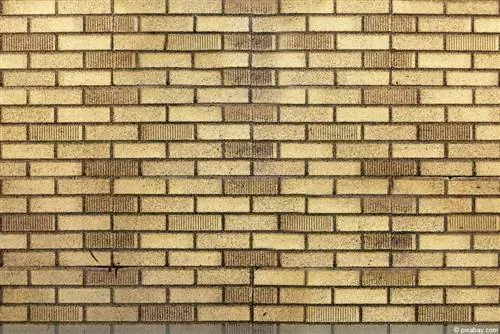
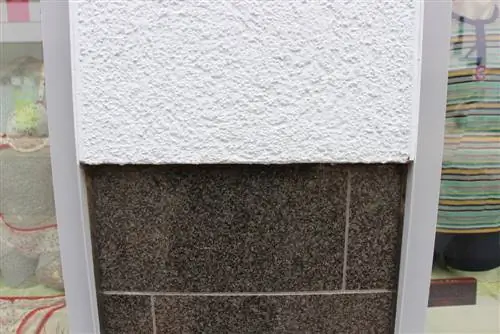
Clinker brick slips are a good alternative to the “real” clinker brick facade and are simply glued onto the existing facade. They can easily be applied to a thermal insulation composite system and give walls outside and inside a decorative look. However, when planning and sticking, some factors must be taken into account in order to achieve an attractive result.
Planning
In order to get a uniform result, the facade must be planned precisely. The distances must be precisely measured and recorded. The windows and doors in particular should be taken into account and used as clues.
The planning effort is comparatively large and requires very detailed work. Even small deviations can lead to unsightly errors and increased effort when gluing. Planning is also important in order to buy the required amount of clinker brick slips and - if necessary - cut them to size.
Preparation
Once the planning is complete, the actual preparation can begin. The following points are important:
Even
The surface must be flat and smooth. If there are cracks or holes in the plaster, these must be repaired in advance. Stronger unevenness can be leveled and smoothed with a leveling layer of plaster.
Cleanliness
So-called adhesion-reducing substances can reduce the hold of the adhesive and the straps and undo a lot of work. It is therefore important that the surface is free of dust, grease and other dirt.
drought
Inside, it is easy to ensure that the facade is dry. The appropriate weather conditions must be adapted to the outside. Spotlights and fans can be used to dry the wall more quickly and safely.
Foundation
Before laying the brick slips, the surface is prepared with a primer emulsion. This ensures better adhesion - but must dry out thoroughly before sticking.
Purchasing the clinker bricks
The straps may have slight color differences depending on the package and lot. This is completely normal and will later create a natural look on the facade. To ensure good mixing, you should either buy bricks from the same lot or use stones from different packages alternately.
Create installation plan
The installation plan indicates how many straps need to be used and where they need to be cut if necessary.
Crop
So that the laying does not have to be interrupted later, straps can be cut to size if necessary. However, it must also be noted that due to the gaps between the straps due to glue and mortar, not everything can be planned in advance with millimeter precision.
Utensils
Some utensils are required for measuring, planning, preparing and gluing the clinker brick straps. These include:
- Drill and stirring attachment
- Flex with a suitable attachment for cutting the clinker bricks
- Fugeisen
- Joint mortar (extra wide)
- Smoothing trowel
- Highly flexible tile adhesive
- Clinker and corner brick slips
- Strings for orientation
- Publisher Grid
- Spirit level
- Notched spatula
Stick on
When gluing the straps, proceed as follows:
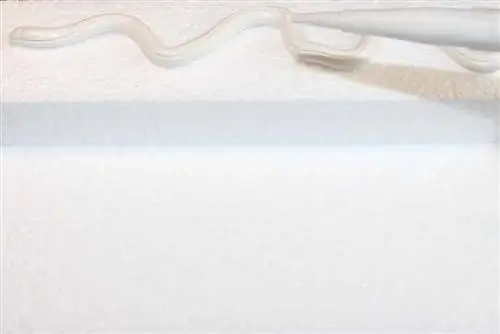
- The tile adhesive or system adhesive is first applied to the wall. The adhesive surface is “combed” with a notched spatula to create grooves.
- The glue is then applied to the clinker bricks and the straps are pressed onto the wall. Before the next row of brick slips, a thin layer of mortar is applied to the upper edge of the stone using a joint iron.
- The same procedure is followed for the second row. After applying the glue to the wall, the surface is combed. The clinker bricks are then also provided with glue, aligned and put in place.
- In order to create an even surface, the clinker brick slips should be checked more often with a spirit level. Cords can also be stretched for orientation. However, it is easier with a publisher grid. However, you should also check with a spirit level in order to achieve an optimal result.
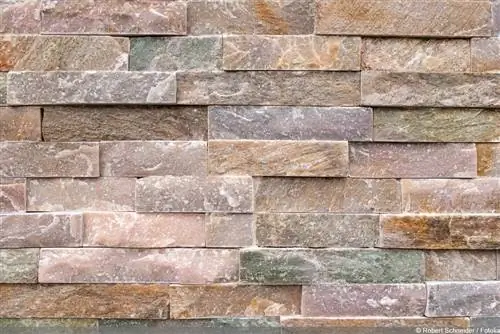
When attaching the facade, you should first start with the corner strips. The edges of windows and doors should then be outlined. Only then will the gaps be filled.
Tip:
The glue should only be applied to a small area. The publisher's grid also serves as a guide here.
Alternatives
If there is no thermal insulation on the outside walls, insulating bricks can be used. These are special clinkers made of high-quality polyurethane and facing clinkers made of hard-fired clay. They can be laid in the same way as the brick slips, but at the same time insulate the wall. They are available in different thicknesses, but are significantly more expensive than the simple straps.
Lay clinker brick slips or have them laid?
In order to save costs, many people decide to lay the brick slips themselves. However, laying has some pitfalls. Even the planning and alignment of the individual stones requires a lot of patience and sensitivity. Even experienced bricklayers therefore needed a comparatively long time to clinker the facade accurately. It can therefore make sense to seek professional help at least when planning.
Costs
Expect costs of 20 to 30 euros per square meter for the straps alone. Added to this is the expense of the glue and mortar and, if necessary, other utensils. In comparison to clinker bricks and insulating clinker bricks, which cost between 120 and 170 euros, the brick slips are very low.

