- Author admin caroline@plants-knowledge.com.
- Public 2023-12-17 03:39.
- Last modified 2025-01-24 12:45.
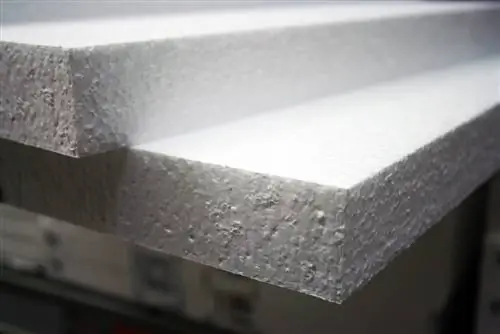
Styrofoam strips have numerous advantages. They are light and usually very inexpensive and available in many different designs. In addition, the strips can be attached very easily, even without any manual skills. There are just a few points that need to be taken into account. We explain what is important and how the ceilings and walls can be decorated with the stucco moldings made of Styrofoam.
Ceiling or wall molding?
When selecting the decorative strips, it must be clarified whether they should be used for the ceiling or wall. The back of a wall molding is straight and smooth, while the ceiling molding has a right angle. For example, you can use a wall strip to decorate doorways or create a decorative frame for pictures. The ceiling molding, on the other hand, can decorate the transition from walls to ceilings. However, the cutting and attachment are the same for both variants.
Utensils
Various tools and aids are required for cutting and gluing the Styrofoam strips. These include:
- Tape measure, ruler or other measuring instrument
- miter box
- fine-toothed and sharp saw, for example a foxtail or a fretsaw
- if necessary protractor
- System adhesive
- thin permanent marker or ballpoint pen
Measuring
Measure twice - cut once: This motto should also apply to strips. Apart from this, there are no special features that need to be taken into account with straight sections. The situation is different with corners. Not every corner actually has a right angle. However, the angle is crucial for cutting the strips correctly. Therefore, every corner should be measured with a protractor.
Crop
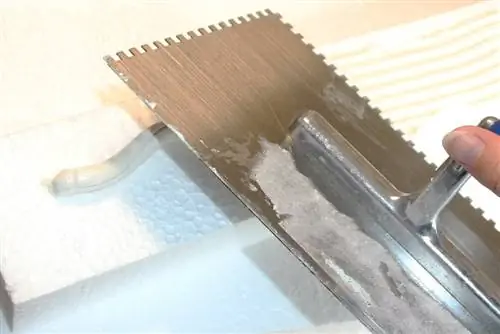
When cutting the strips, proceed as follows:
- After measuring, the required dimensions are transferred to the back of the Styrofoam strip and marked. This can best be done with a permanent marker or a ballpoint pen. The paint should be allowed to dry briefly so that it is not smeared or accidentally transferred to the front of the strips by your fingers.
- To stabilize the bar, a miter box should be used for cutting. In this way, both the strip itself and the saw can be fixed and stabilized much more easily and better than with freehand cutting.
- The bar is inserted into the miter box at the marked mark and aligned so that the cutting line lines up with a guide slot.
- The saw blade is inserted into the corresponding guide slots and the strip is cut to size with little pressure.
Corners: Cut strips to fit
For wall and ceiling moldings, the corners must also be considered and cut accordingly. With a corner at right angles, this is relatively easy. The following points simply need to be taken into account:
- For a 90 degree corner, the wall length is measured to the corner.
- The wall length is marked on the Styrofoam strip.
- The bar is inserted into the miter box up to the guide slots, which describe a 45 degree angle.
- For inside corners, the back of the Styrofoam strip must be longer than the front. For outside corners, the front must be longer than the back of the strip. The strip must be inserted into the miter box in the appropriate orientation.
If the angle is not 90 degrees, cutting the Styrofoam strips will be much more difficult. In this case, it is recommended and easy to order strips that have already been made or cut to size. Some providers offer this option. In addition, some of the strips can also be cut to size in hardware stores.
Glue, attach and correct
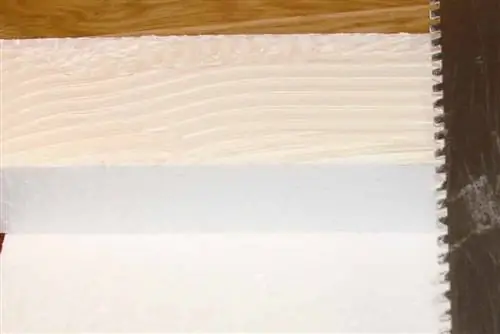
If the ceiling moldings are cut to fit, they can be attached. Again, this is not difficult if the following steps are followed.
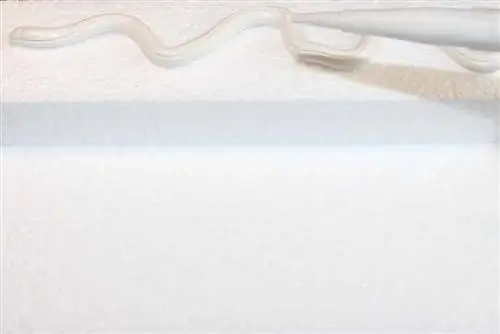
- Experience shows that system glue is recommended. This is applied to the back of the molding in either a thick straight line or a thin zigzag line. This allows the glue to be distributed optimally.
- The adhesive strips are placed between the wall and ceiling but are not yet attached with pressure.
- Immediately after positioning, the strips can be corrected. So they can be moved until the ends on the walls and ceilings fit.
- If the transitions have adhesive and the strips are attached appropriately, they can be pressed on. Any excess glue is wiped away immediately and thus removed. However, it must be noted that the Styrofoam strips can quickly give way under too much pressure and form dents. You should therefore only work with light and distributed pressure.
- Finally, any joint between the strips that has gaps can be repaired again with system adhesive.
Attach decorative wall moldings
When attaching a ceiling molding, the ceiling and wall lines dictate how the moldings must be attached. Orientation is very easy. Since the material is also very adaptable, slight unevenness can be easily compensated for.
The situation is different with wall strips, which are attached as a frame around a picture, for example for decoration. If you want to use it, you should follow the following steps:
- Determine the shape and size of the frame and draw orientation lines on the wall for this purpose. This should be done using a spirit level. This means that a straight result can be achieved even with crooked walls.
- After drawing the orientation lines, the bar is measured and cut accordingly. The corner ends can be cut to 45 degrees each for a rectangular shape. The upper or outer tip of the frame must be longer so that the parts fit together.
- The individual parts of the frame must be attached comparatively quickly so that they can be moved and adjusted to one another. This avoids uneven spacing.

