- Author admin [email protected].
- Public 2023-12-17 03:39.
- Last modified 2025-01-24 12:45.
Plastering strips are attached to the wall as a kind of frame within which plastering is easier. The plaster between the strips can be easily smoothed out, making it possible for even inexperienced people to plaster a wall vertically. Unevenness can be better balanced out and good results can be achieved even on crooked walls. However, many people shy away from attaching the strips.
Construction
A quick cleaning strip is a long, narrow rail with a fold in the middle. The rail is perforated on the right and left of the fold. The perforation is used for attachment to the wall. The rails can be straight or angled.
Species
The strips are available in different lengths and widths as well as with different rebate heights.
- Width: 21 or 24 millimeters
- Length: 1.50, 2.50, 2.60, 2.75 and 3.00 meters
- Height: 6, 10 and 12 millimeters
The different lengths make it easier to adapt to the wall height. In general, it is easier to install a few longer rails than many shorter ones. The different heights of the backsplash determine the thickness of the plaster or should be selected accordingly. Indoors, the standard is ten millimeters. However, depending on the type of plaster, the thickness can vary.
A further distinction between quick-cleaning rails is based on the material chosen. Basically there are galvanized strips made of sheet metal and strips made of stainless steel. Both variants can be powder-coated again or covered with plastic. The types are used to adapt to indoor and outdoor use as well as different plastering variants.
Utensils
The following utensils are required for attaching the quick-cleaning strips and the plastering itself:
- Spirit level
- Maurerlot
- Inch rule
- Aluminium strip for removal
- tin scissors
- Mason's Trowel
Preparation
The plaster rails are aligned vertically on the wall, so their length must be adjusted to the height of the wall. As a rule, the strips have to be cut to size for this. After measuring, the excess length can be cut off with tin snips. Alternatively, a cut-off machine with a corresponding metal cutting disc can also be used. However, eyes and hands should be protected from any splinters that may arise. Preparation also includes ensuring that the wall is dry, clean and free of cracks and dust.
Installation step by step
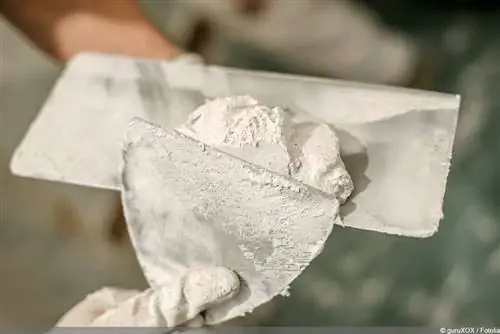
Although many people shy away from using plaster strips, the installation is very simple and can be done in just a few steps:
- The mortar, which also provides the basis for the plaster, is used to attach the quick plaster strips. A walnut to egg-sized amount of mortar is placed on the wall where the ends of the strip will be.
- The strip is lightly pressed into the mortar. The upstand or fold points away from the wall.
- The strip is aligned with a spirit level and downwards with a mason's plumb line. This is comparatively easy with a flat wall. In the case of unevenness or crooked walls, a little patience and sensitivity is required due to the necessary leveling.
- More strips are now attached to the wall at regular intervals. The distance between them should be 1.0 to 1.5 meters - depending on the aluminum lath with which the plaster is removed.
- The mortar under the moldings should be allowed to dry and harden for a day before plastering begins.
Tip:
For very uneven walls, additional cross strips can be used between the vertically attached plaster strips to make it easier. This creates smaller fields that are easier to pull off smoothly and flatly. However, this procedure is not recommended if the quick-cleaning strips are to be removed again afterwards.
Plastering
After the mortar under the strips has dried, plastering can begin. The plaster is placed on the wall between the strips, spread with a trowel and roughly smoothed. The height of the molding fold serves as a guide for the thickness of the plaster layer. An aluminum strip is then used to remove the plaster. For this purpose, it is placed on the wall so that it is in contact with the fold of the quick-cleaning strip on the right and left.
Because of this frame, it becomes much easier to distribute and smooth the plaster evenly. In addition, plastering can be significantly accelerated.
Remove
If you want to use the metal strips as an aid but don't want to leave them on the wall, you can remove them after plastering. The following steps will help:
- For easy removal of the plaster rails, the mortar should not be directly at the ends or on the entire back of the rails. Removing them is made easier if the rails are only attached at certain points with mortar and a crowbar or hook can be placed at the ends between the plaster strip and the wall.
- If the plaster is slightly dry but is still soft and malleable, the strips are carefully levered off the wall with a crowbar or hook. Depending on the type of plaster, room temperature and humidity, the optimal condition can be reached after just one to two hours. To check, you can press the plaster with your finger right next to the fold of the strip. If it offers slight resistance but still has a good yield, the rails can be removed.
- When removing the plaster rails, fresh plaster is inevitably removed from the wall and gaps are created. These must then be filled and adjusted. The effort involved should not be underestimated. Instead of removing the strips, it is therefore better to choose rails that can remain in the plaster.

