- Author admin [email protected].
- Public 2023-12-17 03:39.
- Last modified 2025-06-01 06:48.
If the tiles in the bathroom, kitchen or on the floor just don't look fresh anymore, it's time for a new coat of paint. However, this is easier said than done because, like many other painting jobs, the original paint must be removed before a new one can be applied. All you need for this project is enough time.
Tile color: differences
Tile paint serves as a protective layer for the ceramic tiles and at the same time as a decorative element. You can compare this to paint on your wall. Tile paint is designed to last over a long period of time as they are most often used in wet areas or as flooring and for this reason they need to be very durable. There are two forms of tile color:
- Acrylic varnish
- Two-component paint based on synthetic resin
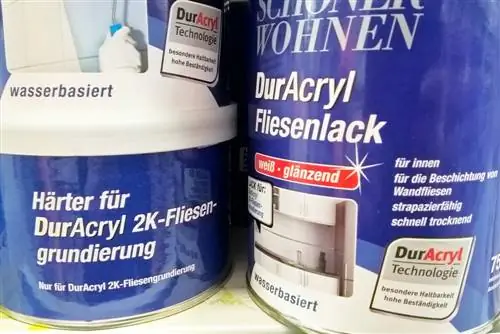
Acrylic varnish or paint is actually not very suitable for tiles and is often the reason for them peeling off. Acrylic paint itself is not recommended for use with ceramic tiles, but there are still many kitchens and bathrooms today that have been completely coated with this paint and could use a coat of paint. Two-component paint, on the other hand, is designed for use as a wet room paint and therefore lasts extremely long, even several decades. In most cases, peeling paint is acrylic-based paint, while two-component paint holds up extremely well and does not need to be removed unless you want a different color.
Material and tools
When removing tile paint, you can't just use conventional paint removers or re-paper like walls. For this work you need special products that can remove the strongly sticking tile paint and leave it in a paintable condition. The following materials and tools are necessary for this work:
- Paint Stripper
- Spatula
- Wire brush
- Pot sponge
- Scraper
- Brush or paint roller
- Protective gloves
- Painterplane
- masking tape
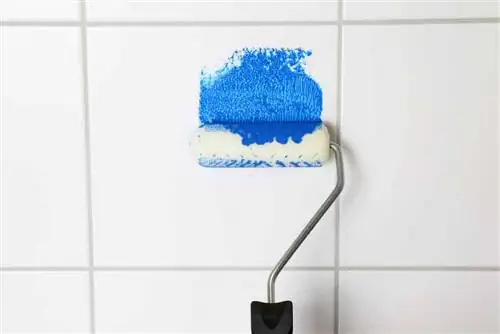
Paint strippers are special agents that have a gel-like consistency and can be easily applied with a brush or hand paint roller. Since many paint strippers have a corrosive effect on the skin, it is necessary to wear protective gloves to avoid irritating the skin. The amount of paint stripper required is:
- 1l for 3 m² area
- Costs: 6 - 7 euros for 1 m²
That means, for a wall in the bathroom that measures 6 m², you will need 2 liters of paint stripper, which will cost you between 36 euros and 42 euros. Calculate the required amount based on the area:
Length in m x height/width in m=area
If your wall is 2.5 meters high and 4 meters long, you get a value of 10 m², which corresponds to a necessary amount of 3.33 l. The costs for this amount of paint stripper are 60 to 70 euros. You can easily find paint stripper at hardware stores or online from brands like Molto. These are usually offered in cans of 500 ml, 1 l, 2.5 l. When using and storing the product, make sure that it does not fall into the hands of your children and that it is stored in such a way that they cannot access it.
Tip:
When choosing the paint stripper, be careful not to choose the wrong product. There are commercially available pure paint strippers for wood coatings that do not work on tiles; Please pay attention to the packaging as it explains the possible uses.
Preparation
Removing the old tile paint is not necessarily a difficult process, but it does require a lot of time and a thorough approach. However, before you can begin, you must prepare the room or area accordingly. With these steps you can ensure that the project runs smoothly and can proceed quickly and effectively:
- cover any areas within the room that should not be edited
- Especially with walls, you have to cover the floor so that no paint residues and paint strippers get on them
- use the painter's tarpaulin and the masking tape
- move movable objects out of the room if they are in the way, especially painted furniture
- make sure the room is well ventilated throughout the entire process
- alternatively, you should remove the paint outdoors, but this is only possible for objects that are tiled
- You don't have to clean the tiles beforehand as the paint stripper has a strong effect on dirt
Removing tile paint: instructions
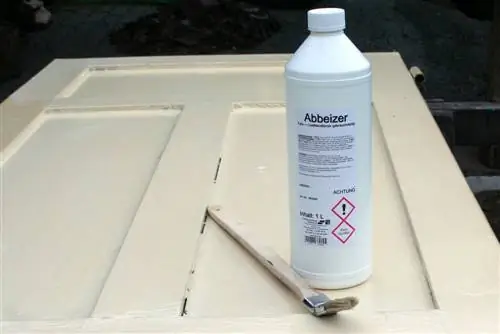
After the room, surface or item has been prepared, you can begin removing the tile paint. It's best to choose a time when your children are not at home or being looked after by someone, as working on large areas can be very time-consuming. You don't want your little ones accidentally touching the paint stripper. Once you have chosen a suitable time frame, you can start working. Proceed as follows:
1. First, put on your “protective clothing.” It is advisable to wear long-sleeved clothing in case the product accidentally gets splashed on your arms. Don't forget your gloves.
2. Now open the container with the paint stripper and stir it with a brush. Make sure this is stirred really well as this will make it easier to apply. This is due to the consistency of the paint stripper, as it is particularly tough and therefore does not flow down vertical surfaces. Some parts of the paint stripper can clump a bit and for this reason stirring is an important step to make your job easier.
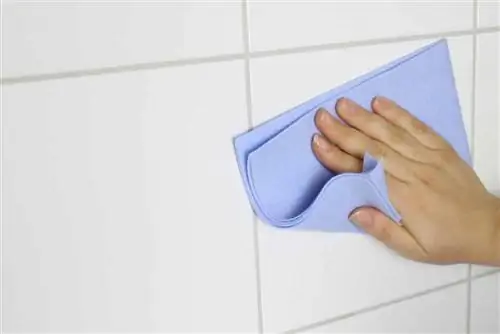
3. After mixing, start applying the agent to the tiles. Depending on the size of the area, we recommend using a brush or a paint roller. In many cases, the brush is more accurate than the paint roller, although it can cover larger areas in a shorter time. If the joints have not been painted, you should only treat tiles directly with the paint stripper. However, it's not a big deal if some paint stripper gets on the joints, as long as you wipe it off immediately with a cloth. Please take your time with this work so that stripper has actually been applied to all tiles.
4. If you want to remove paint from the joints, you must also pre-treat them with paint stripper. However, this is only possible with joints that are made of cement. Silicone joints cannot be treated with the paint stripper and should be redrawn.
5. After you have applied the paint stripper to the tiles, you now have to let it take effect. Depending on the product, it takes up to four hours to take effect. The direct waiting time is indicated on the product packaging. The thicker the tile paint is, the longer you have to let the paint stripper work. The exposure time for joints is significantly longer and even requires the application of additional layers of paint stripper.
6. After the exposure time, you will immediately see that the paint layer has started to peel off the tiles. It is curled up and can now be completely removed. If the paint hasn't started to come off yet, you'll need to let it work some more.
7. Now take the spatula and remove all of the paint. You can use a lot of force, but you should not press into the tiles. It's best to go from bottom to top, as the paint usually starts to come off in this direction. Depending on the size of the area to be worked on, this work can take a lot of time and is worth it if you have a second person on hand.
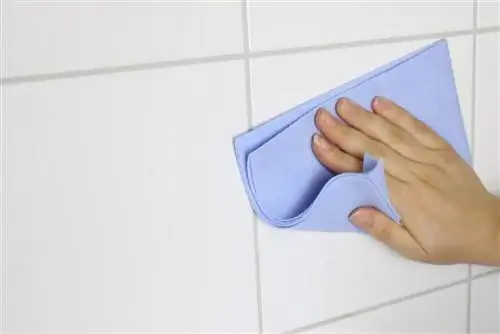
8. Use the wire brush for the joints. Do not use too much force to do this, otherwise the joint may be damaged. If there are still paint residues after removing the paint, they must be treated again.
9. After all the agent and paint have been removed, you can start with the aftercare. To do this, use enough water and the pot sponge and rub the entire surface with it.
10. Now let the surface dry. Meanwhile, you should remove all paint residues from the residual waste.
11. If you want to apply new paint after removing the tile paint, you must let the tiles dry first, sand them and then they can be painted again.
Please note:
Never inhale any fumes produced during use. These can have a harmful effect on your he alth or trigger a cough, which can happen due to the very strong, chemical smell.


