- Author admin [email protected].
- Public 2023-12-17 03:39.
- Last modified 2025-01-24 12:45.
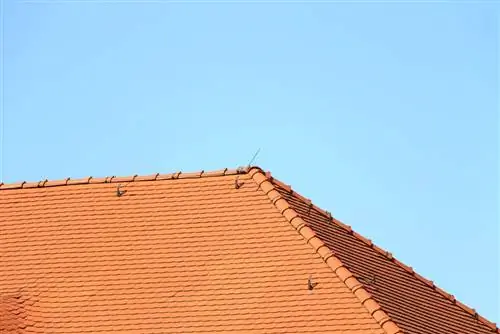
If there is a strong draft on the roof or it is already raining, repairs are necessary. This often involves replacing ridge tiles. The procedure here is similar to that of laying the bricks for the first time. However, there are clear differences due to the type of attachment. When fixing with mortar, the procedure is completely different than when attaching with clamps.
Find vulnerabilities
Apart from possible wet spots on the bottom of the roof, it is difficult to directly identify weak points. However, a simple knock test can quickly clarify this. The bricks are knocked off with a hammer. If you hear a muffled noise, it indicates that the brick is damaged, for example a crack.
If the bricks were attached with clamps and not with mortar, the knock test should also be carried out. In addition, however, it is also necessary to jerk each individual brick slightly. Weak points in the form of loose brackets are easily noticeable.
Fastening with mortar
The attachment of ridge tiles with mortar is primarily found in older houses. However, since the mortar can become damaged over the years, cracks or even holes are not uncommon. In these cases a repair can be carried out as follows:
- The damaged brick is found by the knock test.
- The free end of the brick is pushed up and levered slightly and finally pulled out from under the neighboring brick.
- Special roofing mortar is used for attachment, which is mixed until stiff. This is resistant to frost and weather and is also reinforced with fibers. It is applied on both sides of the ridge. However, the ventilation slot must not be closed.
- The new ridge tile is pushed under the adjacent tile and then lowered to replace it.
- Finally, the excess mortar is removed with a trowel or spatula. Smudges and small residues can be wiped off with a damp cloth.
Fastening with brackets
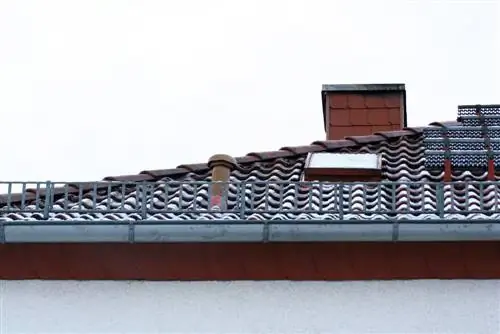
If the ridge tiles were attached with clamps, laying and repairing them is a little more complicated than if they were attached with mortar. However, the version with clips is also more durable and less susceptible to damage.
The repair is carried out as follows:
- Any damaged brick can be found using the tapping method. In addition, each brick should be jerked slightly to check the strength of the bracket. If there is no dull sound when you knock, but the holder is loose, you can simply tighten the screws.
- Once the defective brick is found, it cannot be removed individually. From the end of the ridge to the damaged tile, all screws must be loosened and tiles removed.
- After removing the bricks, the affected brick is replaced. The brackets themselves can remain on the ridge.
- If there is no hole on the brick yet, this must be drilled with a drill. This requires a special roofing tile drill that will not damage the tile. Under no circumstances should a hammer drill or other drill attachment be used, as these apply considerable pressure and the brick could break or crack.
- Once this preparatory work has been completed, the bricks can be reinstalled. To do this, the ridge tiles are inserted individually into the respective brackets.
- The screw is passed through the hole in the tile and screwed into the ridge batten. This is repeated until the entire ridge is covered.
Laying ridge tiles
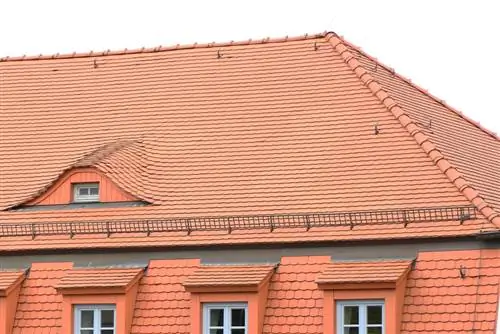
If it is not a repair but a new roof, brackets are usually used. Due to the vulnerability of the material, mortar is rarely or no longer used and is therefore found almost exclusively in older houses.
- The ridge batten is attached and laid on top of so-called ridge holders. It is fixed to the brackets using screws.
- Once the ridge batten has been laid, the ridge connection tiles can be applied on both sides.
- For ridge tiles without holes, the individual tiles are now provided with suitable drill holes. For this purpose, a drill with a suitable roof tile attachment is used.
- At one end of the roof, a functional disc is attached to the front side of the ridge batten. The saddle ridge beginner is placed on this and also screwed tight.
- Now the first clamp is aligned and screwed to the ridge batten and saddle ridge starter.
- The brick is inserted into the bracket and also screwed tight. This is done in this way until you reach the middle of the roof.
- Starting from the other end of the roof, steps four to six are also repeated up to the middle of the roof.
- The gap in the middle of the roof is closed by a saddle ridge compensation. To do this, the brackets on both sides are bent slightly upwards so that the leveling tile can be inserted into the brackets. Finally, this brick is also screwed into place.
For all ridge tiles, care must be taken to ensure that they rest on the ridge connection tiles. Otherwise the roof is not rainproof.

