- Author admin caroline@plants-knowledge.com.
- Public 2023-12-17 03:39.
- Last modified 2025-06-01 06:48.
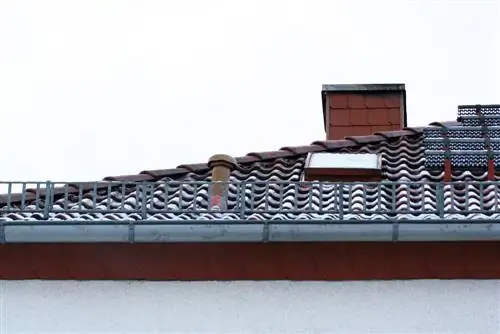
For a long time it was common practice to embed the roof ridge or roof tiles in cement mortar. While this sounds very long-lasting and durable, it is actually prone to leaks. It is also detrimental to the ventilation of the roof and can hardly be done by homeowners without extensive craftsmanship experience. The dry ridge is different, as it is comparatively easy to build.
Construction
In contrast to the traditional form, in which the roof tiles are placed in a bed of mortar, the dry ridge consists of:
- Roof batten construction
- Sealing tape
- ridge clips
- Roof tiles
These components are installed in such a way that the ridge is open to diffusion and thus enables good ventilation, allows water vapor to pass through and has a positive influence on the room climate. This has several advantages.
Advantages
The advantages of the dry-mounted roof ridge are most noticeable when compared to the roof ridge in a mortar bed.
The mortar bed appears particularly durable, resilient and resilient. In fact, depending on how it is applied and the quality of the mortar, it can become brittle and porous comparatively quickly. Roof tiles can then come loose and the roof becomes leaky. In addition, the mortar represents a barrier to water vapor or humidity. This means that moist air from inside the roof cannot escape. The indoor climate suffers.
This promotes the spread of mold and mildew, among other things, and the building structure can be attacked. In addition, it is hardly possible for builders to install the roof ridge themselves. Handling the mortar alone on the roof is dangerous and tiring. It requires a lot of experience and manual skills.
This applies not only to the initial installation, but also to repairs and improvements if the roof becomes leaky.
In contrast, the dry-mounted roof ridge has the following advantages:
- Easy installation without mortar, making handling on the roof safer and easier - so that even experienced laypeople can install the ridge pans
- Assembly is simple and only consists of three steps
- no time has to be planned for drying
- Repairs are relatively easy to carry out
- the roof is well ventilated but still tight
- the acquisition costs are relatively low
Assembly - step by step
If a dry roof ridge is to be installed, in principle only a few steps are required. The procedure is as follows:
- Preparation includes ensuring there is enough space at the top of the roof. Enough space must be planned so that, despite the roof tiles used, a roof batten construction can be attached that can accommodate sealing tape, fabric tape and ridge clips and ridge pans. As a rule, a ridge batten of between 10 and 20 centimeters is sufficient for this.
- One day should be planned for assembling the ridge. Rain must be safely excluded in order not to reduce the adhesive strength of the sealing tape.
- The security films on the adhesive surfaces are removed from the sealing tape with a strip of fabric tape in the middle. The adhesive surfaces are placed in the middle of the ridge and thoroughly pressed onto the roof tiles on both sides. Air bubbles, wrinkles and sticking over dirt or foreign bodies must be avoided. These could reduce the adhesive strength of the tape. The tape is only applied up to two meters in advance.
- At the beginning of the band, the first ridge clamp is screwed onto the ridge battens.
- The first ridge pan is placed.
- Steps 5 and 6 are repeated until the end of the glued sealing tape. The shed method is used so that the ridge pans overlap and ensure that the roof is tight against rain and other precipitation.
- The sealing tape is stuck on another two meters and the clamps and pans are put on. This procedure is repeated until the end of the roof.
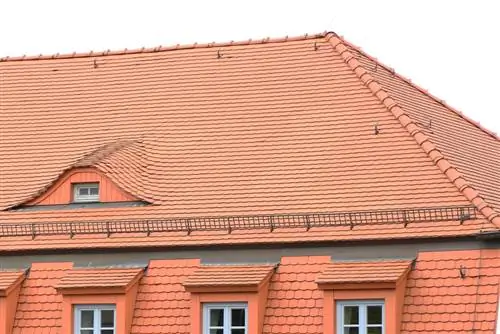
It should also be noted that the first and last pans must be special pans. Which protect the tips of the ridge against water penetration and form a reliable finish.
Tips for laying
Installing the dry ridge is simple in theory. In practice, however, it is still a challenge. The height at which the work has to be carried out alone represents a risk. We have therefore put together some practical tips that can make installation safer and easier:
Better with two
Both fixing and handing out the individual materials are much easier if at least one helper is available. This also contributes to safety.
Observe the weather report
The day you choose should not only be dry, but also as windless as possible. Both the safety and the effort required when attaching sealing tape and pans depend crucially on this. Dirt, wind-blown utensils and tools increase the workload and hinder assembly.
Have plans ready
Despite extensive preparation, the weather can interfere. Even if it is only a light shower, it can make the work more difficult and also reduce the adhesive strength of the sealing tape. This in turn is detrimental to durability. Therefore, waterproof ones should be kept ready so that the construction and battens can be adequately protected in the event of the first unexpected drop. This way you can continue working with a dry surface immediately after the rain. The work will not be delayed unnecessarily.
Safety first
Safety should always come first. Ladders and scaffolding must be secured and fixed. Safety belts should be used when working at heights.
Prices
As mentioned, the dry ridge is comparatively cheap. The total costs consist of the following factors:
- Sealing tape or roll ridge approx. 10 euros per meter
- Firsteine from 6 euros
- End stones from 25 euros each
- Ridge clips from 1 euro per piece
Ridge stones and thus also ridge clips require around two to three pieces per meter. The prices for one meter of dry ridge are around:
Sealing tape 10 euros + three ridge stones 18 euros + three ridge clips 3 euros=31 euros
In addition there are the end stones and the costs for the battens.

