- Author admin caroline@plants-knowledge.com.
- Public 2023-12-17 03:39.
- Last modified 2025-01-24 12:45.
House building and garden design are expensive affairs. But does every step really have to be carried out by professionals? Even a skilled hobby craftsman can definitely lay out a flat surface with patio tiles! But what seems simple at first glance should not be lightly underestimated. For example, if the subsoil is not right, the terrace slabs will quickly sink. But what material can support the plates permanently?
The goal: a beautiful terrace in the long term
The terrace is often the family’s summer “living room”. Year after year, many wonderful hours are spent there: people eat, play and relax. Accordingly, it should be designed to be inviting and stay that way for as long as possible. If the terrace is freshly built, this is not a problem. Every plate is still in place, nothing disturbs the harmony. But as time progresses, unsightly and unwanted changes can appear:
- Plates sag and are uneven
- Terrace tiles no longer look attractive
- cracks are showing
- moss grows between the panels
It is therefore important to effectively prevent these changes when laying the panels. The right subsurface can make a valuable contribution here.
The “enemies” of a beautiful terrace
To avoid unpleasant surprises such as sagging terrace tiles, the terrace must be protected from the causes. An uneven and unstable floor, for example, is not suitable for laying patio tiles because it does not provide a stable support. There is also a terrace outside and is at the mercy of the weather.
- the power of the sun heats up the plates
- they expand with heat
- fine hairline cracks can result
- Rainwater penetrates
- Moss grows in the cracks and enlarges them further
- In winter the moisture that has penetrated freezes
- Ice “blasts” the paving apart
The sun will shine every summer, nothing can change that. A terrace without sun is hardly desirable. The expansion of the heated terrace slabs must therefore be compensated for by the material underneath. At the same time, a flat base area is created. Only those who use the right materials right from the start can prevent moisture that penetrates later from causing irreparable damage.
The right surface is essential
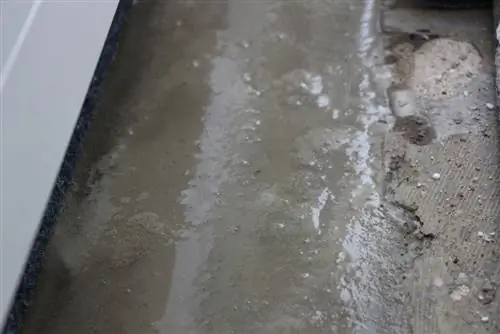
The right material underneath the patio tiles is a crucial component when creating a patio. It helps to level the surface and keep the terrace permanently flat. This only works if the surface is suitable for it:
- he has to be flexible
- have sufficient carrying capacity
- Compensate plate expansion with heat
- be frost resistant
As a rule, the selected area is initially only covered with pure earth. Sometimes the new terrace needs to be built on an existing concrete slab. But is it enough here if the surface is level or can be leveled?
Earth as a subsoil
A terrace is subject to a lot of wear and tear. The weight of furniture, plant pots and people affects the patio slabs and the soil underneath. To ensure that the terrace tiles do not subsequently sag, the soil must be compacted before laying. Loose soil is absolutely unsuitable as a base for patio tiles.
- Level surface
- Compact soil
- with shaker
But even compacted earth alone is not enough as a base. An additional, supporting layer is still missing.
- Gritting or gravel and sand
- Slab bearing/pedestal bearing
- or mortar
Note:
Laying on mortar is demanding and requires a high level of technical precision when working. This variant is not recommended for hobby craftsmen.
Concrete as a substrate
Terrace tiles are ideally laid on an elastic floor. But they can also be laid on a concrete floor. There are a few points that need to be taken into account.
- a layer of chippings/gravel ensures a flexible base
- alternatively lay with natural adhesive
- or in a mortar bed or on drainage concrete
Note:
If a concrete layer already exists or is being built, less gravel is necessary for the load-bearing layer than for a pure gravel bed.
Use existing concrete slab
An existing concrete slab can be used to lay terrace slabs.
- the concrete slab must be intact
- there should be no hairline cracks or gaps
- these would have to be closed first
- otherwise there is a risk of moisture and frost damage
- there must be a gradient
- or subsequently made with screed
Laying terrace tiles with adhesive
If the concrete floor is custom-cast, the terrace slabs can be laid with natural stone adhesive. Here too, the surface must have a slope.
- special natural stone glue is necessary
- the concrete slab must be absolutely flat
- Rainwater must be able to drain away from the house wall
- 2-3% gradient required
- if applicable improve with screed
- Sealing the screed to the house wall
- Rain Water can flow away from the house wall
Terrace tiles on mortar bed
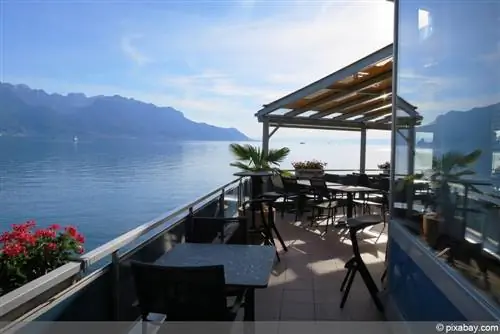
Terrace tiles can be laid on a bed of mortar. It allows the most precise alignment of the panels. However, this method of working is demanding and should only be chosen by experienced craftsmen.
- laying is done on fresh mortar
- Mortar should set quickly
- still allow for corrections
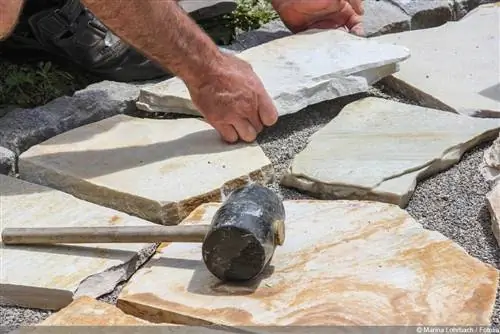
- Terrace tiles are tapped in with a rubber mallet
- work has to be done quickly
- The installation area must not be walked on before the mortar has set
Gravel as a substrate
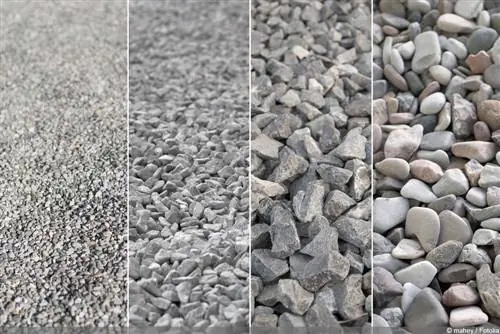
Split, gravel and gravel are materials that are both stable and flexible. They are well suited as a load-bearing layer on a concrete slab or directly on compacted earth. It is the ideal installation method for hobby craftsmen. Sand is too fine and is not suitable as a supporting layer on its own.
- Gravel, chippings and gravel suitable
- first stable layer with coarse grain, approx. 20 cm
- then an approximately 5 cm high laying layer with a finer grain size
- compacting with vibrator or roller
- Sand only suitable as the top layer
- Gravel is more stable than grit
- therefore suitable for heavily used terraces
- There is a drainage system below the base layer
- Sealing the house wall protects it from water
- Use of joint crosses ensures uniform joint widths
Before laying, the surface must be leveled with a board. The grit bed needs an edge edging so that the grit cannot slip away.
Tip:
Stainless chippings are more expensive to purchase, but are worth buying in the long run. Other types of grit can cause discoloration on natural stones.
Drainage layer protects against water
The right material as a base is essential, but it still needs additional protection from water. Below the terrace slabs there is a drainage layer that fulfills important functions:
- laid drainage mats form a layer that is permeable on one side
- seeping water is diverted away
- water cannot penetrate upwards from underground
- Frost damage is prevented
- unsightly discoloration caused by backwater is avoided
Tip:
Make sure the drainage mats are installed correctly. If these are installed sideways, they lose their drainage effect.
Alternative: laying on pedestals
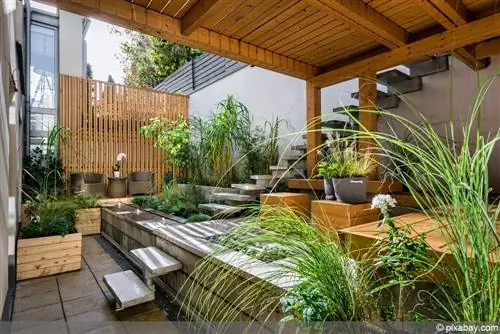
Pedestals offer a quick and effortless way to lay terrace slabs.
- level and stable surface required
- if applicable still level and balance
- Pilt bearings are being assembled
- should not be higher than 10 cm
- then they offer a secure footing
- Plan for gradients
- Adjust the pedestal accordingly with the adjustment key
- Terrace slabs are then laid on pedestals
Pedestals are installed quickly and easily and offer even more advantages.
- cost-effective option
- Patio tiles can be easily replaced
- for example if one of the plates is damaged
- Plates can be removed and the surface underneath cleaned
- Water can drain easily
- Uneven floors can be easily compensated for
- no frost problems as panels do not rest on the ground
Tip:
This laying method is ideal, especially when laying terrace tiles on a balcony. The construction is lightweight and can be easily removed later.

