- Author admin [email protected].
- Public 2023-12-17 03:39.
- Last modified 2025-01-24 12:45.
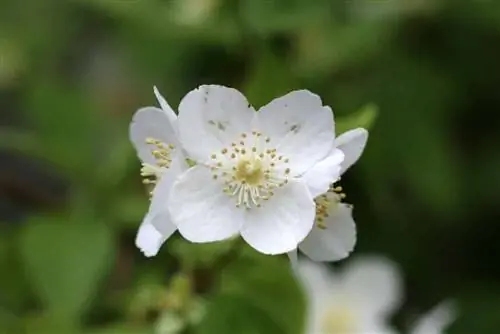
Undemanding with reservations. This short formula sums up the skillful cultivation of a Deutzia. In fact, hopes for a lavishly blooming Mayflower bush are only fulfilled when its susceptibility to late frosts and its tendency to senescence are taken into account. These instructions will familiarize you with all the measures involved in caring for and cutting the maybush.
Location
A May flower bush is not part of the natural inventory of our local flora. The magnificent flowering tree is native to Asia, primarily Japan, China and Taiwan. Thanks to this origin, the Deutzia has good winter hardiness when it is leafless. Popular species, such as Deutzia gracilis, are of course sensitive to late frosts. Pay particular attention to this aspect when choosing a location so that swelling buds do not fall victim to nighttime ground frosts in spring.
- Sunny to shady location
- Part shade reduces the abundance of flowers
- Warm and protected from the wind
In the protection of a white garden wall with intense scattered light or in a pot on the windless south-facing balcony, a Mayflower bush shows its most beautiful side. A Deutzia also feels at home surrounded by other deciduous shrubs as part of a flowering hedge, as long as at least 6 hours of sunshine a day are guaranteed.
Soil conditions and substrate
Flexibility characterizes the requirements of a Deutzia in terms of soil quality in the bed and pot. Normal garden and plant soil already satisfy the flowering bush. A May bush achieves its optimum under the following parameters:
- Loamy-humous and loose garden soil
- Fresh, moist and well-drained
- Ideally a pH value between 6 and 7
For cultivation in pots, we recommend a structurally stable, peat-free potting soil. As an additive, peat should not only be critically evaluated from an ecological perspective. Substrates with peat substitutes, such as wood or coconut fibers, remain loose and permeable even after a short period of dryness, whereas peat tends to compact.
Planting time
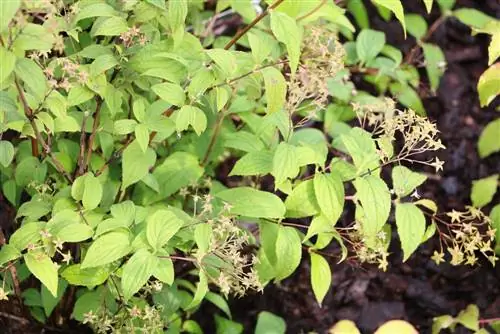
Deutzias are offered as container plants in nurseries and garden centers. Therefore, the planting time extends in principle throughout the year, provided the ground is not frozen. If you want to give your May flower bush a perfect debut in the garden, plant in autumn. During the months of September and October, a young plant benefits from the sun-warmed soil, roots quickly and goes into spring with a real growth lead.
Planting
Before you dig the planting pit or prepare the pot, please place the still potted Deutzia in water. A completely soaked root ball is better prepared for the delicate phase of rooting in the ground. How to plant a maybush correctly:
- The ideal pit is twice the volume of the root ball
- Enrich the excavation with sifted compost and a few handfuls of horn shavings
- Unpot the Deutzie and place it in the middle of the planting hole, maintaining the existing depth
- Press the soil with both hands
- Create a small earth wall all around and fill it with 5 liters of water
In a solitary position, the planting distance corresponds at least to the expected growth height. For a spacious May flower bush (Deutzia magnifica), plan 8 to 9 square meters of garden space. Species that remain small, such as Deutzia gracilis, are content with just 2 to 3 square meters. When planted in rows as a hedge, the expected half growth width has emerged as a suitable planting distance.
If a Mayflower bush is placed in the pot, the professional planting process is similar. Additionally, place drainage made of inorganic materials such as gravel, expanded clay or shards of pottery on the bottom of the pot. Ideally, you should separate drainage and substrate with a breathable, water-permeable fleece.
Tip:
Deutzians are incompatible with themselves. In concrete terms, this means that no further Mayflower bushes should be planted at the site after clearing. Only after a waiting period of 3 to 4 years has the soil regenerated to such an extent that it makes sense to replant the maybush.
Pouring
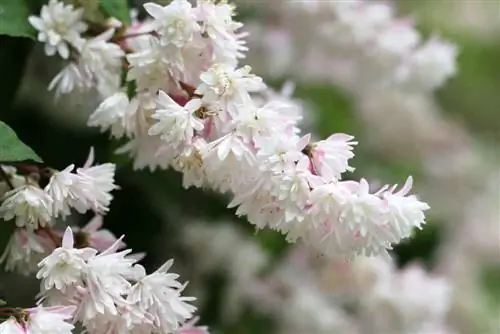
A high water requirement and shallow-rooted growth are the key criteria for correct watering behavior. If a maybush comes under drought stress, the damage is usually irreversible. Since the root strands spread just below the earth's surface, they are denied access to deeper groundwater reserves. Nevertheless, Deutzians want constant soil moisture without waterlogging. During dry, hot summer weeks, you should patrol with the watering can every morning and evening and use a thumb test to determine the watering requirement. How to do it right:
- Press a finger 1 to 2 cm deep into the soil
- If no moisture can be felt, watering is required
- Let the water run directly onto the root disk without wetting the leaves and flowers
The current water requirement is met when small puddles form in the bed or the water runs out of the bottom opening in the bucket. These signals show that the earth is sufficiently saturated with water. Then stop the watering process so that harmful waterlogging does not form. The soil surface should be noticeably dry before the next watering. Although deutzia are botanically classified as part of the hydrangea family, they are flexible when it comes to water hardness. You are therefore free to choose whether you use collected rainwater or simple tap water.
Fertilize
One of the main pillars in the care of Deutzien is the supply of nutrients. For lush bud and flower formation, the main nutrient phosphorus comes into focus. The natural supply of nitrogen in normal garden soil is sufficient to promote leaf and length growth. However, a continuous supply of flower-forming phosphorus is important for the hoped-for flower splendor. How to properly fertilize a maybush:
- Apply a phosphorus-based fertilizer in the bed every 3 to 4 weeks from March to August
- Alternatively, administer a slow-release fertilizer with an increased phosphorus content in March
- Add liquid fertilizer for flowering plants to the irrigation water in the bucket every 2 weeks
If you base the care of your ornamental and crop plants on ecological principles, we recommend the organic flowering plant fertilizer from Oscorna. With an NPK formulation of 6+9+0.5, the fertilizer is dosed just right for flower-rich growth of Deutzia. In March and June, spread 100 grams of fertilizer per square meter in the bed, rake the material in lightly and water again. Every 4 weeks, sprinkle a teaspoon of the fertilizer beads onto the substrate in the bucket and then water with clear water.
Cutting
Characteristic of the May flower bush is growth that is clearly directed towards the light. As a result, the bush gradually becomes bare from below and inside because the sunlight only penetrates sparsely to the base. Furthermore, vigorous species and varieties tend to branch sparingly, which comes at the expense of a compact silhouette. Such problems can be remedied with regular trimming and maintenance pruning. How to cut a maybush with gardening expertise:
Time
As a spring bloomer, a Mayflower bush sets its buds in late summer. So that the next flower festival is not destroyed prematurely with secateurs, the topiary should be carried out in good time. As long as the shrub has its foliage, the clear view for a clearing cut is hindered. Therefore, it has proven useful in practice to cut a maybush in two stages:
- The best date for topiary is after the flowering period in July
- The best time for thinning is in late winter between January and March
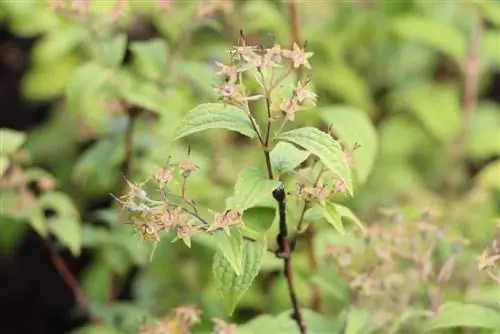
If you find yourself forced to rejuvenate an old maybush, legal regulations must be observed when choosing a date. According to the Federal Nature Conservation Act, trees may only be planted between October 1st and February 28th.
Cutting guide for topiary
Deutzia's robust pruning tolerance makes it easy for the gardener to cut the flowering shrub into shape. Shorten shoots that are too long so that the well-groomed appearance is restored. It is an advantage if you clean out all the wilted flowers at the same time. Thanks to this measure, your may bush invests its energy in the creation of new buds instead of in the strenuous growth of seed heads.
Cutting guide for the thinning cut
Starting with the third year, you should examine a Deutzia in winter for dead branches and remove them. Experience has shown that you can effectively prevent aging if a thinning cut is carried out every 3 years. The primary goal of the following cut is a light-flooded maybush that has leaves and flowers close to the ground. How to do it right:
- Cut off dead wood at the base
- Cut away the weaker or older branches from branches that are too close together
- In addition, remove some of the oldest shoots close to the ground every 3 years
If a thinning cut has been missed for a long time, cut all branches back by half to two thirds. By placing a maybush on the cane, you create space for the growth of young shoots. This year's bloom will inevitably fail. From the following year onwards, your Deutzia will shine again in the new splendor of a magnificent spring blossom.
Overwintering in the bed
In a protected location in the bed, a Mayflower bush is well hardy. However, it is advisable to protect the shoots from a combination of frost and blazing winter sun. Before the onset of winter, put a breathable protective fleece over the shrub. In the first five years of growth, cover the root disk with a thick layer of leaves, which is secured with brushwood or pine fronds.
The care program during wintering is limited to occasional watering when neither snow nor rain falls. Stop adding fertilizer from September to February.
Overwintering in a bucket
If a Deutzia thrives in a pot, its root ball is vulnerable to frost, even in a protected location. With the following winter protection, a May flower bush can get through the cold season unscathed:
- Slide a block of wood or a styrofoam plate under the bucket
- Equip the vessel with a winter coat made of bubble wrap or fleece
- Cover the substrate with leaves, straw, bark mulch or needle twigs
- Put a fleece cap over the branches
Continue to check the moisture content of the soil with a thumb test during the winter. In dry conditions, water with normal water on mild days.
Propagate
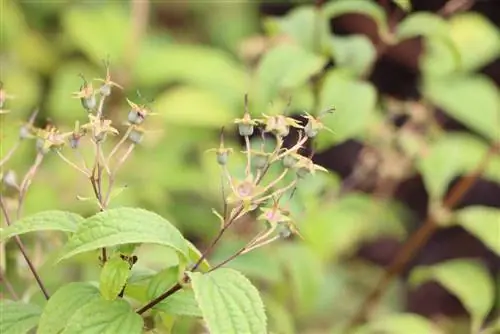
All varieties of maybush can be easily propagated. In early summer, cut 10 to 15 cm long cuttings from the new, slightly woody and non-flowering branches. In pots with moist potting soil, the shoots root within 2 weeks in a bright, warm location under a transparent hood. By planting time in autumn, the cuttings have developed a strong root system so that they can be planted out in the bed.
If you missed the deadline in early summer, you can also propagate it over the winter using cuttings. After the leaves fall, cut off pencil-length branches with several buds. In a protected location, insert each shoot so deeply into humus-rich soil that only the two upper buds are visible. Rooting begins in spring.
Transplanting
A change of location may be necessary for a variety of reasons. If the position in the bed subsequently turns out to be unsuitable or a new garden design requires a different location, you can replant a May flower bush. As a shallow-rooted plant, the plant can cope with the procedure without any problems as long as you follow these instructions:
- The best time is during dormant growth between mid-October and the end of February
- Cut back all shoots by half in advance
- Cut the root ball all around the diameter of the crown with the spade
- Use the digging fork to loosen the roots and lift the bush out of the ground
Wrap the root ball immediately in a jute bag to transfer as large a volume of soil as possible to the new location. It is important to note that the previous planting depth is retained. In the last step, form a small earth wall around the planting site as a watering ring that can hold 5 to 10 liters of water. Thanks to this measure, the water seeps in where it is needed most and does not run on the surface of the earth.

