- Author admin caroline@plants-knowledge.com.
- Public 2023-12-17 03:39.
- Last modified 2025-01-24 12:45.
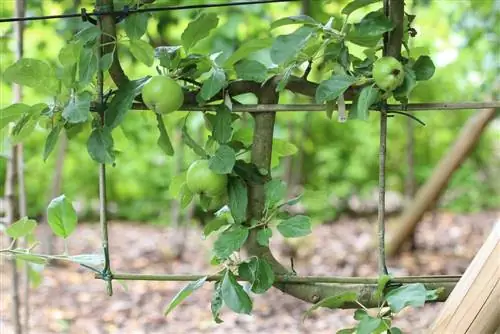
Espalier fruit grows in a space-saving manner and is also productive. That's why this cultivation method is also often used by hobby gardeners. But a tree naturally forms a round crown. The scissors must ensure the flat growth as a trellis. A wooden framework provides the shape and initially also provides the necessary support. With instructions you can easily build it yourself.
Why is scaffolding essential?
When it comes to espaliered fruit, it's not just the direction of growth of the main trunk that has to be right. The branches also have to be brought into the desired position.
- Fruit crown is naturally round (three-dimensional)
- The wind also influences the direction of growth of the branches
- the espalier fruit must grow flat (two-dimensional)
- Branches must be secured to the scaffolding
- grow in the desired direction
- the tree is saved from tipping over
- Scaffolding also provides guidance when cutting
- acts as a design element in the garden
- makes espaliered fruit on house walls possible
Note:
Fruits such as grapes, raspberries and kiwis are not classic espalier fruits, but their thin tendrils are grateful for a supporting structure.
When does scaffolding need to be installed?
If a planted, young tree is well rooted, growth can progress quickly. Espalier fruit must first be trained into the desired shape. Ideally, this happens right from the start. Only young, flexible branches can be easily influenced in their direction of growth. With more stable branches, subsequent corrections can hardly be made. That's why the scaffolding should be in place as soon as the tree is planted or before planting.
Thorough planning is important
Trellis fruit is a gardening project designed to last. This also applies to the accompanying framework. Once built, it should stand for many years and fully fulfill its function. This only works if it was planned correctly beforehand. There are a few points that need to be thought through:
- the right location
- the ideal size and shape of the scaffold
- the right visual appearance
- the right wood
- Fastening/anchoring options
- required materials and quantities
- required tools
- sufficient scheduling for construction
Tip:
Think ahead when planning. The scaffolding is not just being built for the little tree that will soon be planted in the ground. It must later also hold the fully grown espaliered fruit.
The right location
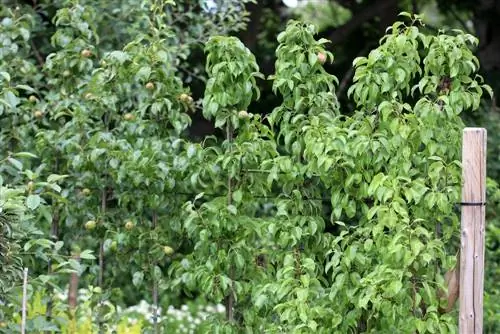
First and foremost, a suitable location for the espalier tree is sought. The framework follows accordingly. Ideally, both are taken into account in combination. The tree must feel comfortable in its place, but the scaffolding also needs sufficient space and good fastening options. The espalier tree takes up less space than a naturally growing tree. The flat shape also allows it to be positioned directly against a wall. According to this, there are two options for a scaffold:
- it is free in the garden room
- then in north/south direction
- or it is mounted on a wall
- East or west wall is ideal
Tip:
Warmth-loving fruits such as apricots and peaches benefit from a place directly on the wall of the house. This stores solar heat during the day and releases it to the tree at night. This means that the delicious fruits can develop a good aroma even in our latitudes.
The optimal scaffold size
Trellis fruit can reach a height of up to four meters over time. But that is not always desirable. Design reasons often speak in favor of a lower height. But care, especially cutting and harvesting, is also made easier by the lower height.
- Espalier tree can grow four meters or lower
- two meter tree height is optimal
- the height of the scaffolding depends on the (future) tree height
- However, it should be at least two meters high
The width of the scaffolding must also be determined. Here too, an espaliered tree can be grown up to four meters wide.
- Pruning measures can limit width growth
- several trees in a row need a longer scaffolding
Optical aspects of the scaffolding
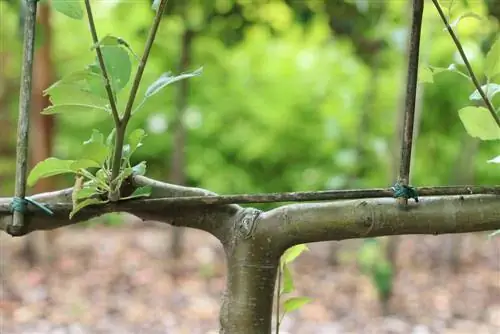
The tree doesn't care what the scaffolding looks like. The main thing is that it is stable. As a garden owner, you may think differently. Eventually you will see it regularly. Especially during the first few years, while the tree is still small, a lot of the scaffolding will be visible. Even from autumn, when the leaves fall, the framework is clearly visible. For anyone who attaches great importance to a beautiful garden, the scaffolding is an important design element.
- it should harmonize with the garden design
- A grid-shaped structure is suitable for apples and pears
- for apricots, sour cherries, peaches and plums, also fan-shaped
- the craftsmanship must be right
- the scaffolding can be painted in different colors
- z. B. Wall scaffolding inconspicuous in the color of the house wall
- or high-contrast as an eye-catcher
Note:
If the framework is still “bare”, it can easily be painted in color. However, later, when the tree is at its full size, a new coat of paint may prove difficult.
The right wood
Not every wood is equally suitable for the trellis framework. Because while it accompanies the espalier fruit through its long life, it has to overcome many challenges.
- it has to be particularly weatherproof
- cannot move
- it should be dry and well seasoned
- free of knots if possible
- Pine and spruce are cheap but soft
- Hardwoods such as oak, sweet chestnut and robinia are suitable
- the high-priced larch wood is ideal
Tip:
Quality plays a major role when selecting the type of wood. Sometimes, unfortunately, also the price. When purchasing, it is best to seek advice from a specialist retailer so that in the end you get the right price-performance ratio. Under no circumstances should you save at the wrong end.
Fastening/anchoring options
So that the scaffolding can hold the espalier tree securely, it must be stable itself. To do this, it must be firmly anchored. In the case of a wall trellis, it must also be well connected to the wall. It must always be taken into account that the scaffolding is located outdoors. It will be exposed to the forces of nature around the clock. Sometimes there will be strong winds, which can occasionally reach hurricane force even in our latitudes. Growing espaliered fruit only makes sense if you have the opportunity to provide it with a stable, anchored framework.
Materials and quantities required
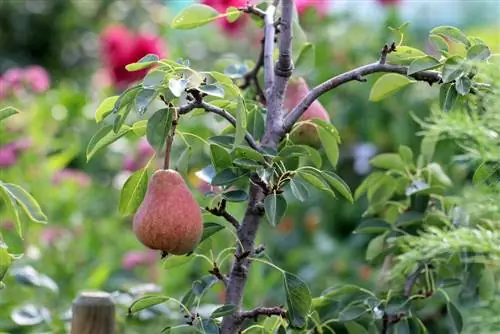
The materials and quantities required depend on the planned size of the scaffolding.
Ptakes:
- approximately one post per 1.5 m scaffolding width
- but at least two posts
- at least 8 x 8 cm or 10 cm diameter
- in the desired length, but at least 2 m long
- pointed
Crossbars
- 3 x 3 cm thick and 2 m long or longer
- one vertical row of slats, each 50 cm high
- smaller distances also possible
- starting with the height of the lowest side shoot
- but at least 50 cm above the ground
- sometimes higher depending on tree growth
- Based on this, calculate the number required
Fastening material
- sufficient fastening material to screw the slats to the post
- maybe. Anchor for wall mounting
- if applicable Concrete when building a large scaffolding
- maybe. Protective coating for certain types of wood/color
Tip:
To increase the stability of the scaffolding, you can use more posts and thus reduce the distance between two posts.
Required tools
Before scaffolding can begin, the required tools should be ready.
- Spade for digging in
- or hammer for driving in
- Inch rule
- Spirit level
- Cordless screwdriver
- if applicable Saw
- Brush
Instructions for a free-standing one-tree scaffolding
Since individual trees are usually planted in private gardens, here are instructions for building a framework for a single fruit tree.
- 1Gather the required materials and provide the required tools.
- If the wood was not already purchased cut to size, saw it to the desired length.
- If soft wood such as pine or spruce is used for the framework, you should first apply a non-toxic protective coating to the posts and slats. Otherwise the wood would rot more quickly.
- Find a suitable location for the espalier fruit. If the tree has already been planted, the scaffolding must be positioned appropriately and symmetrically.
- Measure the position for the posts. The distance between the posts should be about 60 cm.
- Drive the two stakes into the ground. The wooden stakes should penetrate at least 50 cm deep into the ground. If driving in is too difficult, you can also dig a hole beforehand by burying the stakes.
- Check the stability of the posts by shaking them vigorously. If necessary, make improvements until they are rock solid.
- Check the vertical alignment of the posts with the spirit level. They should stick straight up.
- Screw the battens parallel to the posts. Starting with the lowest side shoot, but at least 50 cm above the ground. The distance between the bars can be 50 cm or slightly less. For a harmonious appearance, the slats should be aligned exactly horizontally using a spirit level.
Scaffolding for several trees
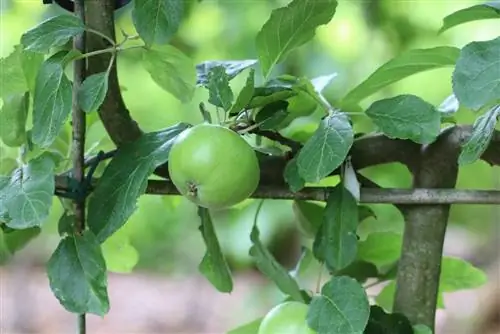
If several fruit trees are to be planted as a trellis, the trellis described can be easily and arbitrarily expanded. However, to ensure the stability of the scaffolding, square wooden posts should be set in concrete using post supports. The distance between the individual posts may then be 1.5 m.
Special feature of the wall scaffolding
The framework described above is also suitable for espaliered fruit that is grown on a wall. It receives the necessary stability by being firmly anchored in the ground. However, it is also possible to securely connect the scaffolding only to the wall.
- the tree must be sufficiently ventilated.
- A distance of around 10 cm from the wall is necessary
- install suitable spacers
- first attach two or more vertical battens
- attach the crossbars to it
Tip:
Smaller scaffolding can be pre-assembled and then permanently attached to the final location. Large trellises must be built directly on site.
Fan scaffolding
With a fan scaffolding, the slats are arranged in a fan-like manner starting from one point. However, this framework is not a must. The branches of sour cherries, apricots and peaches can also be tied to a normal trellis structure. But then slightly slanted.

