- Author admin [email protected].
- Public 2023-12-17 03:39.
- Last modified 2025-01-24 12:45.
Whether it's drywall or a wooden ceiling - adding a shadow gap in the clad ceiling makes sense for several reasons. Lay cables or installation lines, add thermal insulation or create a visual highlight: the joint offers numerous possibilities. But when making and designing shadow gaps, various points must also be taken into account so that the result is convincing. We reveal what’s important.
Shadow gaps
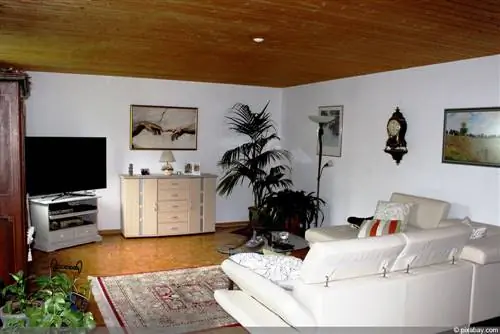
A so-called shadow gap refers to the distance between the ceiling paneling and the wall. With wood cladding, this is absolutely necessary as the wood works and can expand and contract. For this it needs enough space so that it doesn't bend.
Shadow gaps can also be added to drywall ceiling cladding made of plasterboard, but are not always necessary. However, they do have some advantages. Because they can serve as privacy screens and are sometimes practical for suspended ceilings to include the following features:
- unusual lighting
- Cable
- Installation lines
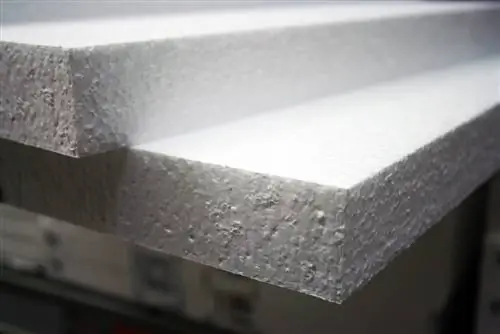
- Thermal insulation
At the same time, the shadow gaps made it easier to access the space behind the cladding. This makes it easier, for example, to make changes and, if necessary, repairs. However, making the joints also presents a visual challenge.
Precision
The most important prerequisite for a successful shadow gap on the ceiling is precision in dimensions and production. With a drywall ceiling, the distance between the wall and the ceiling can be one to three centimeters. For wooden ceilings it should be at least two centimeters large. Maintaining this distance sounds easy at first. However, even the smallest deviations are noticeable. And these can arise very quickly even with precise dimensions, as most walls are not completely flat and corners do not always correspond to the desired 90° angle.
It may therefore be necessary to measure the distance between the walls at several points and transfer any deviations to the ceiling paneling. The distances should be measured approximately every 20 to 50 centimeters. This allows very precise gradients to be achieved and the cladding can be adjusted accordingly.
Production
There are basically two different options for creating a ceiling panel with shadow gaps:
Preparatory sawing
Whether it's a drywall or wooden ceiling - sawing individual elements before attaching them to the ceiling requires a little patience. This applies to tongue and groove boards as well as individual plasterboard panels. However, it may be necessary to measure and transfer the dimensions at a very close distance. This involves a comparatively large amount of effort. Good planning is also necessary to ensure that no errors occur when sawing and attaching.
This method can still be useful if the walls have hardly any unevenness and only minor adjustments need to be made. In the case of larger deviations, however, a lot of fine work has to be done here.
Insert the shadow gap saw
A very simple way to insert shadow gaps is to use a so-called shadow gap saw. This is a special hand-held circular saw that can be adjusted to the desired distance from the wall and is then simply guided along the cladding. Even larger or more frequently occurring irregularities can be easily and smoothly transferred to the cladding with this saw.
Although the tool can only be used for this one task, which makes it advisable to rent it if necessary, it makes creating the joint very easy. It is primarily suitable for processing wood, but can also be used in drywall construction. After sawing, you should plan to smooth the cut edge with sandpaper or a multifunctional tool with a sanding attachment. This means that the joint becomes slightly wider than before on the saw.
In addition, care must be taken to ensure that the shadow gap saw does not damage the substructure or even cut into a line or cable. A third option for production is to purchase shadow joint boards that have already been sawn. This variant is of course only suitable for wooden ceiling cladding. In addition, they are very expensive in comparison and the dimensions still have to be done yourself and very carefully. However, they significantly reduce the effort as they only need to be installed.
Requirements
The ceiling paneling is usually placed on a substructure and attached to it. On the one hand, this approach makes it possible to accommodate insulation, lights or other cables and lines in the space between the ceiling and the cladding. On the other hand, if there is sufficient distance between the substructure and the wall, the shadow gap saw can be used, which makes creating the joint very easy.
In addition, the substructure simplifies the installation of the cladding. It is simply screwed onto the frame and can easily be removed from the structure if necessary. This is absolutely necessary, especially if there are cables or lights behind it. In this way, if repairs or replacement are necessary, the cladding can be removed without damage and then reattached as usual.
Design options
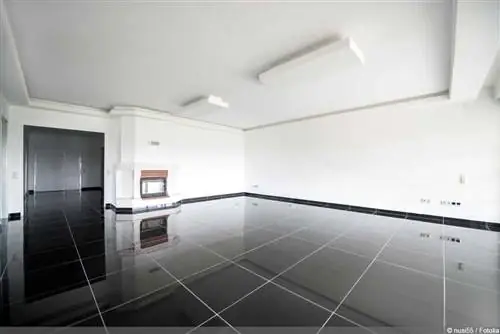
Since the shadow gap also has a visual appeal, it is often emphasized in a special way. It is common for the distance between the ceiling and the wall to be painted a little darker than the rest of the room. However, there are also other options. These include:
- a strong contrasting color, even if it is brighter than the rest of the room
- a larger distance between the ceiling and the wall, which is emphasized in a different color
- Inserting lights, such as spots or LED strips, into the joint
Emphasis is also possible, for example, if spots are used at the corner points and they are aligned with the opposite wall. This allows a “light circulation” to be achieved.

