- Author admin [email protected].
- Public 2023-12-17 03:39.
- Last modified 2025-01-24 12:45.
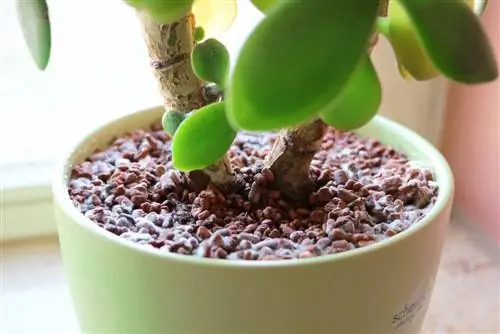
If mold grows on the Seramis clay granules, good advice seems expensive. Removing it alone doesn't help much and even after a change, the unsightly coating can quickly reappear. However, with the right knowledge, it is very easy and quick to prevent stains from forming on the granules in the first place and to remove them if necessary. Those interested can find out how to proceed for this purpose in the following instructions. Even if it's not mold at all.
Dry surface
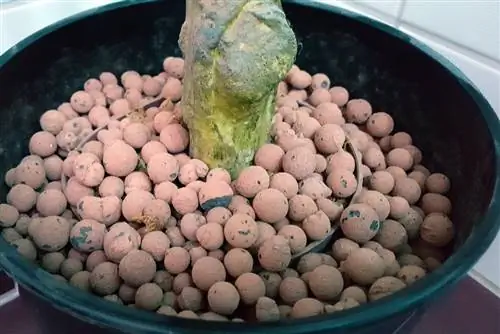
If there is apparent mold on the Seramis clay granules, you should first take a closer look. A hard, dry, white or gray coating occurs very often - but it has nothing to do with mold. Instead, it is deposited lime, which literally seems to grow on the granules. Hard, i.e. lime-rich, irrigation water is responsible for this.
If the water evaporates or is absorbed by the roots of the plant, the remaining lime is deposited on the surface of the clay. The more water and the faster the evaporation, the faster the apparent growth of the coating occurs. In addition to water as the cause, unfavorable fertilization can also be responsible. In this case, a different color and even a visually 'furry' covering is possible on the stones.
Prevention
So that the unsightly coating does not form on the Seramis clay granules in the first place, only low-lime, soft water should be used to water the plant. For this purpose it can be left standing or filtered. Alternatively, collected rainwater is an option. If the apparent mold appears immediately after applying fertilizer, the inorganic agent is the cause. As a preventive measure, such things can only be avoided.
Elimination
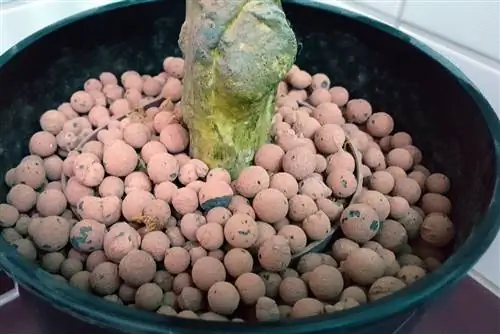
Various methods are available for elimination. Firstly, removing and replacing the top layer. This variant is quick and easy, but not exactly cost-effective if there are a lot of affected pots. Alternatively, the surface can be covered with gravel or decorative stones to improve the look. Rolling the affected layers requires a little more effort.
Lime usually first appears on the surface due to evaporation. If the entire granulate is not yet covered with the deposit, the top layer can simply migrate downwards. If you still want to save the Seramis, you can try the following tips.
- Add baking powder to the moistened granules
- Soak the seramis in vinegar essence
- Put citric acid on the stones
Before these measures, the Seramis must of course be removed from the pot. It should then be soaked in one of the above-mentioned products for about an hour to loosen the limescale deposits. It can then be brushed off or placed in a closable container with rice grains and a little water and shaken vigorously. It must then be rinsed thoroughly. Due to the rough surface, it may happen that the deposits cannot be removed despite the solvents and manual cleaning.
Rot
Real mold appears comparatively rarely on Seramis clay granules. The root of the problem is usually actually the root - or rather root rot, which works its way up in the substrate from bottom to top. Organic residues such as plant parts, insects or soil residues between the granules can also be sources of mold. The following factors are also possible:
- Too cold, dark location
- Excessive watering
- Constantly high humidity
- Lack of drying between waterings
Prevention
The prevention of mold on Seramis clay granules begins as soon as the plant is planted. The roots must be completely free of the previous substrate. The same applies to dead root parts. Even small crumbs of earth or rotten pieces can become sites of rot. Even during ongoing care, falling leaves, insects and other things should be read off the granules as quickly as possible.
The right location and coordinated watering also help. If Seramis can dry properly between waterings, at least in the upper layers, the risk of mold is significantly reduced.
Eliminate
If mold appears on a foreign body, such as a leaf, on the clay granules, removing this piece can help. To be on the safe side, the granules around the stove should also be removed. This is different with full-coverage coverings. Here it is necessary to remove the entire substrate. The spores may only 'bloom' on the surface, but at such a size they will have spread throughout the entire pot. Removing the top layer would only ensure a short period of freedom from mold.
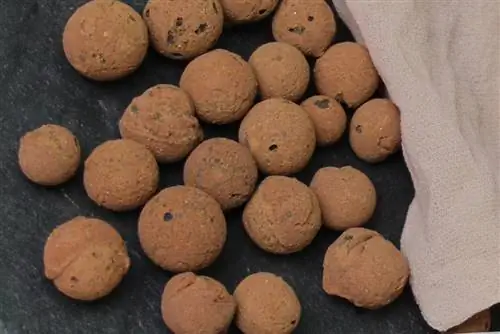
The plant root should be examined for affected sections and, if necessary, treated with a fungicide. The pot must be cleaned thoroughly. The Seramis can now be disposed of or the mold can be removed. Various measures are available for this purpose.
Possible are:
- Soaking in diluted vinegar essence
- Soaking with citric acid
- Place in a fungicide suitable for plants
- Heating in the oven at 150° C for about an hour
Acid, fungicide and heat serve to permanently kill the spores. Of course, the granules should then be rinsed thoroughly to remove any residue. Before a plant is put back in, it can be stored for a few days and checked for any mold that may appear again.
Frequently asked questions
How can I distinguish limescale and mold on the Seramis clay granules?
Lime tends to form dry, solid deposits. If there is mold, a furry surface becomes visible and the granules smell moldy and musty. In addition, the coating can often be scraped off relatively easily with a fingernail or a knife.
Do I absolutely have to remove mold on Seramis?
Depending on the type, the mold on the granules can be dangerous not only for the plant, but also for your own he alth. So it must either be removed or the Seramis must be disposed of.
Tips for speed readers
- Limescale deposits appear more often on Seramis clay granules than mold
- White, dry deposits can be caused by calcium-containing irrigation water
- Fertilization can cause deposits on the granules
- As a preventive measure, soft water and a suitable fertilizer are recommended
- Limescale deposits can be removed using vinegar essence, citric acid and baking soda
- Removal not necessary as it is only visually annoying
- Mold on the granules is often caused by root rot or foreign bodies in the pot
- Incorrect watering, lack of ventilation and an unfavorable location can promote mold
- Complete substrate removal required
- May be harmful to your he alth
- Mold spores can be killed with fungicide, citric acid, vinegar essence or heat
- If necessary, treat the roots with fungicide

