- Author admin [email protected].
- Public 2023-12-17 03:39.
- Last modified 2025-01-24 12:45.
Aloe vera is an exotic beauty that is very popular with many plant lovers. Although its requirements are very specific, the succulent copes well with the conditions in the living room. For he althy growth, the plant should be repotted regularly. In these step-by-step instructions you will read everything you need to know about repotting.
Ideal time for repotting
Aloe vera can be repotted all year round. When the succulent plant is in full bloom, you should avoid repotting it. This means stress for the plant, which significantly affects flowering. Late spring is ideal when the aloe has already awakened from hibernation. Between May and June, sunlight ensures that the plant can recover quickly in the new pot. You can also transplant the aloe in the fall. How often you have to repot the plant depends on its growth:
- usual cycle is two to three years
- when the substrate is completely rooted
- at the latest when roots grow out of the substrate and drainage holes
Repotting instructions
When it's time to move the succulent into a new pot, some preparation should be made. Repotting is quick and easy, so you can enjoy the lush growth of the desert beauty. After transplanting, pay attention to the optimal location and proper care so that the plant acclimates well.
Choose a pot
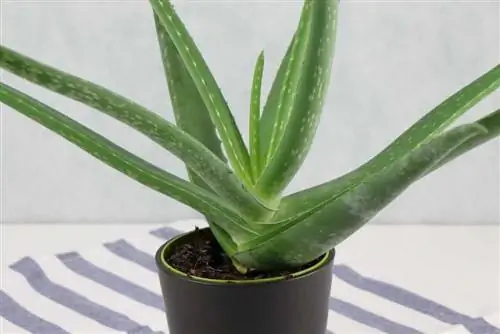
Selecting the right pot plays a bigger role with aloe vera than with other plants. Avoid flower pots made of lightweight materials such as plastic. These variants are not able to regulate the water balance. There is a risk that the roots will die due to excessive moisture. Models that taper downwards are also unsuitable. Although they look beautiful, they do not offer the plant any stability. Larger specimens in particular are very top-heavy and would easily tip over in the conical pots. This puts you at risk of the leaves breaking off. The ideal pot looks like this:
- heavy and robust bucket
- Materials such as clay or terracotta are ideal
- wide base
- at least one drain hole
- not painted, but natural
Note:
Did you know that aloe vera can close your wounds? In this way, the plant protects itself against excessive water loss, but visible scars remain.
Create drainage
Ensure good water drainage so that the real aloe doesn't get its feet wet. The more permeable and coarser the substrate, the less water it can store. It quickly flows to the bottom of the pot and collects in the saucer. Drainage directly on the bottom of the pot makes no sense if you don't mix any soil into the substrate. Instead, provide a buffer in the coaster or planter. Cover the ground with gravel or smaller stones and place the plant pot on top.
Tip:
Usually the collected irrigation water increases the humidity, which is good for many plants. With aloe vera, you should pour off excess water immediately because the succulent likes very dry air.
Implement aloe vera
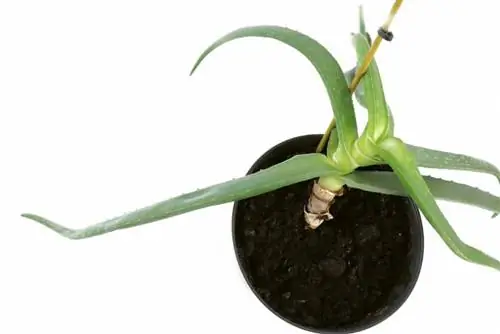
Carefully lift the plant out of its old pot. You should proceed with extreme caution as the leaves break easily. Wear gloves to protect yourself from the fine spines. To ensure that the succulent does not stand directly on the ground in the new pot, you should add some sand and gravel before inserting it. The root ball is then placed in the new bucket.
Fill with substrate
The succulent has adapted to a rather hostile habitat in which the soil is sandy and poor in nutrients. Calcareous soils are tolerated. The substrate does not store water, so Aloe species had to develop special structures to store water. When rain falls, they absorb water through their roots and store it in their fleshy leaves. Therefore, real aloe does not tolerate waterlogging. A substrate in which water drains away quickly is ideal. You can buy cactus or succulent soil for the new pot, although the composition varies depending on the manufacturer. Make sure that the soil does not contain clay but rather large amounts of sand. If you want to be on the safe side, you can make your own mix:
- Pumice gravel
- coarse sand or perlite
- granite grit
Select location
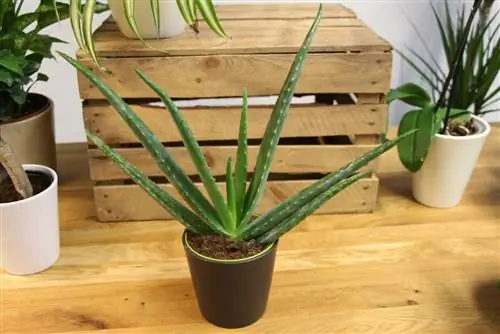
Aloe vera originally comes from tropical and subtropical climates. Warm temperatures and high humidity typically prevail here. However, the plant has adapted to locations that get a lot of sun and are very dry. The plant does not do well in high humidity, which is why a place in the bathroom is rather unsuitable. The plant feels comfortable on the windowsill in the living room if it is not exposed to the blazing sun. Too much sun causes the leaves to turn brownish. A west or east facing window with a few hours of sunshine in the morning and evening is ideal. During the summer months, the aloe vera can be placed outside as long as a few aspects are taken into account:
- slowly get used to the location
- choose a protected spot
- does not tolerate wind or rain
- bring it in in the fall
Tip:
Place the newly repotted plant in a sunny spot in the house for the first few days so that it can settle into the new substrate.
Further care
The real aloe proves to be an extremely easy-care plant when placed in the right location. You should not give the plant any water for the first few weeks after repotting. Once it has settled in well, you can give the aloe a shot glass full of water every four weeks. The plant does not need more moisture. You can completely avoid adding fertilizer because the plant is adapted to nutrient-poor locations. However, occasional fertilization with a special fertilizer does not harm the real aloe. If you want to harvest the leaves for consumption, you should use an organic fertilizer without chemical additives. Avoid wetting the leaves with water. This quickly leads to the formation of rot.
Tip:
A loss of elasticity or changes in the color of the leaves are an indication that you should increase the watering quantities.

