- Author admin [email protected].
- Public 2023-12-17 03:39.
- Last modified 2025-06-01 06:48.
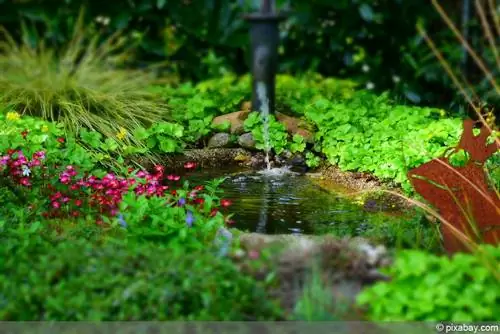
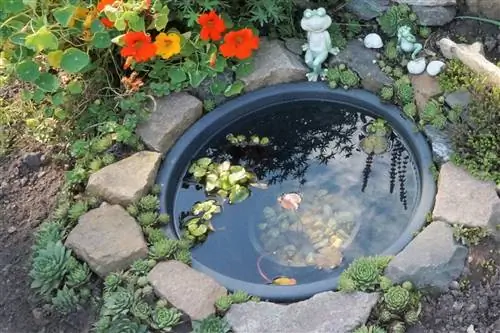
Many garden owners want a garden pond. Pond bowls are usually the quickest option if you want to make your dream come true. The prefabricated ponds or pond trays, as they are also called, have advantages and disadvantages like all other options for creating a pond.
Advantages of pond bowls
- Many different shapes and sizes on offer
- Winterproof if the depth is sufficient, so suitable for overwintering fish and amphibians
- Have different depth zones
- Available from different materials (quite different qualities)
- Can be used as raised ponds or buried.
- Frost-resistant
Disadvantages of pond basins
- Difficult to establish biological balance
- Accessible only with technical assistance
- Frequently steep and smooth walls, often impossible for living beings to overcome
- Usually unsuitable for balconies because they are simply too big when converted and too heavy
- Difficult to integrate into the natural environment, always look somehow artificial
- Mostly high maintenance, technical aids required
When installing, the size of the pond tank is important. Small pools can usually be easily installed by one person. Large pools, with a capacity of several tens.000 liters of water require helpers and often technical equipment. The installation itself is always the same, no matter how big the pool is, the effort is different. Of course, this starts with the excavation of the earth and the question of what to do with the excess substrate.
Transporting the bowl also poses some problems depending on its shape and size. Often it has to be delivered. Anyone who orders their garden pond online will have it delivered anyway. It is important to compare the prices, they can vary quite a bit, at least for large pond bowls.
What is needed for installation?
- Shovel, spade or possibly a small excavator (for larger ponds)
- Sand - as a layer under the pool and on the sides
- Water - for sludging
- Spirit level - for straight installation of the pool
- Rubber hammer - to align the pond precisely
Technical equipment for the pond
The technical equipment does not necessarily have to go into the pond. Larger ponds also work without it, but with small ones it becomes difficult. Technology makes care easier and keeps the effort lower. Filters and pumps are not necessary. However, if you have fish in your pond, you shouldn't do without them. Light is a beautiful thing in a pond. There are many different ways to illuminate a pond. When installing the pond bowl, make sure you have a power connection or alternatively use solar.
Preparations for pond installation
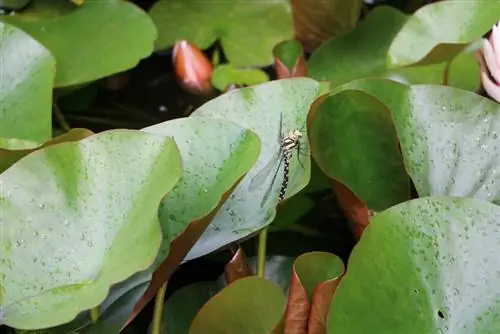
The pond installation needs to be well thought out and prepared. This includes selecting the appropriate pond bowl, the appropriate location and marking out the construction project. There are thousands of offers for pond bowls. The pools differ in size, shape, material, color, depth, planting zones and of course in price. Supposed super bargains should be viewed with caution; the prices are often so cheap for a reason. Material defects are not uncommon and no one enjoys a leaking pond.
The preparations also include electricity and water connections.
There are also a few things to consider when it comes to location:
Solar radiation
- Especially in small ponds, make sure that the water surface is not exposed to sunlight all day long. The water heats up too much, and an algae plague is usually the result.
- A parasol or awning can help with small ponds.
- Shaded areas are also beneficial for large ponds.
- 4 to 6 hours of sunshine a day are enough.
- Better than full sun is full shade. Shade is not ideal and not all plants can tolerate it, but it is less damaging than bright sun. However, not as many amphibians settle in the shade.
Leaves
- Do not plan a pond in the immediate vicinity of a deciduous tree. Clearing leaves is labor intensive. Leaves in the pond create a thick layer of mud at the bottom. The nutrients in turn promote the algae.
- A tree poses another risk, its roots. Depending on the type of tree, the strong roots can damage a pond bowl
Tip:
Anyone who puts a pond in their garden must be aware that it has a magnetic effect on children. It must be secured so that children cannot reach it. So you either completely fence in your garden or the pond. Every year countless children drown in garden ponds or swimming pools, that must not and must not be the case.
Install pond bowl
The outline on the garden floor is always marked first. To do this, turn the bowl over so that its edge is on the ground. Now the outline can be traced using sand, sawdust or similar. The pit is then dug, paying attention to the individual levels. As a test, you can always place the bowl in the hole so that you can see where something still needs to be dug out. The pond bowl must be aligned accordingly. It is best if one or more people (if the size is appropriate) climb into the bowl so that it is properly pressed into the pit. This also makes it easy to determine where the excavation doesn't really fit. More has to be dug out there, or the other way around, earth has to be filled in again. The shell must be inserted again and again to check its fit.
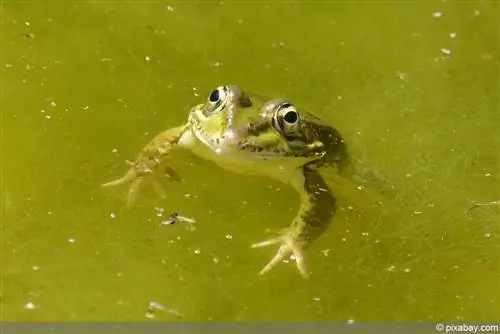
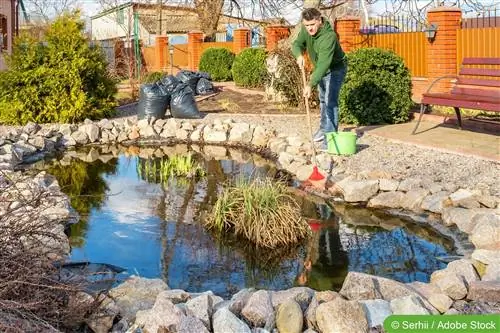
If the tub has been fitted correctly, it needs to be lifted out again. Stones and roots in the bed must be removed. These could cause some damage to the tub. A layer of sand is then applied to protect the bottom of the tub. In this way, tensions are better balanced. These are absolutely harmful to pond shells and usually lead to cracks in the tub after a while. Insert pond bowl. The edge of the pond must be level with the surrounding area. There should be no voids on the floor. Water is now being let in, but only up to a third. The weight of the water aligns the bowl again. Use the spirit level to check whether the edges are straight.
Tip:
Most spirit levels are too short. A straight roof batten or, better yet, an aluminum batten that is placed over the edges is useful here.
The correct position can still be achieved by shaking and turning. If the pond is correctly aligned, the outside of the tub is sludged. The voids all around need to be compacted. To do this, you use a finely crumbly soil-sand mixture. Mixture or pure sand. To do this, you have to keep adding water to wash the soil or sand down. The layers rise higher and higher, to the edge. If you want to put the previously cut sod back in at the end, you have to leave a few centimeters free at the top so that the height at the end is right with the grass. Most pond builders put a layer of gravel or river pebbles around the pond, just to hide the edge.
It's better than having everything on one level if the pond is slightly higher than its surroundings. This prevents rain from washing soil, fertilizer or subsoil into the pond.
- Mark outline
- Dig up earth
- Adjust pond bowl
- Removing roots and stones
- Put a layer of sand on the pit floor
- Insert pond bowl
- Align the pond bowl
- Pour in some water, about 1/3
- Remove cavities all around, slurry with water and refill with sand, always alternating
- Create edge (grass sod or stones)
- Installing technology
- Planting a pond
- Place decorative elements
Plant pond bowl
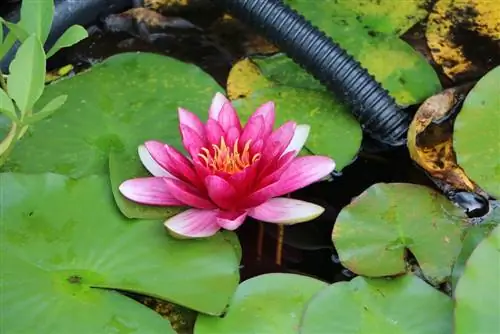
There are a few things to consider when planting. It starts with whether you should use sand, gravel or pond soil for the bottom. Normal garden soil is not suitable; it is absolutely not suitable. Pond soil is very rich in nutrients and should only be used in special plant baskets. Gravel is best suited for the floor or, alternatively, river pebbles. The round washed river pebbles are ideal. They look natural and you can climb into the pond and walk on them without damaging the pond bowl. This should not be done on sharp gravel. Sand is also usable.
Tip:
If you use gravel, make sure it is washed. Unwashed gravel makes the water cloudy. The same applies to sand. Unwashed construction sand contains fine mud that does not settle for a long time. If he then lies down between the stones, you can no longer get him out of the pond.
It is best to plant the pond before all the water is let in. The pond technology is also easier to use this way. Of course, the choice of plants depends on the location and size of the pond. If the pond is large enough and the plants are to remain in the pond in winter, of course no exotic species that cannot cope with our winter temperatures should be planted. It is ideal to place the pond plants in plant baskets.
This prevents the pond soil from being washed out and the plants from spreading unchecked. For this purpose, the plant basket is lined with a fleece. The pond soil goes in there. Depending on the plant, plant the root or rhizome and fold up the fleece and cover it with gravel or river pebbles so that the soil is not washed out. The plant basket can then simply be placed in the appropriate place in the pond. It is important to pay attention to the depth. The individual plants have very different requirements.
Once the technology has been installed and all the plants have been planted, the remaining water can be let in. Rainwater or a mixture of rainwater and tap water is best. Very hard water is unsuitable. Many plants cannot tolerate the lime in it. Another thing to consider to prevent animals from drowning is an exit aid. Animals also often fall into the pond and so they can escape back to the land.
Suitable plants
There are a wide variety of plants for garden ponds. It should be noted that they must be adapted to the size and location of the pond. Large reeds have no place in a 150 liter pond. The proportions have to be right. Otherwise: less is more. Don't put too many different plants in a pond. It can be assumed that plants will still settle on their own. Everything quickly becomes overgrown and the actual pond can no longer be seen.
Swamp and aquatic plants
- mostly used for the edge zone -
- Swamp marigold - yellow flowers from March to June, height 20 to 30 cm, width 40 to 50 cm
- Swamp spurge - yellow flowers from April to June, height 60 to 100 cm, width 80 to 100 cm
- Swamp iris - yellow flowers from May to July, height 80 to 100 cm, width 30 to 40 cm
- Swamp Violet - pale purple to purple-pink flowers, height 5 to 12 cm, width 15 to 20 cm
- Blood Loosestrife - purple-red flowers from July to September, height 70 to 120 cm, depth 50 to 60 cm
- Swamp forget-me-not - white flowers from July to September, height 10 to 20 cm, width 20 cm
Underwater plants
- Variety pondweed - greenish flower from June to August, from 50 cm water depth
- Large Nixenweed - inconspicuous underwater flowers, from 30 cm water depth
- Canadian waterweed - white flowers from June to August, 50 to 120 cm water depth, forms strong runners
- Water feather - white to light pink flowers from May to July, 30 to 60 cm water depth
- Rough hornwort - inconspicuous flowers in the leaf axils, 50 to 120 cm water depth, free-floating
Floating plants
- which shade the water surface -
- Water hyacinth - violet-blue flowers with lots of white from July to October, height 10 to 20 cm, width 20 cm
- Water Nut - flowering July to September, height - lying flat on the water, width 40 to 50 cm
- Common frog bite - white flowers from June to August, lying flat on the water, flower up to 10 cm, width up to 80 cm and more due to runners
- Seapot - small yellow flowers, up to 5 cm high from June to August, leaves lying flat on the water, can cover large areas
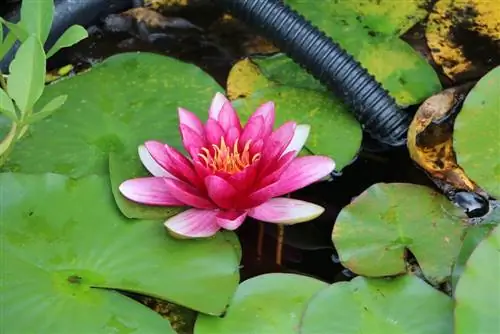
Water Lilies
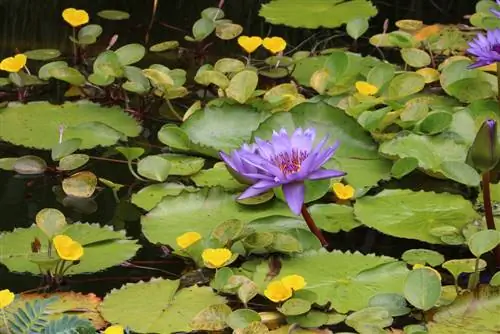
- Yellow pond lily
- Numerous water lilies, depending on the depth of the pool
- Asian dwarf water lily
Conclusion
Installing and planting a pond bowl is not really difficult, although of course it depends on the size of the pool and the natural conditions. For large pond tanks, a lot of earth has to be moved and it is not easy to balance the large tank so that it sits exactly. Small pools are much easier to install. You have to work precisely so that water doesn't run out of the basin later because you forgot to use the spirit level to check whether the edges are even. When planting, the size and location of the pond are important. There are suitable plants for all zones. The pond should under no circumstances be overloaded.

