- Author admin [email protected].
- Public 2023-12-17 03:39.
- Last modified 2025-06-01 06:48.
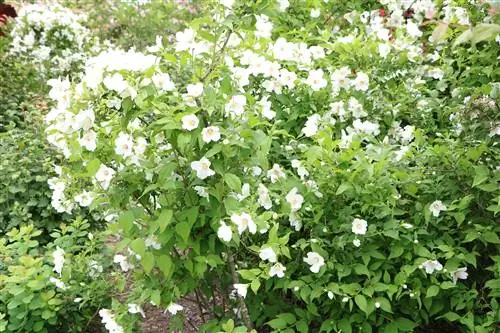
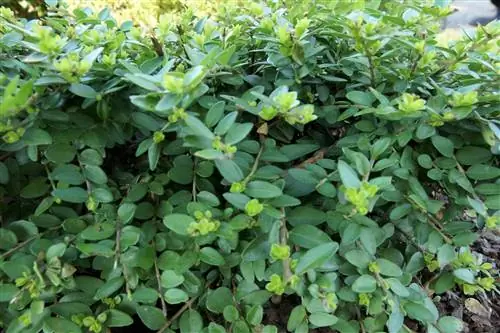
Hedges take on all sorts of tasks in the home garden. Large specimens offer small mammals and birds a perfect habitat, protect them from wind and prying eyes and serve as a natural boundary. Smaller hedges are a design element that visually enhances the green living room. They can be used to divide beds, delimit areas in the garden or surround a seating area. Trimmed hedges are suitable for planting. These are not only inexpensive, but also durable.
The choice of plants
The selection of hedge plants in specialist stores is large. It is not always easy to find suitable plants right away. When choosing plants, the location conditions are important. Are the plants in full sun, in a shady area or both? The question of soil conditions is also crucial. There are varieties of trees that already have high demands here and others that thrive in almost any soil. Another point is the amount of work. Fast-growing hedges need to be trimmed once or twice a year. If you don't want to do this, choose slow-growing hedges. And ultimately, appearance plays a crucial role when selecting hedge plants.
Most popular hedge plants
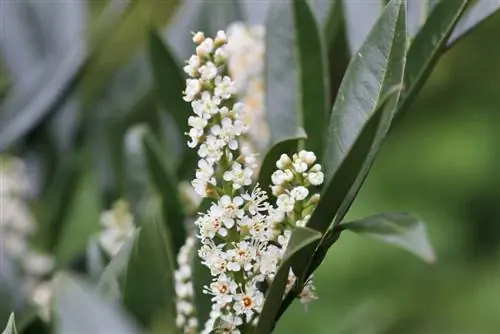
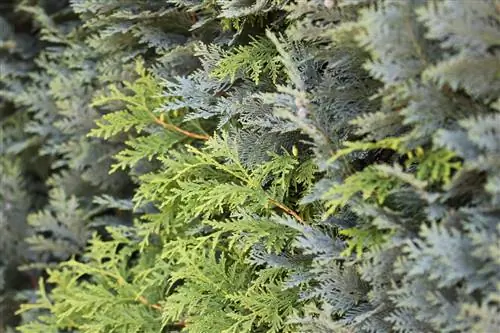
Should it be an evergreen hedge that sets accents in the garden even in winter? Or would you prefer a variant that sheds leaves or that enchants with its colorful flowers? The most popular hedge plants include varieties such as privet, yew, false cypress, thuja, cherry laurel and hornbeam hedge. Each hedge plant has its own advantages and disadvantages.
The right time to plant
Hedge plants should generally be planted in late autumn. This means they take root before the first frost and the risk of leaf damage is significantly reduced. Another advantage is that the plants are not delayed in sprouting in spring. The hedge can also be planted in spring - before budding. However, additional watering often has to be carried out. However, before planting can begin, the required boundary distance from the neighbor's property must be checked. In order to avoid unnecessary trouble with the neighbors, it is advisable to check the regulations with the respective municipality beforehand.
Step-by-step instructions
Careful preparation is necessary so that the hedge becomes an eye-catcher. This includes the initial care of the hedge plants. Bare-rooted hedge plants should be placed in water up to 24 hours before planting. For container or balled plants, the pot is dipped in water before planting until no more bubbles appear. If the hedge cannot be planted immediately, it is advisable to place the plants in a large hole in the ground, cover them with soil and flood them with water.
Align and dig the planting trench
Align the planting trench using a guide line. If you don't have a guide line at hand, use a clothesline wound on two pegs and stretch it briefly across the ground as a line. Dig a planting trench about 30 cm deep and 50 cm wide and enrich it with mature compost. Alternatively, the soil can be loosened with a power tiller and mature compost incorporated. The compost soil improves the water and air balance in the root area. In addition, root formation is promoted.
Planting spacing
The planting distances are now determined using a bamboo pole (one meter). To do this, simply draw lines on the bamboo pole, depending on the type and variety. For hedges that remain small (around one meter), three to four plants are needed per meter. The planting distance for high hedges is two to three plants per linear meter.
Planting
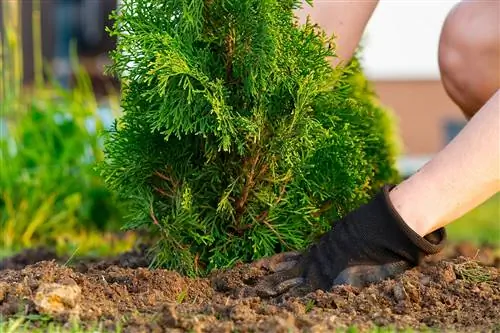
The plants are placed in the planting trench along the guideline and at an appropriate distance. When planting, make sure that the pot ball of the hedge is level with the ground.
Closing and watering
The enriched and excavated soil is filled back into the planting trench in the next step. Shake the plant slightly so that there are no cavities between the roots. Tamp the soil gently and form the pouring rim. The roots then have to be completely muddied.
Apply bark mulch
Once the water has completely seeped away, the earth is loosened up again. Finally, the root balls are covered with a thick layer of bark mulch. This means that the soil does not dry out and the young hedge plants are protected from frost damage. Bark mulch is also very helpful against weeds.
Care tips for hedges
Whether deciduous hedge species such as privet or copper beech or evergreen species such as firethorn, conifer or cherry laurel - they all have one thing in common. Decorative hedge plants need to be cared for and cut regularly. A cut does not only ensure that the hedge remains opaque, grows faster or branches more and more. Cutting the hedge also gives the hedge a shape that can create beautiful accents in the garden - provided you can do it. If you want to cut back the hedge, you should do this in spring. Mid-March is the best time here because it is before the plant sprouts. There should be no later pruning, as hedges provide breeding grounds for many species of birds. The second pruning then takes place in the months from August to October.
The only thing to note is that the cut is trapezoidal. That means wide at the base and narrower towards the top. This means the hedge remains dense even in the lower area and gets the sunlight it needs to grow. Topiary pruning can be carried out from March to the end of September. Please do not cut later, otherwise the first night frosts can damage tender shoots. All in all, planting hedges is just as easy as caring for them using the steps mentioned above. The only important thing is that the prescribed limit distance and the cutting date are adhered to. With the appropriate tools, nothing can stand in the way of caring for the hedge.
What you should know about planting hedges in brief
For newly planted hedges on fertile arable land, it can make sense to clear the soil in order to suppress fast-growing, nutrient-loving species and to promote a much more species-rich population of rare specialists. The clippings from the annual mowing and tree pruning must be removed over several years. Otherwise, the cuttings should remain in place to promote the formation of litter, moldy and raw humus horizons and dead wood.
So-called Benje hedges have been propagated for the creation of new hedges since the beginning of the 1990s. The principle of Benje hedges is to build hedges not through new plantings, but through seed input from birds. For this purpose, tree cuttings are laid down in strips and after a herb stage that is usually rich in nettles, a bush enlarges. The advantage is that this type of system is cost-effective and local seeds are introduced by birds. The disadvantage is that bushes made from cuttings that can be grown, such as blackberries, are particularly popular. While a positive influence on birds, small mammals and insects can be achieved in this way, the Benje hedge is rather meaningless for botanical species protection. It has proven to make more sense to supplement Benje hedges with woody plantings.
Planting tips
- When planting hedges, it is usually recommended to dig a planting trench twice the width and depth of the plant root ball
- For heavy soils, mix the excavated material with sand or lava granules and add some organic fertilizer (e.g. compost or horn shavings)
- Shorten deciduous hedge plants by 1/3 to 1/2 - only cut conifers to a uniform height
- Distribute the trees evenly in the planting trench so that the side shoots just touch each other
- When filling the planting trench, shake the plants and mix the soil well to avoid cavities
- Create a watering wall and water the plants well
- Cover the planting area with bark mulch to prevent the soil from drying out quickly.
Hedge plants that are suitable for the garden include:
- Privet and cherry laurel
- Yew, tree of life and false cypress
- Common beech and hornbeam

