- Author admin [email protected].
- Public 2023-12-17 03:39.
- Last modified 2025-06-01 06:48.
Laying a wooden floor on the balcony is definitely worth it. It is always more comfortable and warmer than a stone floor. But there are also a few rules that differentiate between a balcony in a rented apartment and the balcony in your own house. These will also be examined in more detail below.
A solid surface is the most important requirement
A balcony is exposed to all weather conditions all year round. That's why it was provided with an internal moisture barrier when it was built. It ensures that no rainwater or thawing snow can penetrate from the balcony into the areas below. If there are already moisture spots or rust on the steel structure on the underside of the balcony, this floor must be renovated before a wooden floor is laid on this area. What was initially concealed by the wooden surface and looked beautiful would lead to the balcony being completely demolished a few years later.
Old tiles, on the other hand, can remain as a substrate if they are not already loose but are just torn.
Often the existing, old floor is almost flush with the room behind it. Therefore, the height of the substructure of a wooden floor must be kept as flat as possible.
Arrangement of the floorboards lengthwise or crosswise?
Every balcony has to have a slope and almost always has a drain into the roof drainage. Before laying a wooden floor, this direction of slope must be checked. It usually leads away from the wall of the house to the front of the balcony. Your gradient should be 1 to 2 percent. Floorboards with grooves must never be laid crosswise. The grooves must always be in the direction of the slope so that rainwater can drain away. As a result, the substructure must be in the longitudinal direction. However, this poses the problem that the rainwater would now accumulate behind the slats of the substructure. Therefore, suitable ventilation options must be created, which differ significantly between the balcony of a rented apartment and that of your own house.
Laying a balcony wooden floor in a rental apartment
The tenant may only make changes to the building structure in consultation with his landlord. Most of the time, they want to maintain a consistent image throughout the entire rental property. It also makes sense to be able to take such a wooden floor with you when you move out later. The substructure is preferably made from impregnated roof battens. If it is necessary to lay them lengthways and thus across the direction of the slope, these roof battens must be placed on 2 to 3 millimeters high “feet”, preferably made of plastic discs. This allows rainwater to drain under these roof battens. These “feet” are not absolutely necessary in the transverse direction.
When laying, it is important that there is an approx. 1 centimeter wide gap on all four sides from which the rainwater can drain from the floorboards into the balcony's drainage. To prevent the finished floor from slipping, the substructure must be flush in several places. Balcony boards made of hardwood or fine wood are almost always offered in dimensions of 14.5 x 2.5 cm. To avoid deflections, the distance between the base battens should not exceed 60 cm.
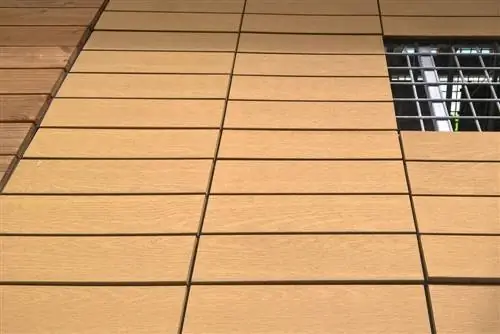
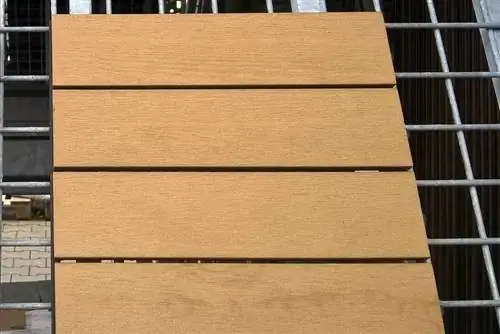
The floorboards are laid on each support by screwing them onto the base battens with two screws each. Stainless steel screws are used because with brass screws etc. the wood at the screw holes would gradually discolor. The holes are pre-drilled with a twist drill according to the screw thickness and beveled with a countersink so that the screw heads are at the same height as the wooden surface. The floorboards must be laid with gaps of approx. 2 mm apart to ensure water drainage and ventilation of the subfloor. Spacer blocks ensure even spacing during assembly.
Laying on your own balcony
In this case, the substructure is preferably laid firmly. Instead of the plastic “feet”, spacer blocks are glued or screwed onto the existing floor. However, the moisture barrier on the balcony must not be drilled through. Then a medium-grain layer of gravel is applied to the floor at the height of the feet. Including the ventilated installation of the wooden floor, it always ensures a dry sublayer. The floorboards are then laid, just as described for the rental balcony.
The Cleaning
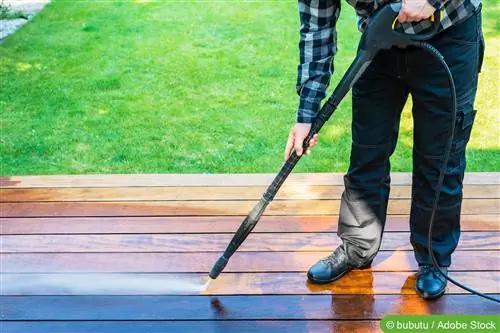
Every wooden floor should be swept regularly. It can also be vacuumed with a vacuum cleaner. But then only with a brush attachment so as not to damage the wood seal.
Wooden floors that have only been oiled or waxed may only be lightly wiped with a damp cloth, similar to cleaning laminate. Sealed floors, on the other hand, can be treated normally. Stains are removed with a cloth soaked in paraffin.
This is how your wooden floor on the balcony stays beautiful in the long term.
Tips for a wooden floor on the balcony
Do you want an easy-to-clean floor on your balcony? If you think that the tiles, which are easy to clean, do not go very well with your beautiful wooden floor in the interior, perhaps a wooden floor on the balcony is the right alternative.
A wooden floor on the balcony continues the warm look of the floor indoors. It also feels really warmer than stone flooring when it's a little colder outside. A wooden floor can also make a balcony with tiled flooring attractive again, whose best days were a while ago.
You can save yourself the work of tearing it out and possibly also any discussion with your landlord if you simply lay a wooden floor over the old tiles on the balcony. The following alternatives are available:
Laying floorboards on the balcony
There are special balcony floorboards made of hardwood, suitable woods include: B. Teak, bamboo, eucalyptus, acacia and bankgirai, almendrillo and cumaru. However, for some of these woods you must make sure that the wood has an FSC seal of quality if you value environmentally friendly origin.
Local woods that are resistant to the weather on the balcony include:E.g. Douglas fir decking, chestnut decking, oak and robinia decking or larch decking. Then you can choose floorboards made of pressure-impregnated wood, perhaps from beautiful local pine. If you are sensitive to certain wood preservatives, you should ask exactly which substance was used in the pressure-impregnation.
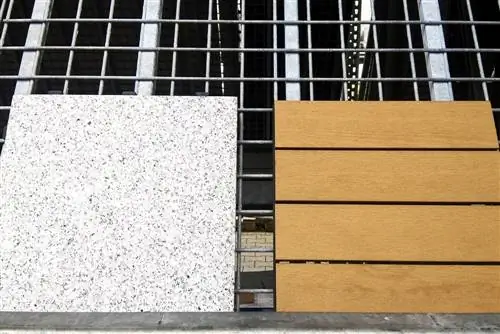
Balcony flooring can be laid without damaging the old floor. You can then take the new flooring with you when you move; it can be easily removed again. For this purpose, lay your new balcony floorboards floating, so the floorboards are not firmly connected to the balcony floor and the old tiles are not damaged. Any wood for outdoor use is dependent on wood protection through material and construction, and with floating installation you can also incorporate structural wood protection.
Floating installation - this is how it works
- To do this, lay the balcony floorboards on squared timbers to which the floorboards are screwed so that the new covering forms a unit.
- If your floorboards are grooved, they should be laid in the direction of the slope, i.e. the squared timbers are laid out lengthways to the house wall.
- Then you should occasionally plan gaps between the squared timbers to ensure that water can flow towards the front.
- Smooth floorboards, which are laid with tongue and groove to form a flat surface, can be laid lengthwise along the house wall. The squared timbers underneath are then laid in the direction of the slope, not all the way to the front of the edge, so that excess water can flow into the drain at the front of the edge.
- If the drain is not located on the front edge of the balcony, the substructure and covering must be designed differently so that water can reach the drain from all places
Further installation instructions
Your screwed-together grid should always be at a distance from the boundaries on one or more sides so that the water that runs along the components can drain away. Here you have to attach your new balcony floor to the sides so that your floor construction cannot slip, e.g. B. with stainless steel angles.
To screw the individual planks together, you should of course also use stainless steel screws that do not rust. Hardwood floorboards must be pre-drilled so that they can be screwed together easily. The finished new balcony floor is now treated with the wood protection that matches the type of wood. If you would like to do without any chemicals, oil your balcony floorboards with a wood oil that matches the type of wood.
If you don't want to hide an old tiled floor, the installation is basically the same, you just need to be sure that the existing balcony floor is really waterproof.
Laying on drainage layer
If your balcony only has a very slight slope, which leads to standing water when it rains, the squared timbers of the substructure cannot actually be placed directly on the balcony floor. Even if you make sure that larger masses of water can run everywhere towards the drain, the lower squared timbers would then often be wet and begin to rot quickly. Then you have to build a frame under the squared timbers, which rests on a support at the bottom edge that creates a distance from the floor.
A drainage layer of gravel or sand is placed in this frame, and only then are the storage timbers placed. They never lie in water, the drainage layer ensures that every drop of water runs off or dries away. The tiles are laid on the squared timbers as described above.
Wood tiles as balcony floor
Instead of floorboards, you can of course also attach wooden tiles to the wooden supports, but they usually have to be arranged differently. The wooden tiles usually have a size of 30 x 30 cm and are also made from weather-resistant wood or specially treated for outdoor use.
Or you can choose wooden tiles with a click system, a very comfortable but not the cheapest solution. If the surface is flat and has the right slope, the wooden tiles with a plastic lower part can be easily laid directly onto the floor using the click system. First there is a plastic grid that is simply clicked together and laid out, then the click tiles are just as easily connected to this plastic grid. The wooden tiles will never get “wet feet”.
Tips for cleaning wooden floors
- If a wooden floor has been waxed or oiled, you should use water very sparingly so that your wooden floor does not swell.
- Sealed wooden floors can tolerate more water, but only if the seal is complete, which should be checked regularly.
- A wooden floor is swept regularly or vacuumed with the brush attachment on the vacuum cleaner. You should first treat stains with a damp cloth or cloth soaked in paraffin and rub dry if necessary. There are also various tricks for removing stains from a wooden floor; scratches in the wooden floor can also be made almost invisible with the right action.
If you would rather not think about wood protection or care at all, you could put tiles or floorboards made of WPC, a wood composite, on your balcony.

