- Author admin caroline@plants-knowledge.com.
- Public 2023-12-17 03:39.
- Last modified 2025-01-24 12:45.
Before laying the new floor covering, it is often necessary to remove unevenness from the floor. There are several leveling compounds available to level even very irregular floors.
Cleaning and testing of the substrate
In principle, the preparatory work depends on the type of surface present. The condition of the floor determines its suitability for a future covering. The material of the substrate plays a key role here, as there are big differences between wooden floorboards, concrete, stone floors, tiles, screed or chipboard.
In any case, the surface must be cleaned beforehand. This includes vacuuming with a conventional vacuum cleaner and subsequent damp mopping. Concrete floors or cement floors should be brushed off, and old paintwork should also be sanded down. In the case of old wooden floorboards, all screws must be tightened.
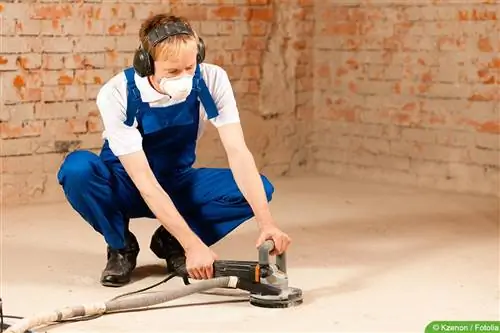
After extensive cleaning and checking for evenness, the new floor covering can already be laid. For this purpose, a primer can be applied in advance if necessary. Very uneven floors require further treatment with so-called leveling compounds.
Costs of ground leveling
If a new floor is to decorate a room, an uneven floor will put a stop to the project for the time being. Stronger depressions must be filled with leveling compound; a flat floor is a prerequisite. Depending on the intensity of the deepening, different costs apply. The costs can be illustrated using a rough example. The following costs may arise when laying new tiles in a 30 square meter kitchen on wooden floorboards:
- Compensation mass: 500-700 euros
- Nets: 50-100 euros
- Bows: 40-50 euros
- Pouring: 100-150 euros
- Total costs: 690-900 euros
Since the leveling compound causes a large part of the costs, the costs largely depend on the choice of material. Since every material has different properties and the processing is different, all alternatives must be weighed up according to your own personal preferences.
Save costs by installing yourself
Tensions between the covering and the subsurface must be avoided for a perfect result. Not least for this reason, many property owners decide to hire a professional. If you have the necessary tools and technical knowledge, you can save a lot of money by DIY.
Material list for leveling the floor
If you decide to work the soil yourself, you will need the following materials:
- Some buckets
- Suitable balancing compound
- Safety glasses and protective masks
- Spatula and scraper
- Nail shoes
- Painter brush
- Foundation
- Stead
- Agitator
- Notched trowel
- Vent roller
How much of the leveling compound is required depends on both the area to be laid and the unevenness present.
Alternatives to the conventional leveling compound
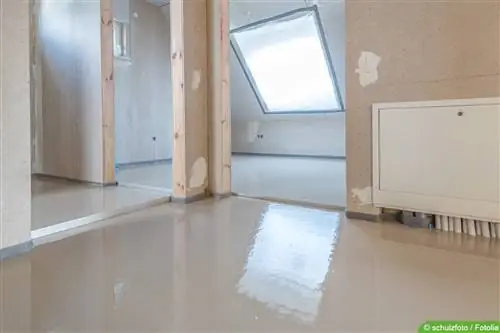
Do-it-yourselfers can also use so-called leveling compound from the hardware store because it is easy to process. It leads to quick and good results. However, there are numerous alternatives to the rather expensive mass that produce similarly good results. For example, there is the possibility of using screed as a leveling compound. When applied thickly enough, it creates a robust and solid floor. However, the alternative comes with some disadvantages. DIY enthusiasts can choose from the following alternatives:
1. Quick screed
The quick screed is a good alternative. It can be walked on after a short waiting period and offers even drying to ensure sufficient strength at all points.
2. Tile adhesive
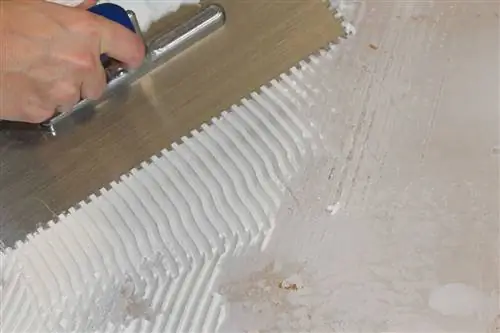
Tile adhesive is also suitable for leveling slightly uneven floors. Smaller unevenness with a maximum depth of 30 millimeters can be easily filled with tile adhesive. In order for the tile adhesive to adhere sufficiently, it is essential that it be processed in a completely dust-free manner. The maximum build-up layer is ultimately stated in the product instructions.
Tip:
Basically any modern flexible adhesive is suitable for height compensation as long as the unevenness is a maximum of 12 millimeters.
3. Self-made balancing compound
The products advertised in specialist retailers have good properties, but they often contain numerous binding agents and are quite expensive to purchase. Many do-it-yourselfers therefore swear by self-made screeds. If mixed correctly, it is also able to compensate for larger unevenness. The following materials are required:
- Water
- Cement
- Aggregate
- Concrete mixer
- Additives
A correct mixing ratio is necessary for strength and good workmanship. While leveling is similar to traditional leveling compound, the drying time may vary slightly. Depending on the mixing ratio, it lasts up to a month.
Tip:
A good screed not only provides balance, but also increases the load-bearing capacity.

