- Author admin [email protected].
- Public 2023-12-17 03:39.
- Last modified 2025-01-24 12:45.
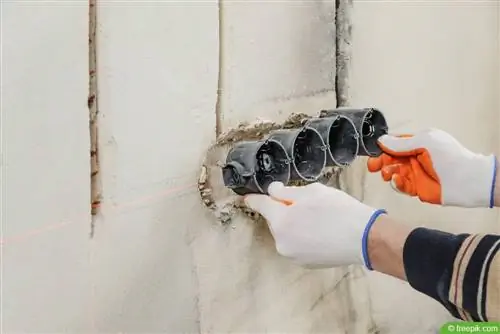
If you have to plaster cable slots, the correct procedure is essential. Plastering the slots protects against direct contact with the cables so that they do not become a danger.
Materials and tools
Plastering cable slots is not a difficult task as long as you have the right utensils at hand. They enable an effective process and a satisfactory result. The following list has all the necessary materials and tools you need to plaster the cable slots:
- Adhesive plaster
- Spatula
- Smoothing trowel
- Spray bottle
- Hammer
- Chisel
- Bucket
- optional: sponge or felt board
- optional: pliers
The adhesive plaster is very important as it does not shrink compared to other types. The plaster with which you fill the slots must not shrink, otherwise unevenness will appear in the wall after it dries. Adhesive plaster is known under the name Rotband, under which a product from the manufacturer Knauf is also sold. For this reason, you get the same type of plaster under both names.
Tip:
If the slots exceed two centimeters in width, it is significantly more difficult to plaster them safely. In this case, use so-called filler fabric tapes, which bridge the large gap and thus make it easier to apply the plaster.
Preparation
In most cases, cable slots cannot be plastered immediately. If the cables have been successfully laid, there will be excess materials that need to be removed first. This is necessary because otherwise the plaster cannot be applied smoothly and tightly. Remove excess nails and electric plaster, which make application significantly more difficult. Simply use the hammer for the nails. Drive the nails over or pull them out of the wall with the other side of your head. A pair of pliers also works well here. The electrician's plaster, on the other hand, is carefully removed with a hammer and chisel. Last but not least, be sure to turn off the room's fuse as you will be working in close proximity to cables.
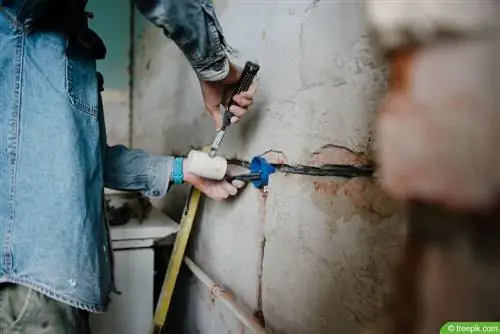
Plastering cable slots: instructions
When plastering cable slots, it is important that you proceed quickly and specifically. Since the adhesive plaster used can only be used for a period of around ten minutes, you should only mix small portions. You can find out how to mix and plaster using the following instructions:
- Check mixing ratio
- is stated by the manufacturer on the packaging
- first add the required amount of water to the mixing bucket
- gradually add adhesive plaster
- get soaked
- then stir well
- it must have a smooth consistency
- Wet the cable slots well with the spray bottle
- the moisture makes the plaster easier to apply
- Put the filler on the trowel with the spatula
- insert directly into the cable slot with a little pressure
- swipe downwards
- proceed in sections
- finally smooth it out
Depending on the length of the cable slots, you may have to mix filler several times. Allow the plaster to dry and then check whether you need a second coat. For example, it may happen that the amount applied was not enough and sank into the slot. A second layer doesn't hurt. However, if the plaster has not yet dried, you can use a felt or sponge board to work on the slots.
Tip:
If you don't have a spray bottle on hand, put a little water in a bucket and equip yourself with a thin paint brush or sponge. You can also apply the moisture you need in this way.

