- Author admin [email protected].
- Public 2023-12-17 03:39.
- Last modified 2025-06-01 06:48.
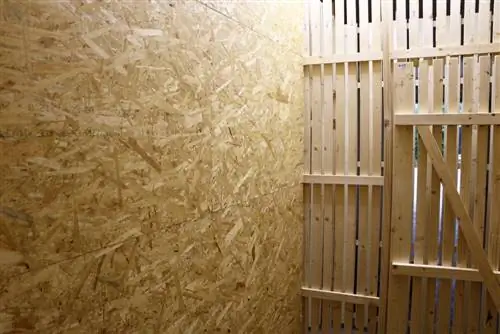
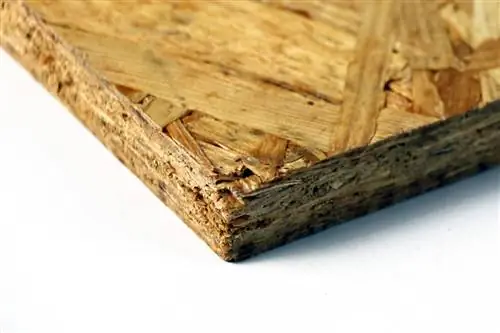
OSB boards (oriented strand board - coarse particle board) offer a real alternative to classic plasterboard walls. In the USA they have been used for many years, primarily to create partition walls. They have been increasingly used in house building in Germany for around 15 years. However, chipwood is not the ideal surface for wallpapering. The DIY guide provides professional instructions that make wallpapering OSB panels easy.
Possible problems when wallpapering
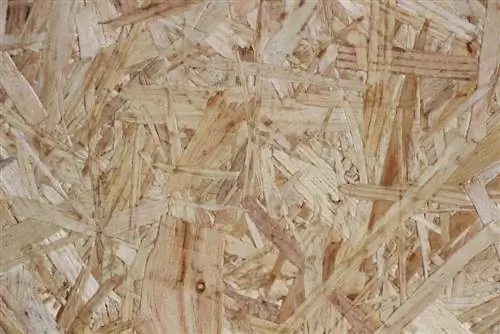
The surfaces of OSB boards are usually slightly to moderately rough, so they do not provide a smooth surface for wallpapering. Particularly less high-quality coarse chipboard usually has a certain ability to absorb moisture. Without special pretreatment, conventional wallpaper paste would absorb into the OSB board and would not provide wallpaper with sufficient hold.
Incoming moisture can cause deformation of the chipboard. If they warp, the wallpaper may tear, moisture can enter and cause mold.
Sharp-edged chips can appear at the so-called panel joints, which are present at the factory or are caused by the arrangement when the panel is fastened. They can cause wallpaper to tear in these places. The risk of injury when wallpapering is also high.
The different colored coarse chip fibers create an uneven beige to brown pattern on the board surfaces. If there is no pre-treatment, the pattern would shine through, especially on thin paper wallpaper.
Smooth surface
The smallest unevenness on a coarse chipboard can be visible even through the coarsest woodchip wallpaper. For this reason, it is absolutely necessary to create a smooth surface. There are various options to choose from:
- Attach smooth plasterboard panels to the OSB panels
- Sand the surface
- Fillering a wooden wall/ceiling
Attach plasterboard
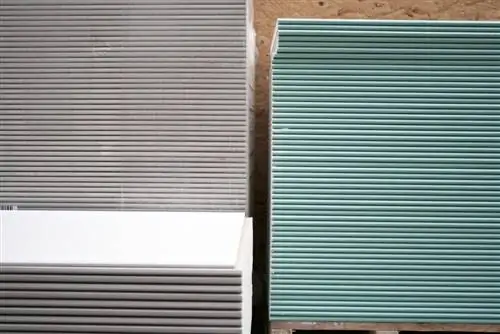
Attaching plasterboard to the OSB panels is an additional effort that primarily has the advantage of improved fire protection and is worth it for this reason. A second advantage is the plasterboard surface. Once the screw holes, panel joints and panel joints have been filled, wallpapering can begin straight away. Wallpaper is also easier to remove from plasterboard if a change of wallpaper is desired.
The amount of work required is less than the special preparation of the chipboard substrate. Only the following work steps are necessary:
- Cut plasterboard to size
- Place directly on the OSB panels (no clearance required for ventilation)
- The plasterboard panels are simply screwed onto the corners
- Then plaster the panel joints and screws or screw holes
- Sand plastered areas smooth
- Apply primer - ready for wallpapering!
Sand the surface of the OSB boards
For OSB boards with a rough surface, smoothing is achieved by sanding the surface with 250-grit sandpaper. Usually with cheaper, lower quality plates, clear depressions can be seen. These should be filled with a wood filler before sanding. A plaster-based repair filler is best suited for this.
Filling OSB panels
The most common method of preparing for wallpapering on a smooth surface is filling. This has the additional advantage of closing the pores in the plates. Less moisture can penetrate and dimensional stability is improved. The spatula doesn't crack. In addition, less moisture is absorbed, which is particularly important for the subsequent primer and wallpaper paste.
You will need the following materials for filling:
- Plaster repair putty
- A hand spatula for applying the filler
- Plastering fleece or fabric
- A smoothing chip for smoothing larger surfaces
- 80 and 100 grit sandpaper
- Grinding machine or alternatively a sanding block
Filling correctly step-by-step instructions
- Mix the filler according to the manufacturer's instructions
- Apply a thin layer of filler to the panels using a hand spatula
- Spread with smoothing chip and smooth at the same time
- Drying time: approx. four to five hours depending on ambient temperature and room humidity
- After hardening, the surface is roughly smoothed with 80-grit sandpaper
- The 100 grit sandpaper is used for smoothing again
- Then place fleece or plastering fabric over the seams of adjacent panels (reinforce)
- Use a spatula to hold and smooth the fleece/plaster fabric
- It is ideal if the fleece/fabric overlaps by 50 percent
- It is recommended to apply fleece/fabric to the entire surface (provides more support and stability)
- It is important to create a flat surface without dents when reinforcing
- If necessary, go over the filler again with the sander
- Allow to dry for at least 24 hours before the next step
Tip:
When sanding, due to the high level of dust generated, it is recommended to wear a respiratory mask to protect your respiratory tract.
Plastering
You should refrain from plastering OSB boards to create a smooth surface. Normal wall plaster brings significantly more moisture to the chipboard, which can subsequently deteriorate. Once the plaster has dried, it will crack, crumble and/or split. Filler is much more suitable because it dries faster, less water is absorbed by the wood and is therefore more robust and long-lasting.
Foundation Instructions
No matter which smoothing option you choose, a primer is necessary after smoothing. This ensures an improved adhesive base for the wallpaper paste or wallpaper. A primer with a conventional adhesive primer is sufficient when cladding with plasterboard and completely filling the OSB panels.
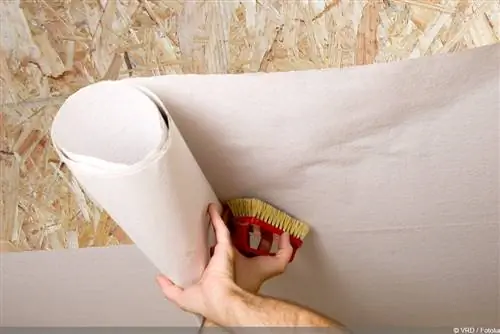
If the wooden surface is sanded, a deep primer should precede the wallpaper primer. As the term suggests, the deep primer penetrates deeper into the material. There it closes the pores and prevents the wallpaper paste from being absorbed too much. The risk of mold formation can also be reduced. The wallpaper primer increases the adhesion of the wallpaper paste.
Applying the primer
- Mix primer powder or provide finished product
- Use a brush to pick up the primer and distribute it evenly over the surface
- Make sure that no lumps end up on the painting surface
- The wall must be completely coated - not an inch should be left behind
- Let the deep primer dry for about three to four hours and repeat the process
- Wallpaper primer is applied thickly and allowed to dry according to the manufacturer's instructions
Tip:
Wear old clothing and, if necessary, put all furniture and objects at a safe distance, as the adhesive hardens extremely and is therefore difficult or impossible to remove. You should remove/cover immovable things such as windows or the floor.
Instructions for wallpapering
Once the deep primer and/or regular wallpaper primer have dried out, you can start wallpapering.
Here you will need the following materials:
- papering knife
- papering scissors
- tassel/paste brush
- Bucket
- wallpaper paste
- Water
- Inch rule
- papering table
- wallpaper brush
- Wallpaper spatula
Pasting and wallpapering
- Mix the wallpaper paste powder with water according to the manufacturer's instructions
- As a rule, there must be a waiting period between mixing and use
- Cut the wallpaper to size
- Dip the tassel into the paste and spread it evenly on the back of the wallpaper
- For longer strips, fold the two outer sides over to the middle of the wallpaper (easier to attach)
- Alternatively, you can coat the wall with the paste - this makes it easier to move the panels
- Always wallpaper from top to bottom and always start at the outermost edge of the wall/ceiling
- Fold out the upper half of the pasted wallpaper and place the corner of the wallpaper precisely into the corner of the wall
- Align a straight line of wallpaper
- Use the wallpaper brush to paint the wallpaper from top to bottom and from right to left
- You can press any air areas outwards, up or down with the wallpapering spatula
- Always lay out the panels in a butt joint - never allow them to overlap (ensures seamless transitions between the individual panels)
- If necessary, carefully cut excess wallpaper straight at the edges/edges with the wallpaper knife

