- Author admin [email protected].
- Public 2023-12-17 03:39.
- Last modified 2025-01-24 12:45.
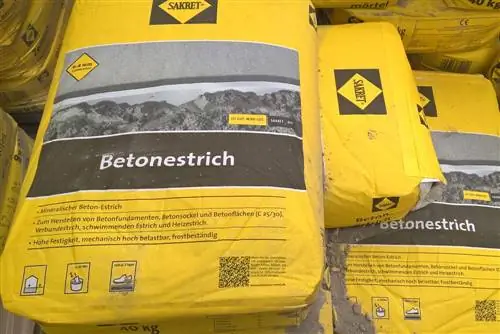
Do you need a foundation for your floors or want to cast a concrete fence post yourself? Then screed concrete is just right for you. Screed concrete is a special ready-made mortar that is used for indoor and outdoor use and can be used not only for composite screeds and screeds, but also for floating ones. Other possible uses include pouring concrete parts, as a foundation or a simple floor, for example in a garden shed. Screed concrete is offered in large bags, usually 30 or 40 kilograms, in hardware stores for your own use. It is strong in terms of texture and completely weatherproof.
Acquisition costs
The prices for screed concrete are limited due to the materials used, which is common for materials such as mortar or concrete. It only consists of the following ingredients:
- Cement
- Aggregate (6 pieces)
- Water
For this reason, you can save a lot of money because you can make screed concrete yourself using these three materials. The substances are simply placed in a concrete mixer or a bucket and mixed until they are ready for use. Small areas in particular can easily be filled with self-mixed screed concrete. You don't have to buy a whole bag for this. The prices for dry mortar vary considerably from hardware store to hardware store or online retailer and also depend on the respective manufacturer. The lowest price is around two euros for a bag containing 30 kilograms, but the purchase costs vary depending on the brand:
- Toom hardware store own brand: 3.29 euros for 40 kg
- Baumit: 3.75 euros for 10 kg
- Sakret: 3.79 euros for 10 kg
- Obi own brand: 3.39 euros for 40 kg
- Benz Professional concrete screed: 3.95 euros for 30 kg
- Saint-Gobain Weber concrete/screed: 5.49 euros for 10 kg
- Quick-Mix screed concrete: 6, 60 for 40 kg

Depending on the quality of the individual materials, it may of course be more expensive per kilo. For this reason, you should compare the individual screed concretes directly with each other in a hardware store or specialist retailer. Depending on the manufacturer, for example, a finer grain size may be used or the basic binder may be more effective. You should also pay attention to the quantity you need when purchasing. When mixing, the following distribution of quantities applies:
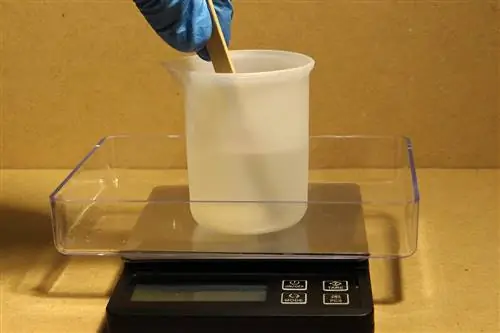
1 l water per 10 kg screed concrete
This means you know exactly how much water you need to mix. The necessary amount in kilograms is as follows:
20 kg dry matter for 1 m² with a layer thickness of 1 cm
That means if you have to fill a square meter that is three centimeters high, you will need around 60 kilograms. If you need to fill an entire basement of 5 square meters, the thickness of which is 3 centimeters, you will need 300 kilograms of dry matter. You have to mix these 300 kilograms with 30 liters of water. The price for this would be between 15 and 25 euros in the cheapest variant. However, this only applies to uneven surfaces. A level surface usually requires less screed concrete. If you choose a floating screed, you need a thickness of at least 3.5 centimeters.
Tip:
Before you decide on a screed concrete, you should make sure that it meets the requirements of DIN EN 13813 and DIN EN 206-1/DIN 1045-2. DIN EN 206-1/DIN 1045-2 is used for the use of screed concrete with regard to the durability of structures, while DIN EN 13813 is important for floor constructions in interior spaces.
Processing: Instructions
After you have ordered or purchased the necessary amount of screed concrete, you can now start mixing and processing. In order to effectively process the screed concrete, you need the following tools and materials:
- Concrete mixer
- alternatively concrete tub of sufficient size
- Agitator or shovel
- finished screed concrete
- sufficient water
- Stead
- floater
- Epoxy resin for a sensitive substructure
- Deep ground for all other soils
- for heated screed: emulsion
- Reinforcement grid, if tiles, tiles or natural stones are used afterwards
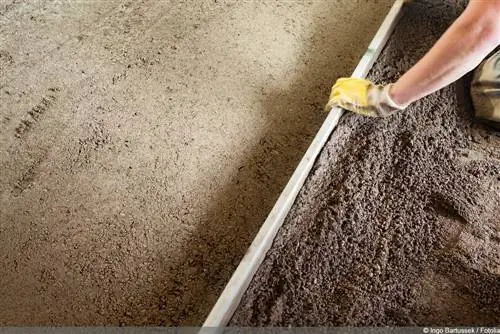
It may also be necessary to wear protective clothing such as safety glasses and long clothing and gloves as the material must not come into contact with the skin. It is alkaline and reacts when it comes into contact with water, which can be particularly dangerous for your eyes. For this reason, it is important to wear protective clothing.
Preparation
1. Mixing: When mixing, fill the appropriate amount of dry mortar together with the water into the concrete mixer or concrete tub. Now stir with the tool of your choice; the shovel does most of the work and physical exertion. If you want to use a little more water for mixing, for example if the mixture is difficult to stir, this is possible, but please note that the drying time will be longer. It is best to wear protective clothing when mixing to avoid possible splashes. If the screed concrete is used as a heated screed, you need half water and use the emulsion according to the manufacturer's instructions.
2. Temperature: It is important not to apply the screed concrete in temperatures that are too cold, otherwise it will suffer from the cold. Likewise, it should not be exposed to the following weather conditions:
- direct sunlight
- Rain
- strong winds
3. Substructure: Before you can apply the screed concrete, you must first prepare the substructure. This should be dry and clean. Settlements or cracks should be repaired and loose concrete residues removed. After you have cleaned the substructure, you need to apply the primer. Follow the manufacturer's instructions so that you can apply it thoroughly. You can then devote yourself to applying the screed concrete.
Processing
After you have completed the preparation, you can now process the building material. To do this, you should still wear your protective clothing so that you don't accidentally get anything. Proceed as follows:
- Process the screed concrete immediately. The longer you leave it, the faster it will dry and become harder to spread.
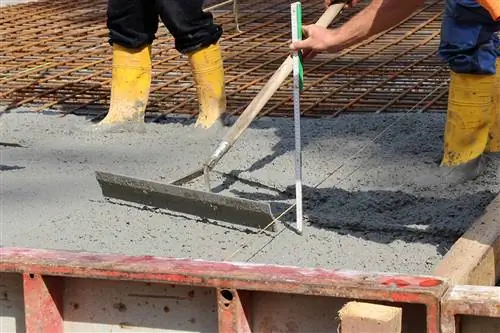
- Apply the mixture evenly and quickly. At the beginning it doesn't really matter what the area looks like as long as it is closed. For this step, use the straightedge and use it to smooth the screed concrete after application. You can also use the float for this step, which can be used excellently for corners and small areas.
- If you need more stability, place the reinforcement grid in the upper third of the screed concrete and fix it with the mortar. You can then embed it completely.
- Finally, smooth everything out again, preferably with a float, as nothing sticks to it, and let the screed concrete dry.
Dry times
The dry times are essential for you and your project. This means you know exactly when you can load the floor or concrete component without damaging it or having to re-pour it. For this reason, drying times should be strictly adhered to, you don't want to leave your own footprints in the screed or your floor in the garage. The typical drying times for screed concrete according to DIN standards are:
- 3 days: at this point the screed concrete can be walked on carefully
- 28 days: by this point the entire screed concrete should have hardened
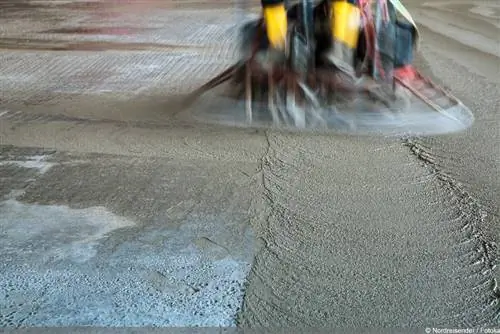
Despite the norm, it is often the case that the mass is not dry immediately four weeks later, but within a period of 21 to 35 days, which is due to the following effects:
- Draft
- Load, for example from an object stored on the special mortar
- Ambient temperature
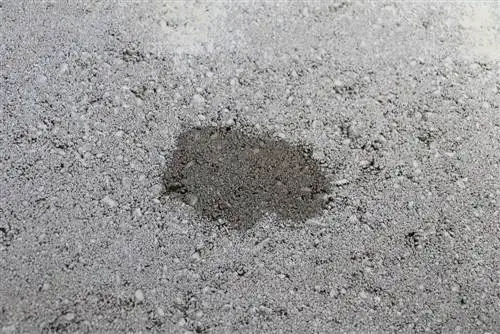
For this reason, it is difficult to determine the direct dry time, although 28 days is a typical range. If you need to be sure that the screed concrete has dried, you should use a CM measuring device that can directly show how much residual moisture is still in the mass. If two percent residual moisture is exceeded, the screed concrete must dry further before other work steps come into play.

