- Author admin [email protected].
- Public 2023-12-17 03:39.
- Last modified 2025-06-01 06:48.
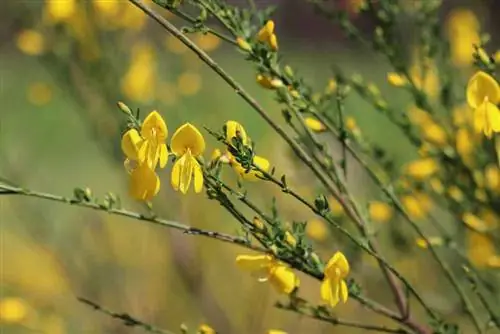
The most beautiful species and varieties of the gorse genus thrive as deciduous shrubs or sub-shrubs. It is characterized by rapid growth, which can take on invasive dimensions in the garden. At the same time, the ornamental trees tend to become bald from below when the sun can no longer penetrate the dense heart of the plant. By cutting back your spring and summer gorse every year, you can keep the volume and tendency to spread under control. In this context, continuity is very important because gorse does not sprout from old wood or only grows sparsely. If you don't cut back the flowering bush regularly, it will age from the inside out and fall apart.
When is the best time?
The ideal time for pruning depends on the flowering period. The multifaceted genus is not limited to its bright yellow spring bloomers. The local dyer's broom spoils us with a summery bloom that requires a different cutting date. For your orientation, we have summarized the most important time windows for you:
- Spring bloomers, such as ivory broom or noble broom: after flowering in June
- Summer bloomers, such as mountain broom, wing broom or rose broom: in autumn
- Rejuvenation pruning on old or bare bushes: between October 1st and February 28th
- Lighting: in late winter, preferably February
For the appointment itself, please choose a mild, dry day without blazing sunshine. The legislature has a say in the decision as to when you can rejuvenate an old broom bush. From March 1st to September 30th, birds nest in bushes and trees to raise their offspring. Therefore, radical pruning is only permitted outside of the breeding season. This applies equally to solitary shrubs, hedges and trees. Disturbing or even driving away breeding birds and small animals with offspring by pruning trees is punishable by fines of up to 50,000 euros.
Tip:
Beautify your garden or dry stone wall with the delicate cushion gorse (Cytisus decumbens) or the ground-covering creeping gorse (Cytisus beanii)? Then you can save yourself the trouble of annual pruning. If the little beauties grow out of control, cut back shoots that are too long at the end of the flowering period.
Which tool is recommended?
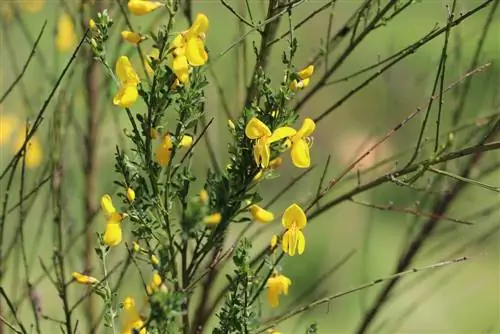
The be-all and end-all of skillfully cutting gorse is the right tool. In the first few years it is sufficient to use sharp secateurs. We recommend the bypass blade system because two sharp blades slide past each other. In contrast, the anvil blade system works based on a single, sharp blade and a dull metal base. This technique argues with reduced effort. The disadvantage is that there is a risk of bruising on the branches. When trimming old gorse, handle thicker branches with two-handed bypass pruning shears. If you are confronted with 4 cm thick branches of a majestic gorse, a modern folding saw with pull teeth leaves smooth cut surfaces that do not require any further treatment.
Tip:
Careful disinfection of blades and saw blades is important for effective prevention against diseases and pests. Contaminated cutting tools are the most common carriers of all kinds of infections. Therefore, clean your tools before and after each cut with spirit, alcohol or hot water.
Instructions for topiary
Thanks to its easy care, good-natured pruning tolerance and bright flowers, gorse is very popular as the ideal beginner plant. With a combination of a sunny location, poor soil and annual topiary, you can get the best out of the ornamental shrub. The first two criteria require the right choice of location in the garden. The following instructions for shape and maintenance pruning get to the heart of how you can easily meet the third criterion:
- Cut back dead shoots by a third or half
- Cut only in leafy areas
- Thin out lying and fallen branches
- In addition, from the third year onwards, cut off the two oldest ground shoots at the base
A fundamental pruning rule states that broom responds to vigorous pruning with equally vigorous shoots. Conversely, light topiary results in restrained growth. So that a young gorse grows bushy, voluminous and full of flowers, the pruning can be extended to a height of 40 cm, as long as there are still leaves there. If you aim to curb its urge to spread in later years, limit the topiary to a third of the shoot length.
Tip:
Various gorse plants are susceptible to frost damage. These appear in the form of brown, dried shoot tips. If you cut an affected gorse back to the he althy wood in the spring, the mishap will not have a negative impact on the flowers.
Cutting the gorse hedge - what you should pay attention to
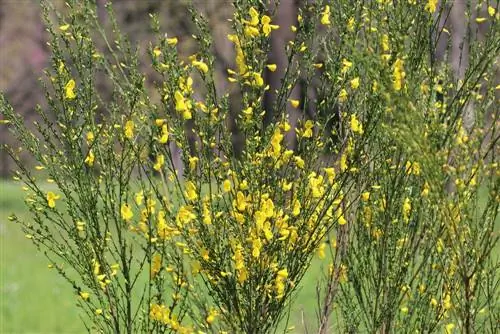
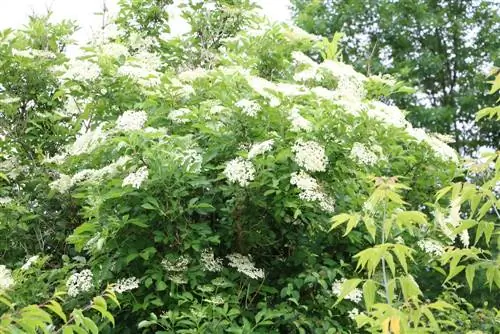
As a solitary plant, gorse loses a lot of its decorative appeal without its flowers. If you still don't want to miss out on the picturesque flower festival, arrange the ornamental shrub as a hedge. In this case, you benefit from the aesthetics of the group, which makes it easier to cope with the lack of flowers in autumn and winter. Regular pruning plays a key role in the care program when several broom bushes are in close proximity. Since the densely planted trees shade each other, they are more often affected by baldness than when grown alone. Therefore, please use scissors twice a year. This is how it works:
- Cut the gorse hedge into shape after flowering
- Short branches that are too long and out of shape
- Cut off shoots that are inclined or sunken to the ground at the base
- In January/February, thin out the bushes and clean them of all dead wood
It is important to note that a habitus that is flooded with light is important for a flowery and compact gorse hedge. After you have thinned out the hedge in late winter, the sun should be able to penetrate into the interior of each individual plant. In practice, it has proven useful to remove the two oldest ground shoots from adult or aging broom bushes every winter, even if they are not deadwood.
Getting old gorse going - instructions for rejuvenation cutting
If you have neglected to prune over a period of 3 to 4 years, the leaves and flowers will increasingly shift towards the tips of the shoots. Ultimately, the loose ornamental shrub falls apart and becomes bare from the base. With a rejuvenating cut you can breathe new life into the rotten, old gorse. How to do it correctly:
- Prune back all branches radically in autumn or late winter
- Place the scissors before the last branch above the ground
- Cut off or saw off dead branches at the base
- Smooth larger cuts on old wood with a knife
Only a few types of gorse can tolerate a cut into aged wood. When making the cut, please ensure that at least two to three sleeping eyes or leaves remain on the shoot. If you can't see any points of vegetation, run your finger over the bark. Leaf nodes can often be felt as slight bumps.
Note:
All species and varieties of the broom genus are poisonous. Therefore, please be sure to wear gloves when caring for and trimming the shrub.
Treating and cutting gorse into a standard stem - this is how you do it right
The loosely upright or elegantly overhanging growth makes broom a popular standard for creative garden design. Ready-made standard breeds from specialist retailers have a high price because training them is time-consuming. Only through continuous pruning does a gorse get its ideal shape with a bushy crown and slender trunk. Otherwise, the natural growth will be as a shrub with numerous ground shoots. For the ambitious home gardener, it is a matter of honor to train the flowering bush into a standard tree on their own. The following instructions explain step by step how to do it:
Starting point
To start the pruning training for the standard tree, you need a strong young plant that has a stable central shoot. You can either grow the plant from a cutting of your most beautiful broom in the garden or purchase a container plant from your trusted tree nursery. Bare-rooted trees are suboptimal as a starting point. If you want a spherical crown shape, you can consider tightly upright broom species, such as dyer's broom (Genista tinctoria). If you favor a crown with casually hanging branches, bring ivory broom (Cytisus praecox) or noble broom (Cytisus scoparius) into focus. In terms of equipment, you will also need a support rod, sharp scissors and soft tubular tape or special tree ties from a specialist shop.
Parenting phase
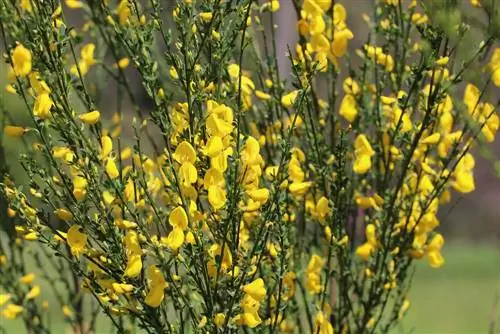
The period over which the training phase extends depends on the type of gorse you choose. With an average growth rate of up to 50 cm per year, a small standard tree reaches its ideal height within 2 to 3 years. It takes several years to achieve a height of 150 to 200 cm with a noble gorse. This is how you proceed professionally:
- Connect the center shoot to the support rod
- Cut off vertical competing shoots and side shoots
- Continue to tie up the new shoots at the top of the trunk from year to year
- Cut side branches regularly to promote the thickness of the central shoot
Only when the trunk has reached the perfect height do you cut off the tip. Place the scissors at a distance of three to four leaves above the base of the crown. Please remember that with this cut you are determining the final trunk height. Subsequent corrections are rarely successful. At the same time as you cut the tip of the trunk, you start branching to the crown. Until it has reached the desired volume, cut the side branches back to 3 to 4 eyes after each flowering period. Do not remove the support rod during this phase. Only when you are sure that the trunk can support the crown on its own has the support completed its task.
Shaping and maintenance pruning
Annual pruning ensures that your gorse retains its shapely crown as a standard tree. When you carry out the cut depends on the end of the respective flowering period. By autumn at the latest, you should cut back all side shoots that protrude from the crown. During the year, consistently remove branches from the trunk that sprout below the crown. Ideally, you should cut off steeply upward competing shoots to the trunk as soon as possible because they require nutrients and water for themselves. In conjunction with the topiary or in late winter, thin out the crown thoroughly.

